How to use 11ty with TakeShape
Learn how to build a portfolio site using 11ty(Eleventy) and TakeShape
In this tutorial, we're going to build a portfolio site using 11ty(Eleventy) and TakeShape.
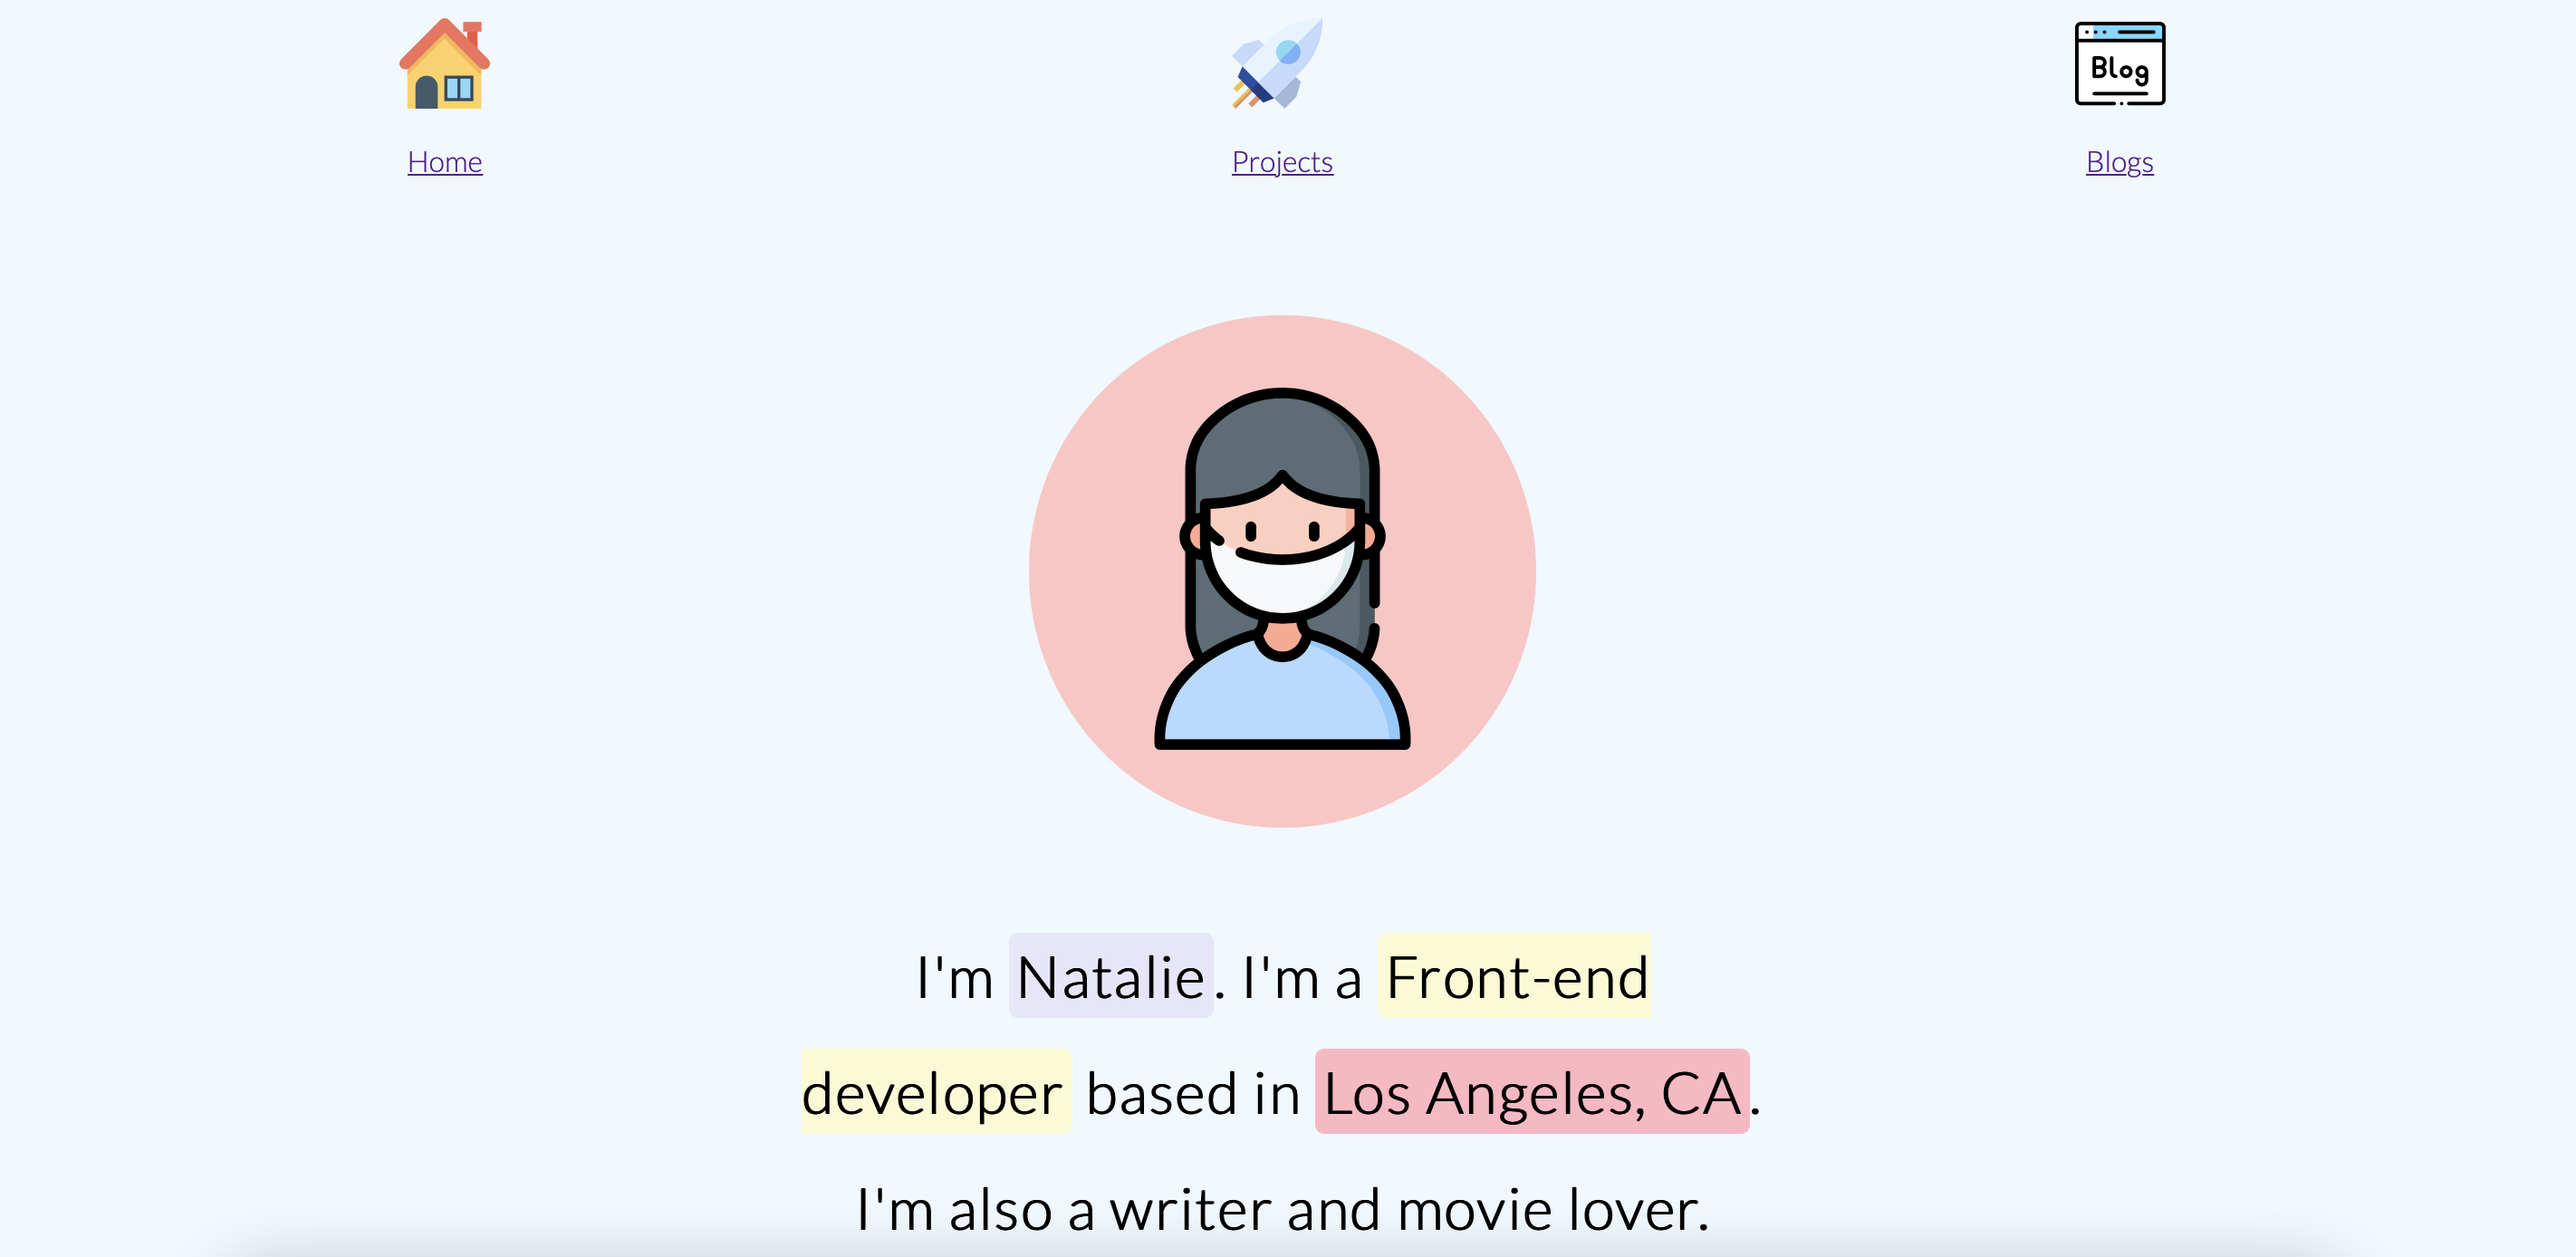
You can view the finished project here and code for the project here.
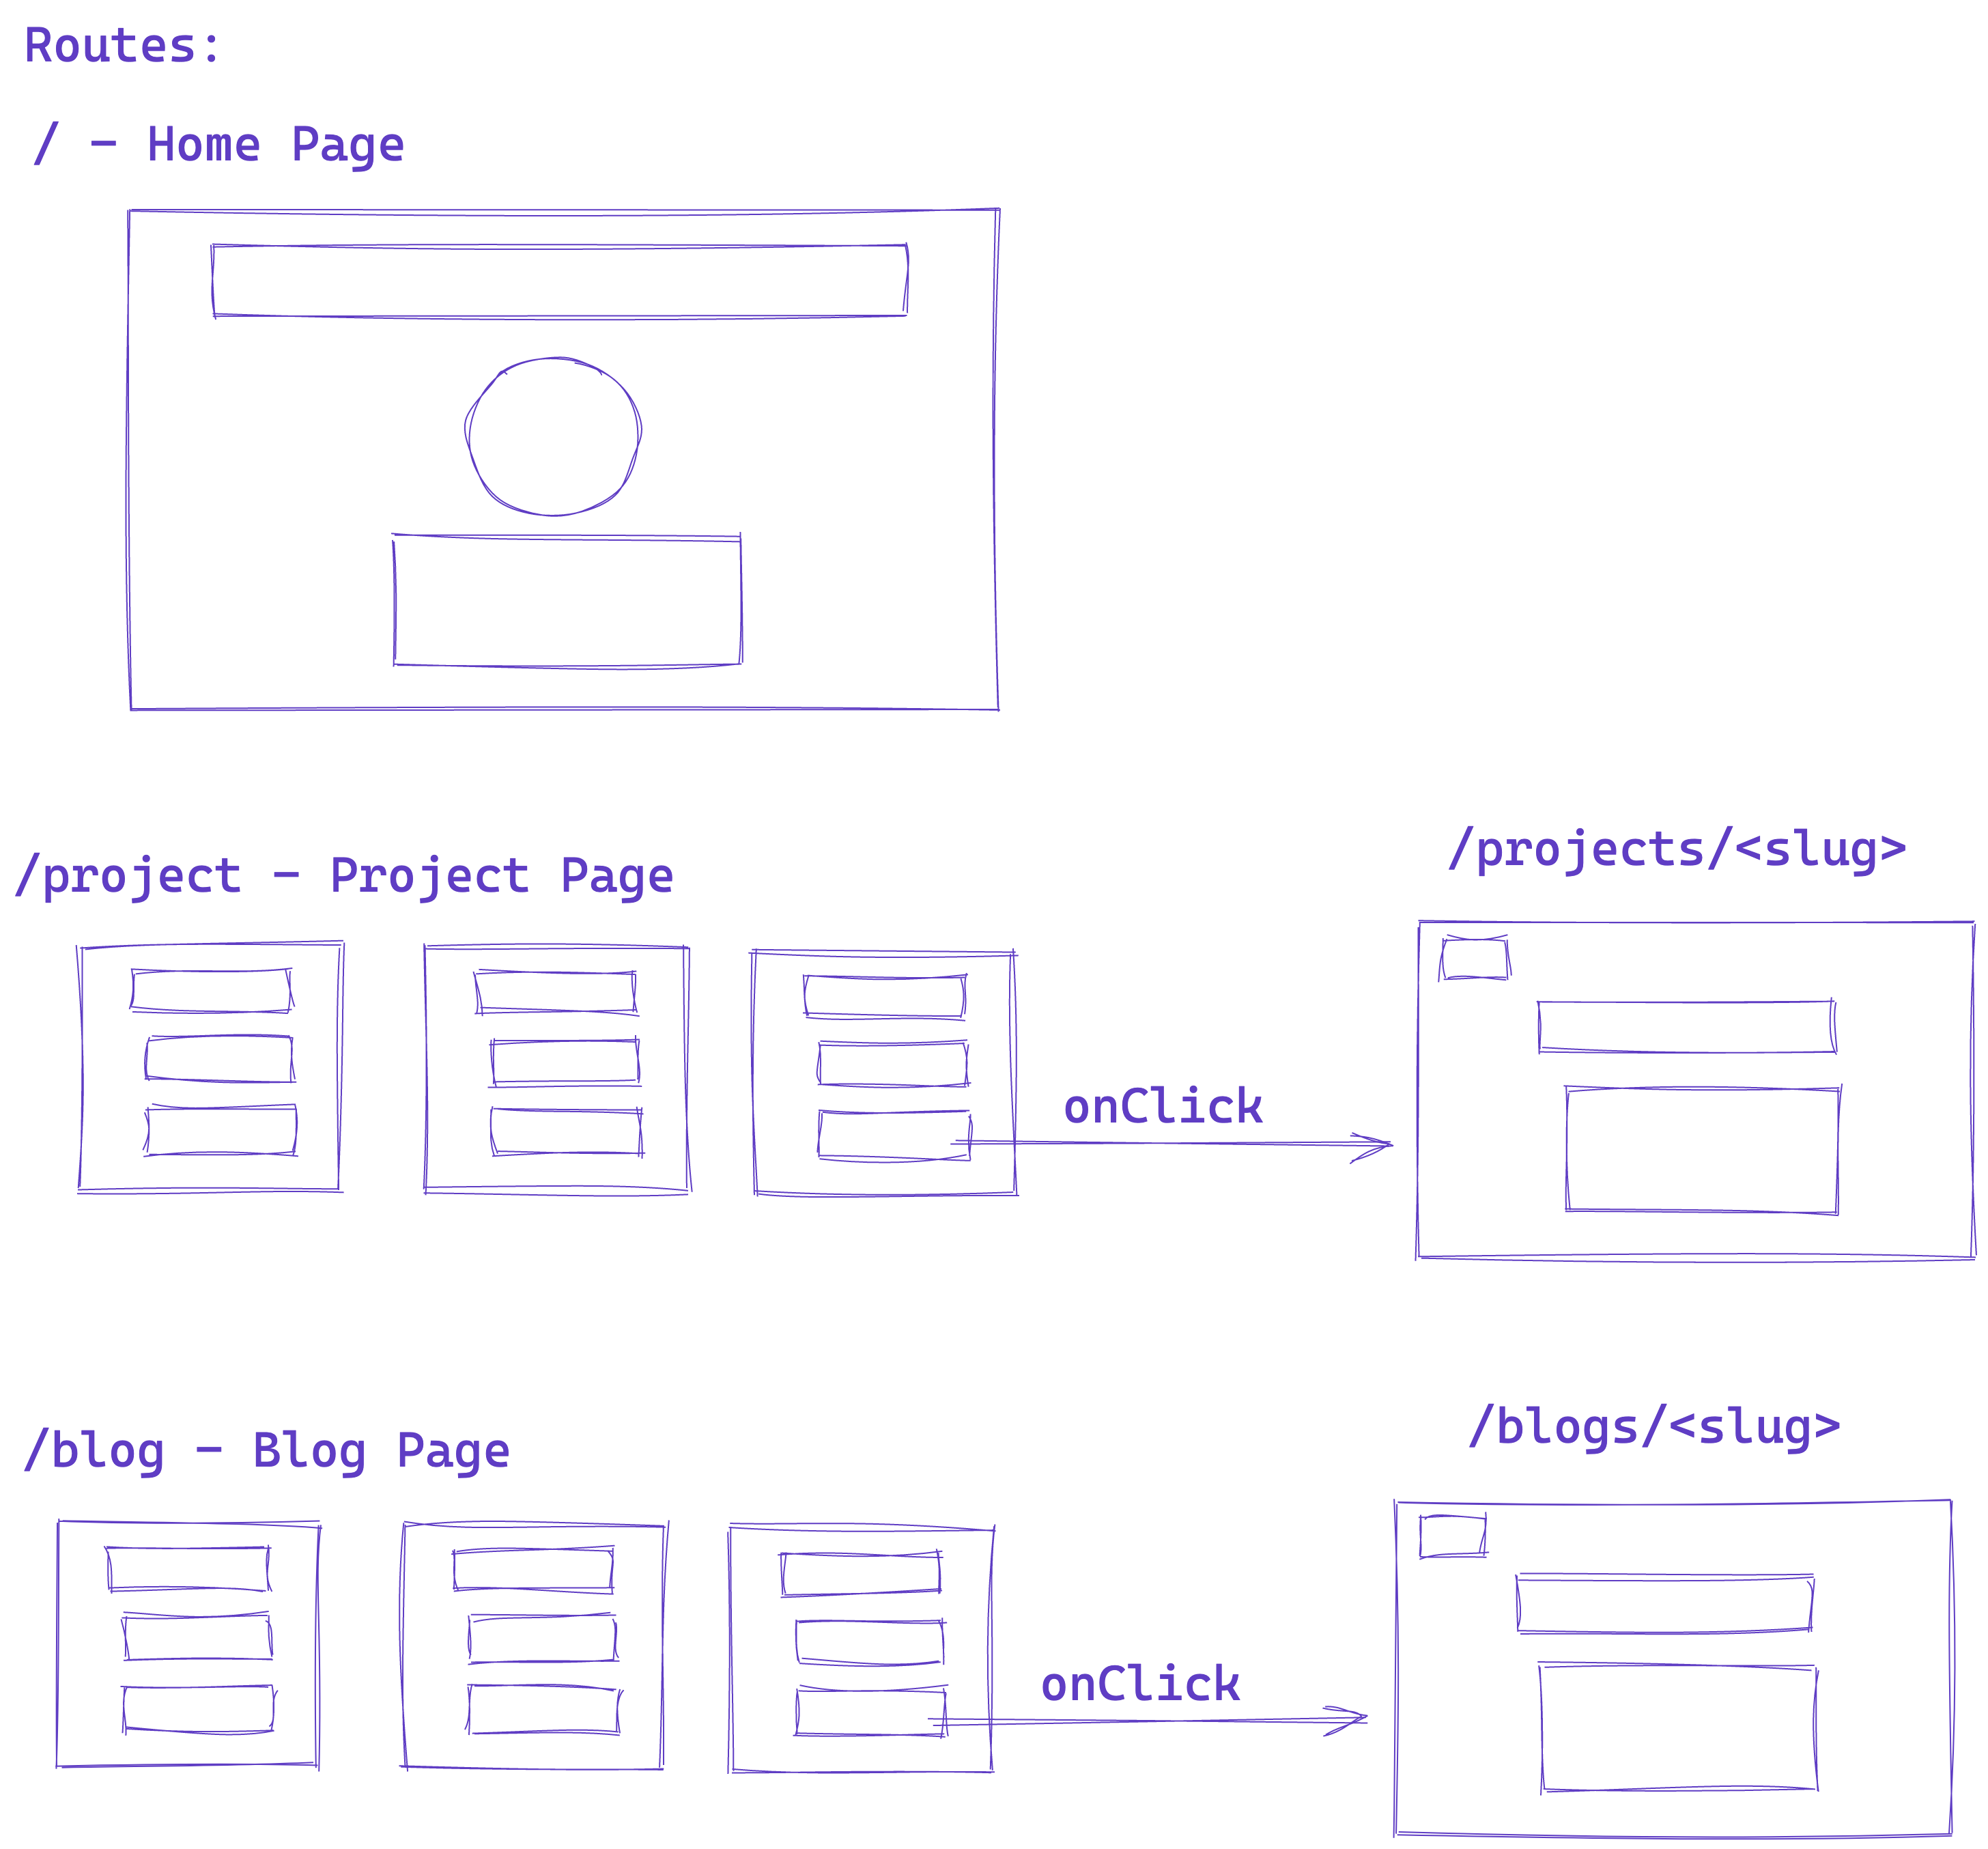
The structure of the app:
Routes:
/- Home Page/project- Project Page/projects/<slug>
/blog- Blog Page/blogs/<slug>
What is 11ty (or Eleventy)?
11ty or Eleventy is a simple static site generator created by Zach Leatherman as an alternative to Jekyll. Eleventy requires zero configuration and works inside of your project's existing directory structure.
Unlike Gatsby or Nuxt, Eleventy is more like a traditional Static Site Generator where it takes a series of templates, markdown files, and data and renders HTML files to serve.
Eleventy benefits:
- It's not a JavaScript frontend framework: Eleventy does not force you to include any Eleventy-specific client-side JavaScript. With this, It's intent is to decouple content as much as possible.
- Template Engine independence: Eleventy uses independent template engines to easily allow you to mix and match templating languages such as HTML, Markdown, Nunjucks, Liquid, Mustache and more to allow easy migration of existing content
- Directory Structure Flexibility: While other static site generators might make you use a certain directory structure like putting all of your content files in a post folder, Eleventy gives you the freedom to work within your project’s existing directory structure.
- Using JavaScript: Eleventy uses JavaScript to give you access to NPM and NPM's large ecosystem of packages to use
Prerequisites
v10of Node.js or higher- JavaScript basics
- HTML basics
Getting started with TakeShape
TakeShape offers new and more instant, intuitive, adaptable, and collaborative services to power JAMstack projects.
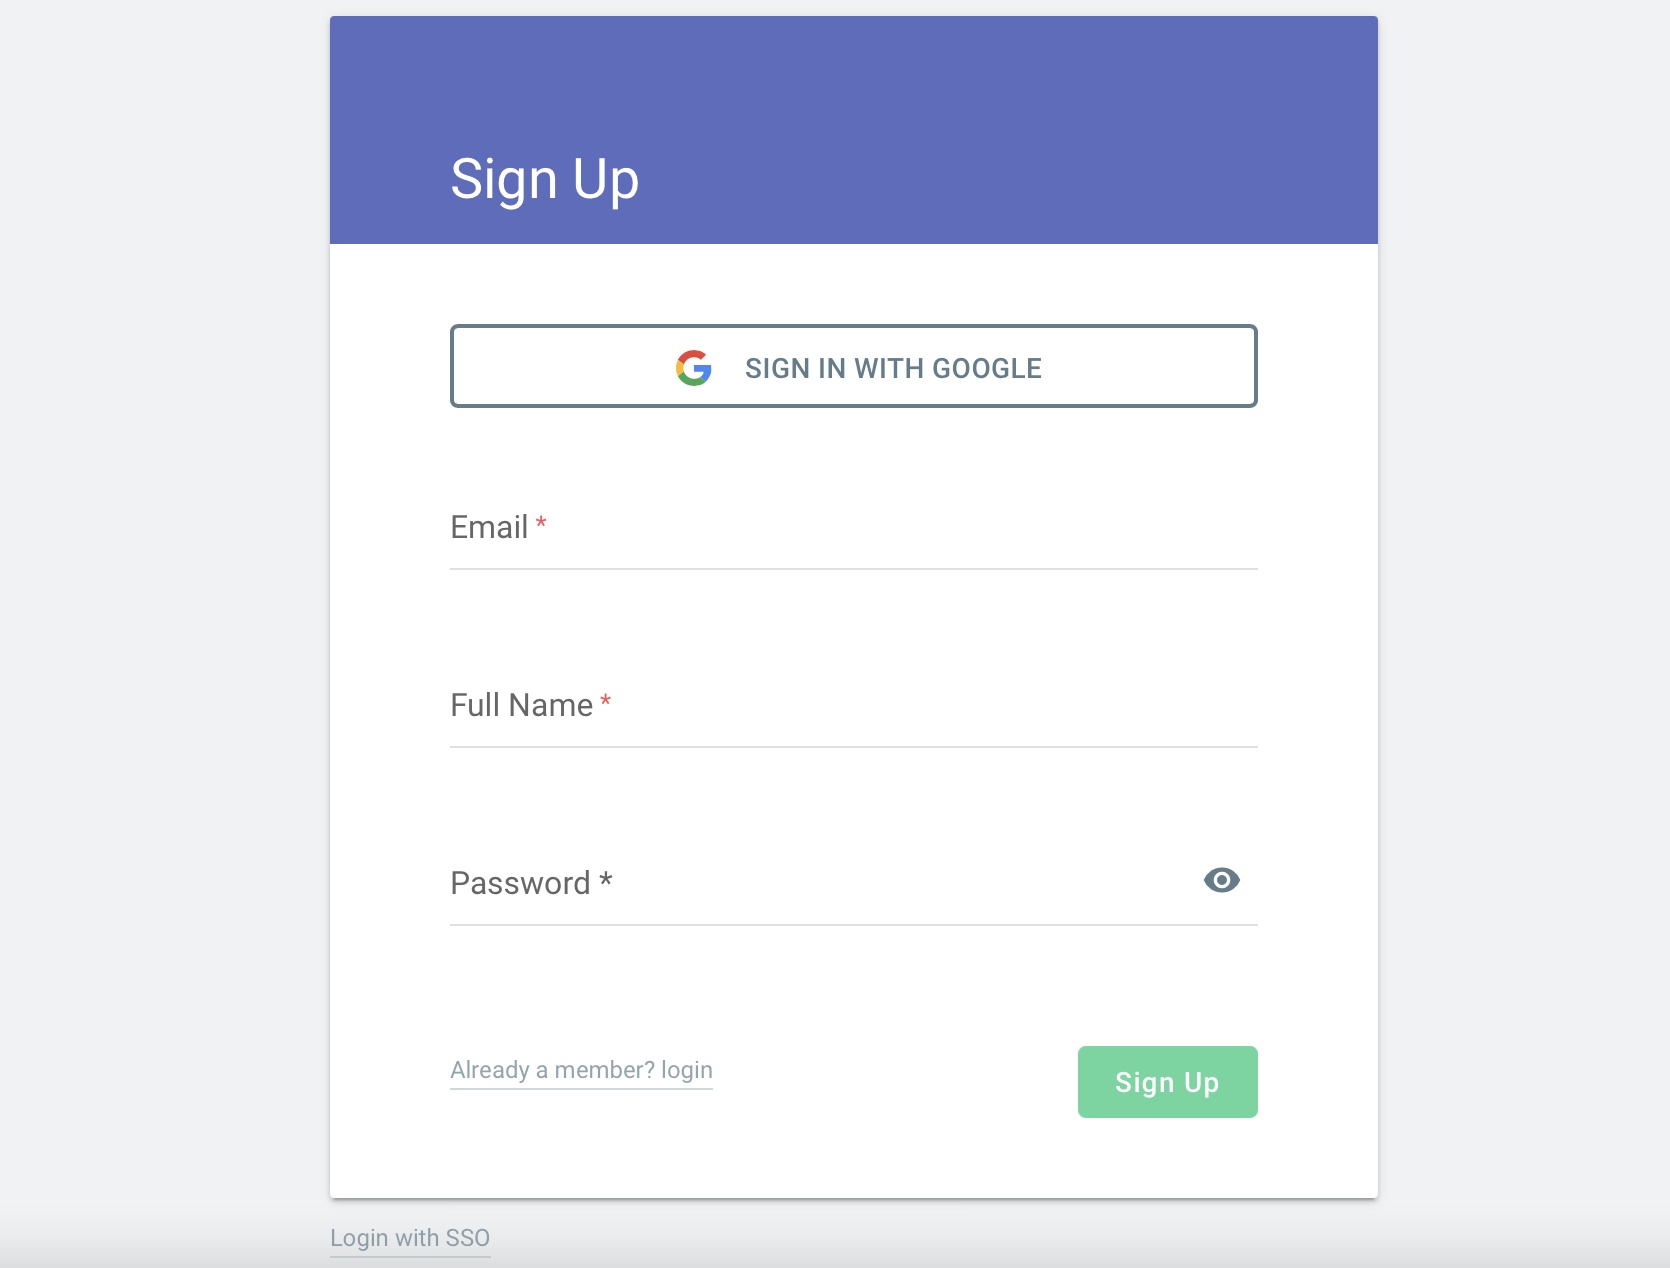
Create a Free TakeShape Account
Sign up for a free developer account. Every project you create gets:
- Up to 3 team members
- 1 static site
- 2 locales
- Unlimited content types
- 500 content entries
- Webhooks
- Community support
- 10GB of bandwidth, 10GB of file storage, and up to 10,000 API requests
Create a new content project
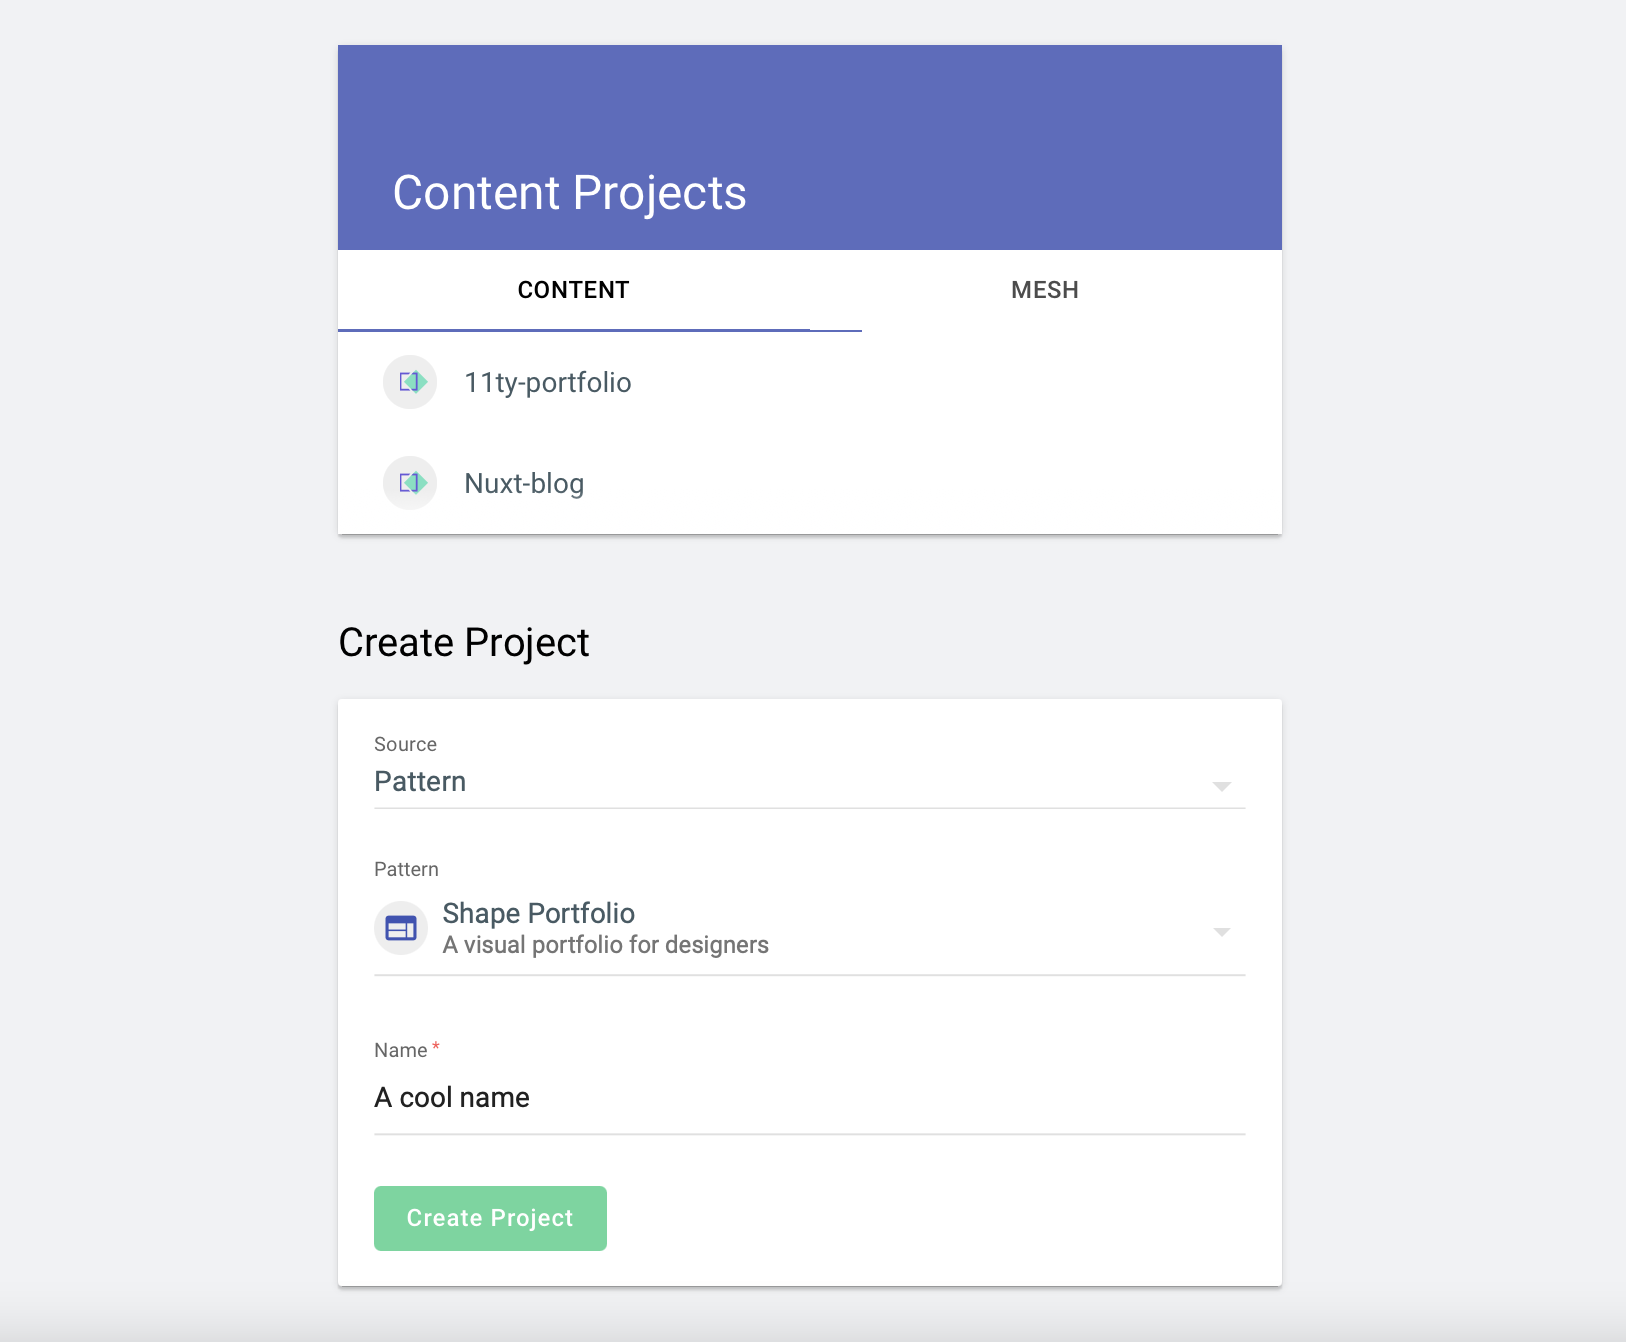
Under Pattern, select Shape Portfolio and go ahead and give it a cool name. I'll call mine something generic like 11ty portfolio.
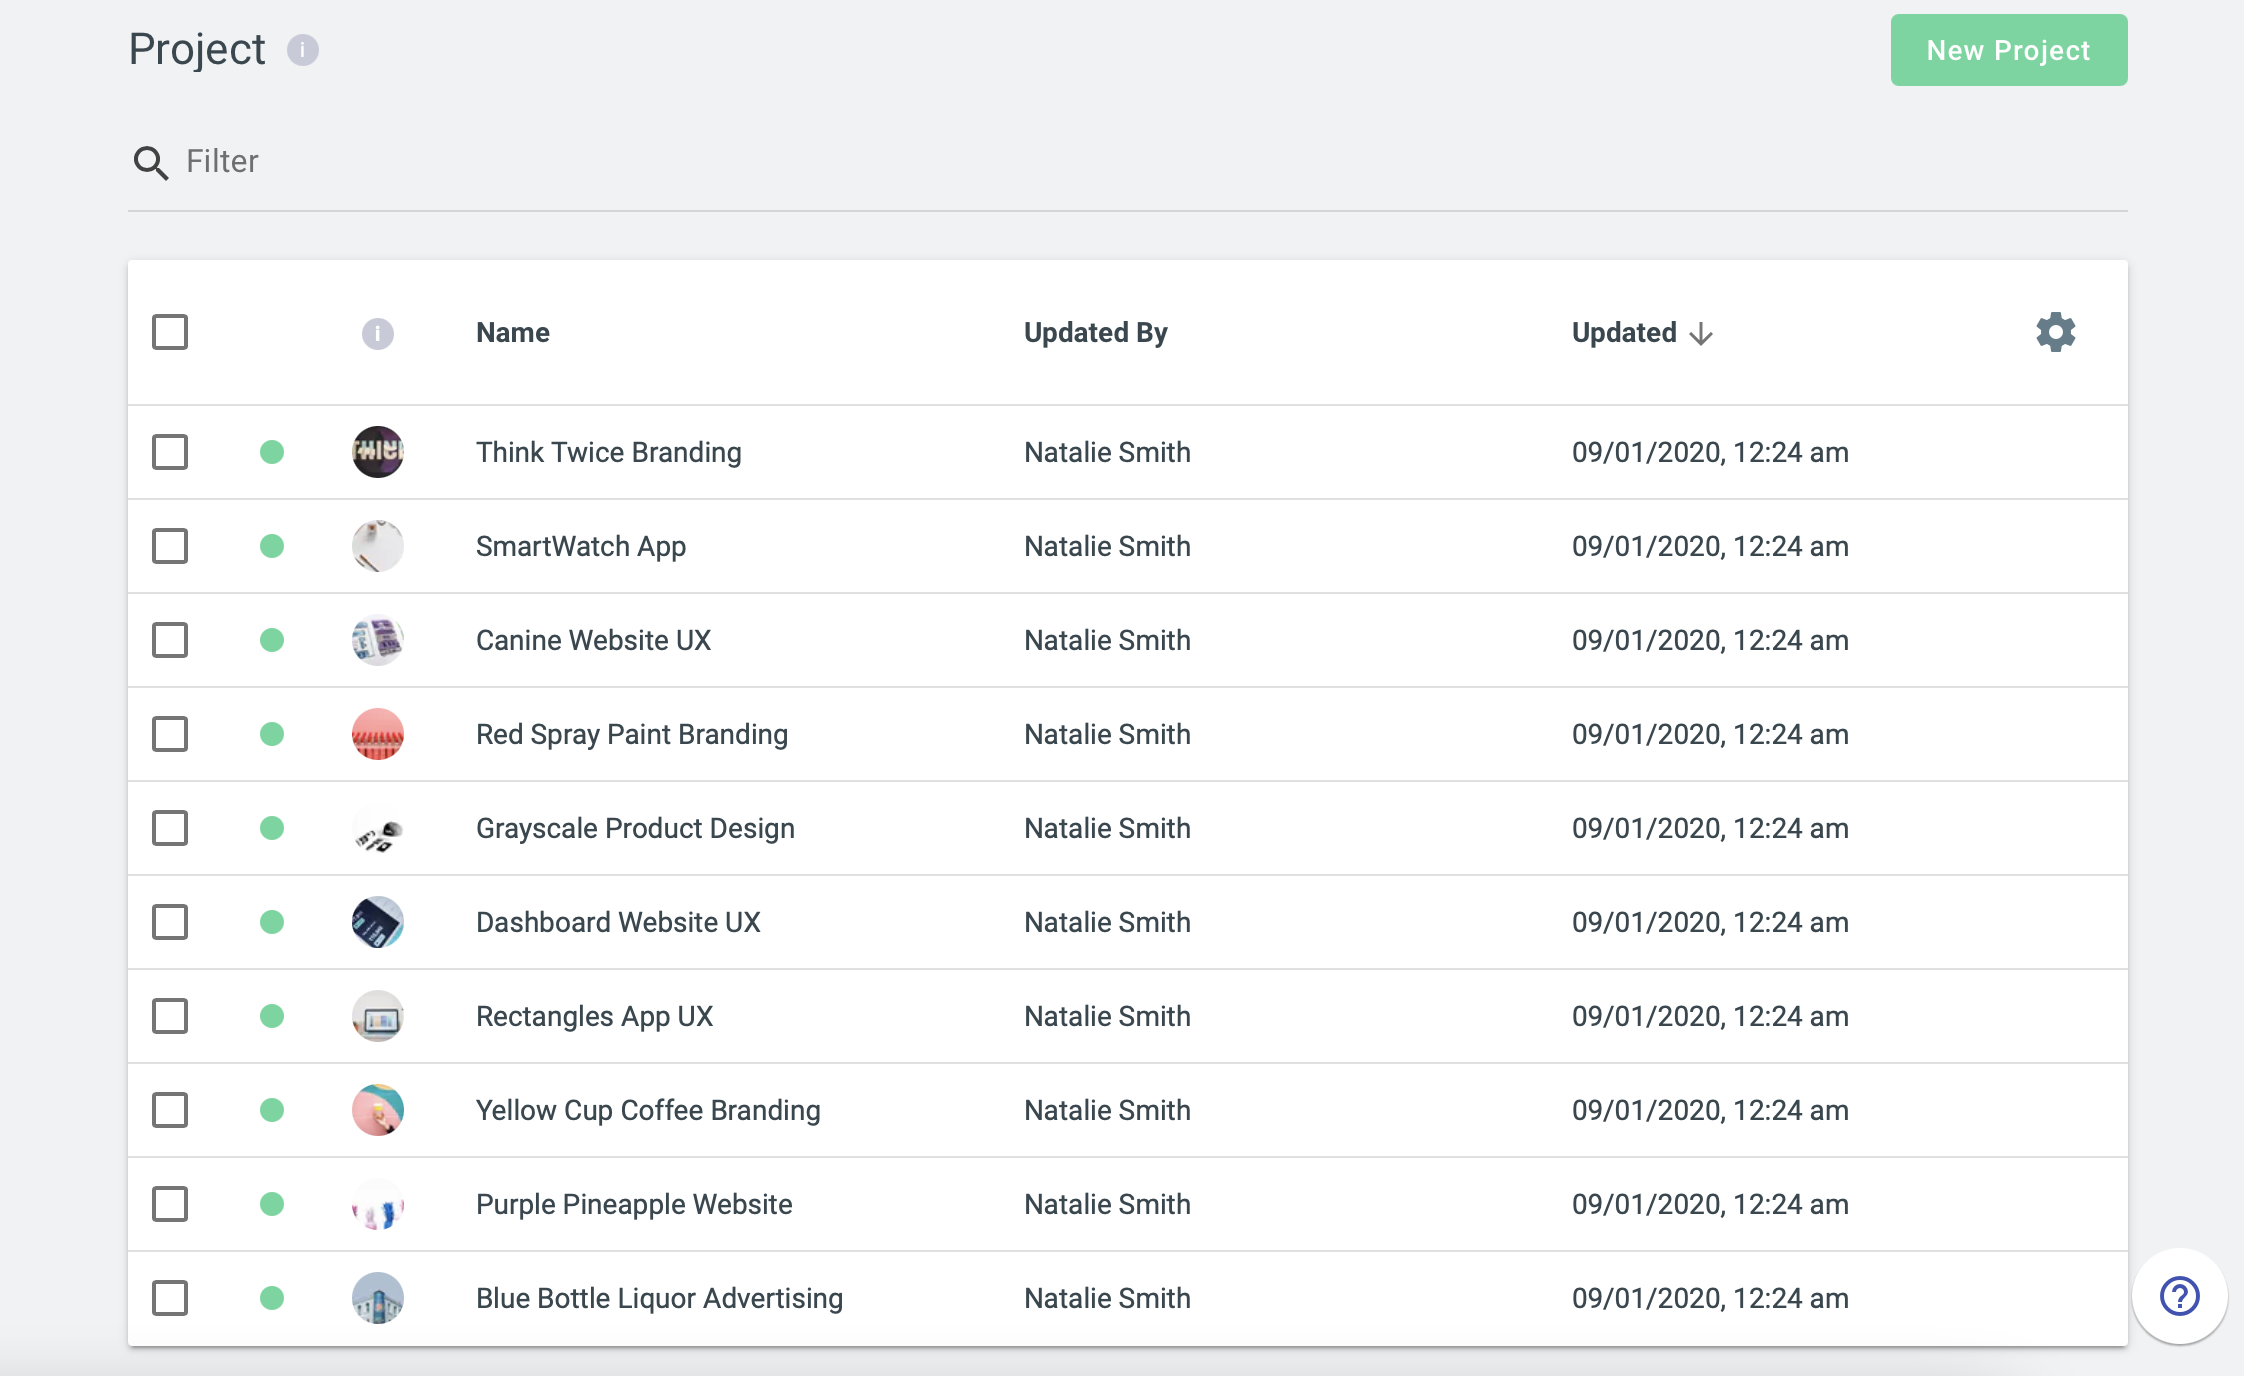
This will create a content type called Project for us and populate it with projects
Now, the app will also have a blog page. We're going to need to create a new blog content type in TakeShape, to do that:
1. Click Add Content Type

2. In the New Content Type, name it Post, select Multiple for the annotation and add the following:
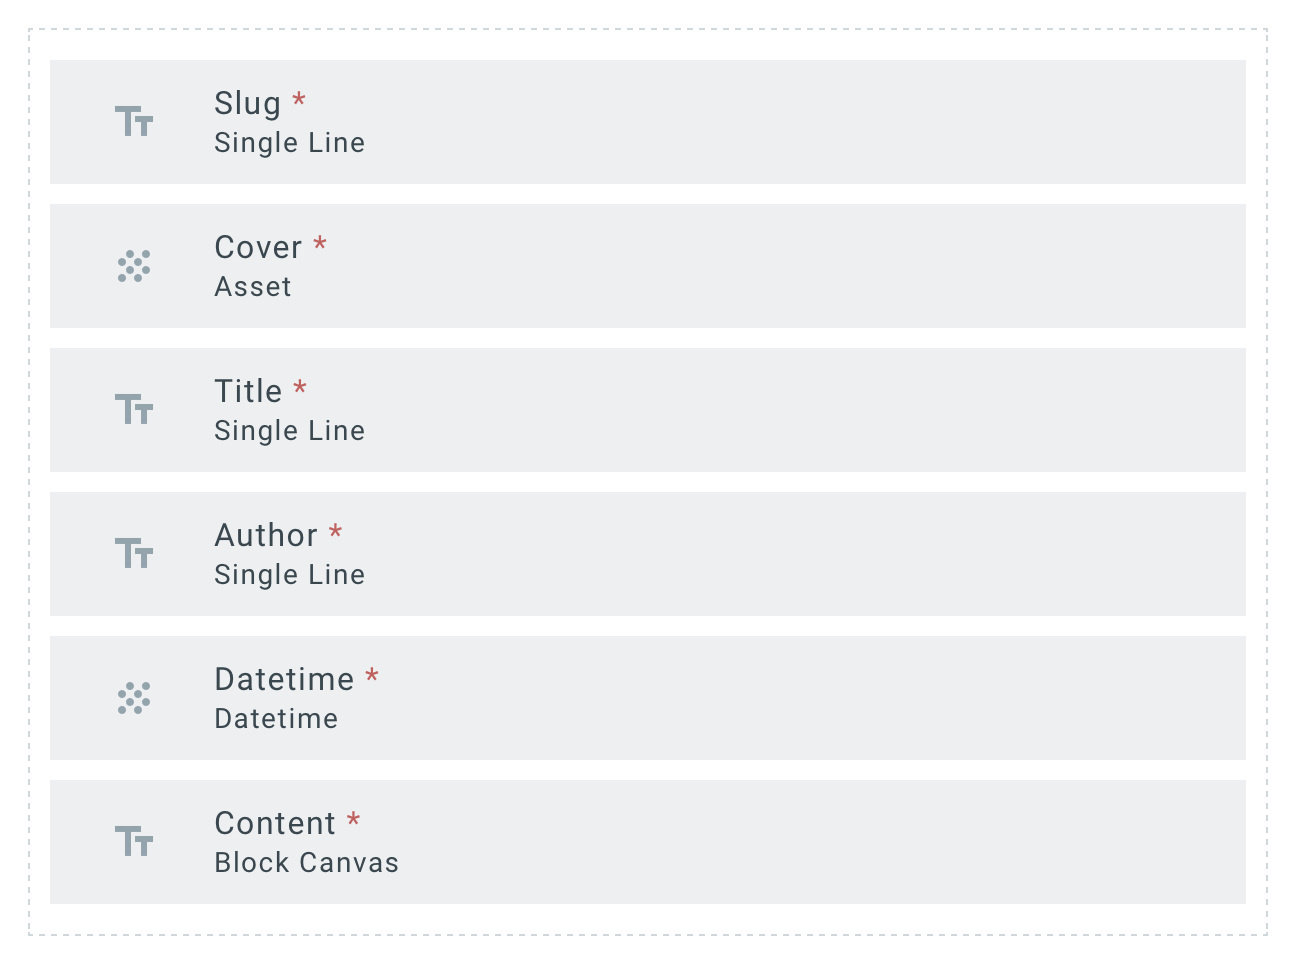
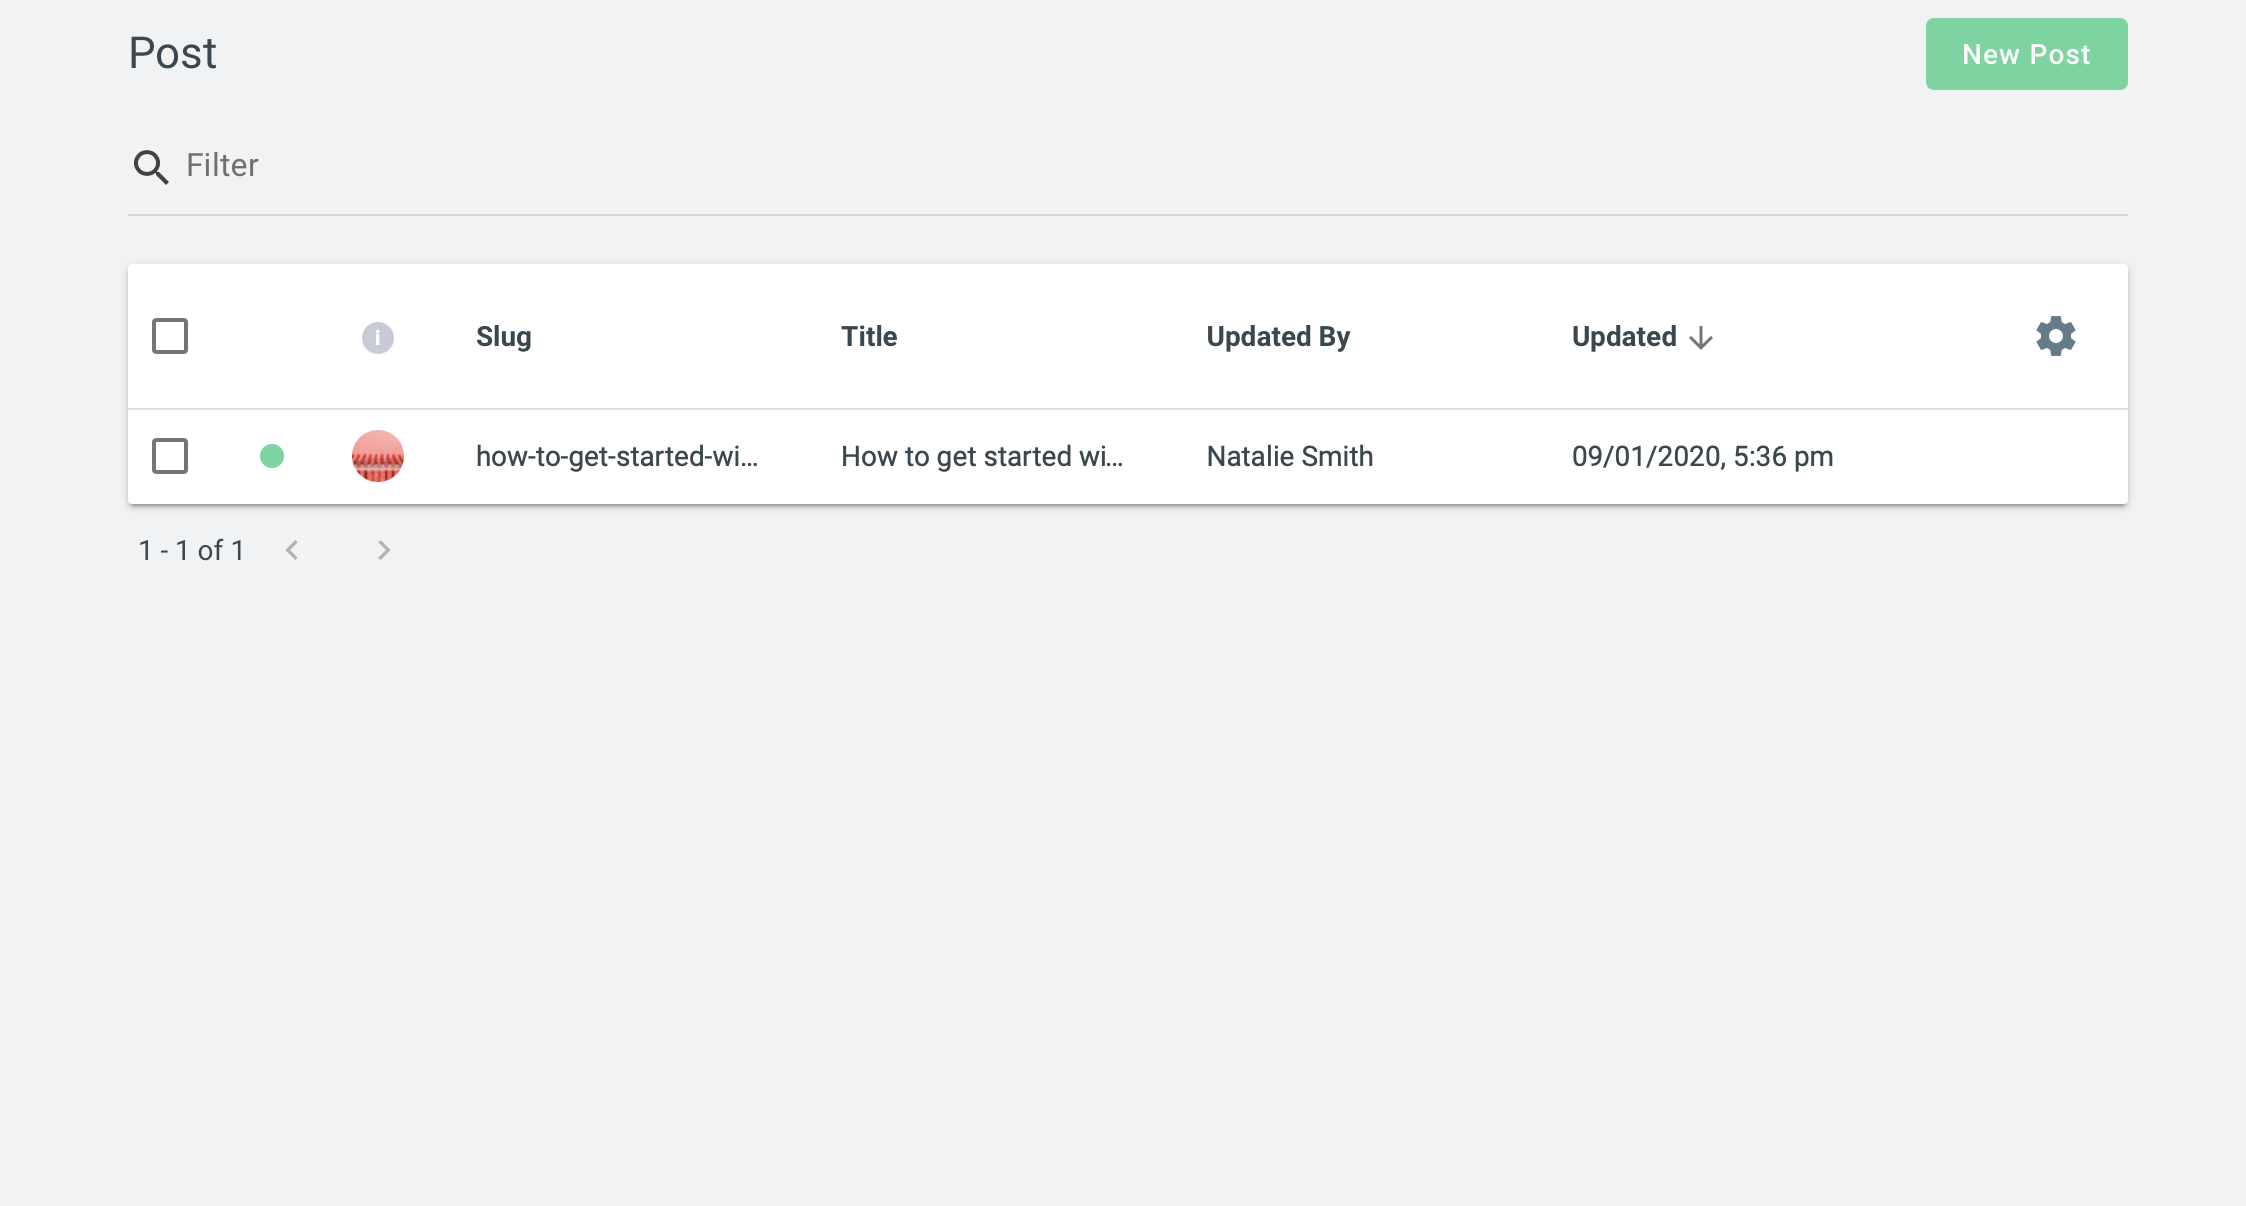
3. Click Save and go ahead and create a post.
Next create API keys
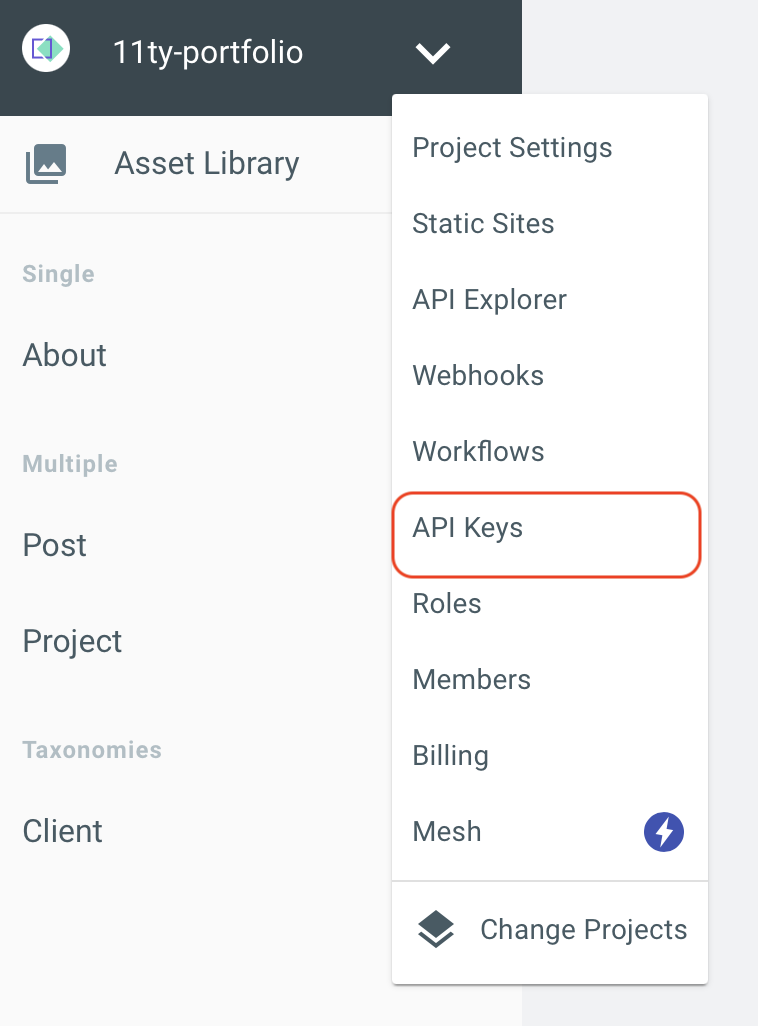
Click the dropdown menu to select API Keys.
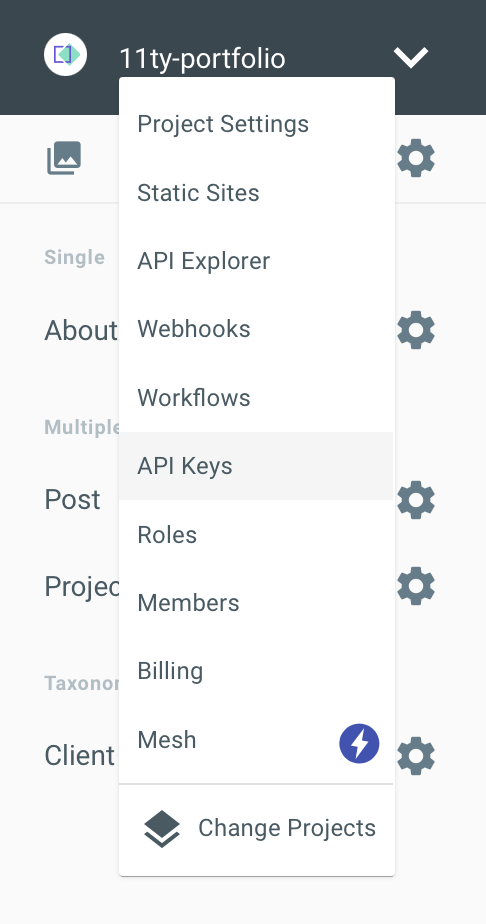
Since we're using it on the client side without any authentication, I'm going to set it to read only.

Getting Started with 11ty
Create a project directory
I'm going to create my project in my Desktop folder but feel free to choose a different location
~/

mkdir 11ty-takeshape
cd 11ty-takeshape
Installation
To install Eleventy, we're going to need a package.json file. To create that, run npm init -y. The -y will tell npm to skip all the questions and just use the defaults
~/11ty-takeshape

npm init -y
Now we can install @11ty/eleventy by running:
~/11ty-takeshape

npm install --save-dev @11ty/eleventy
Run Eleventy
We're going to use npx to run our project's version of Eleventy. To do that, run the following:
~/11ty-takeshape

npx @11ty/eleventyNote: Make sure that you see (v0.11.x) in your output. This lets you know that you’re using the newest version
Creating a template
Open up your project in a text editor and at the root, create a file called index.njk. By default, Eleventy uses Nunjucks but you can use a different template language. You can learn more about overriding the template language here.
index.njk

<!DOCTYPE html>
<html lang="en">
  <head>
    <meta charset="UTF-8">
    <meta name="viewport" content="width=device-width, initial-scale=1.0">
    <title>11ty with TakeShape</title>
  </head>

  <body>
    Hello World!
  </body>

</html>
Now, let's view it on localhost. Run the following command:
~/11ty-takeshape npx @11ty/eleventy --serve
Go to http://localhost:8080/ to see your site
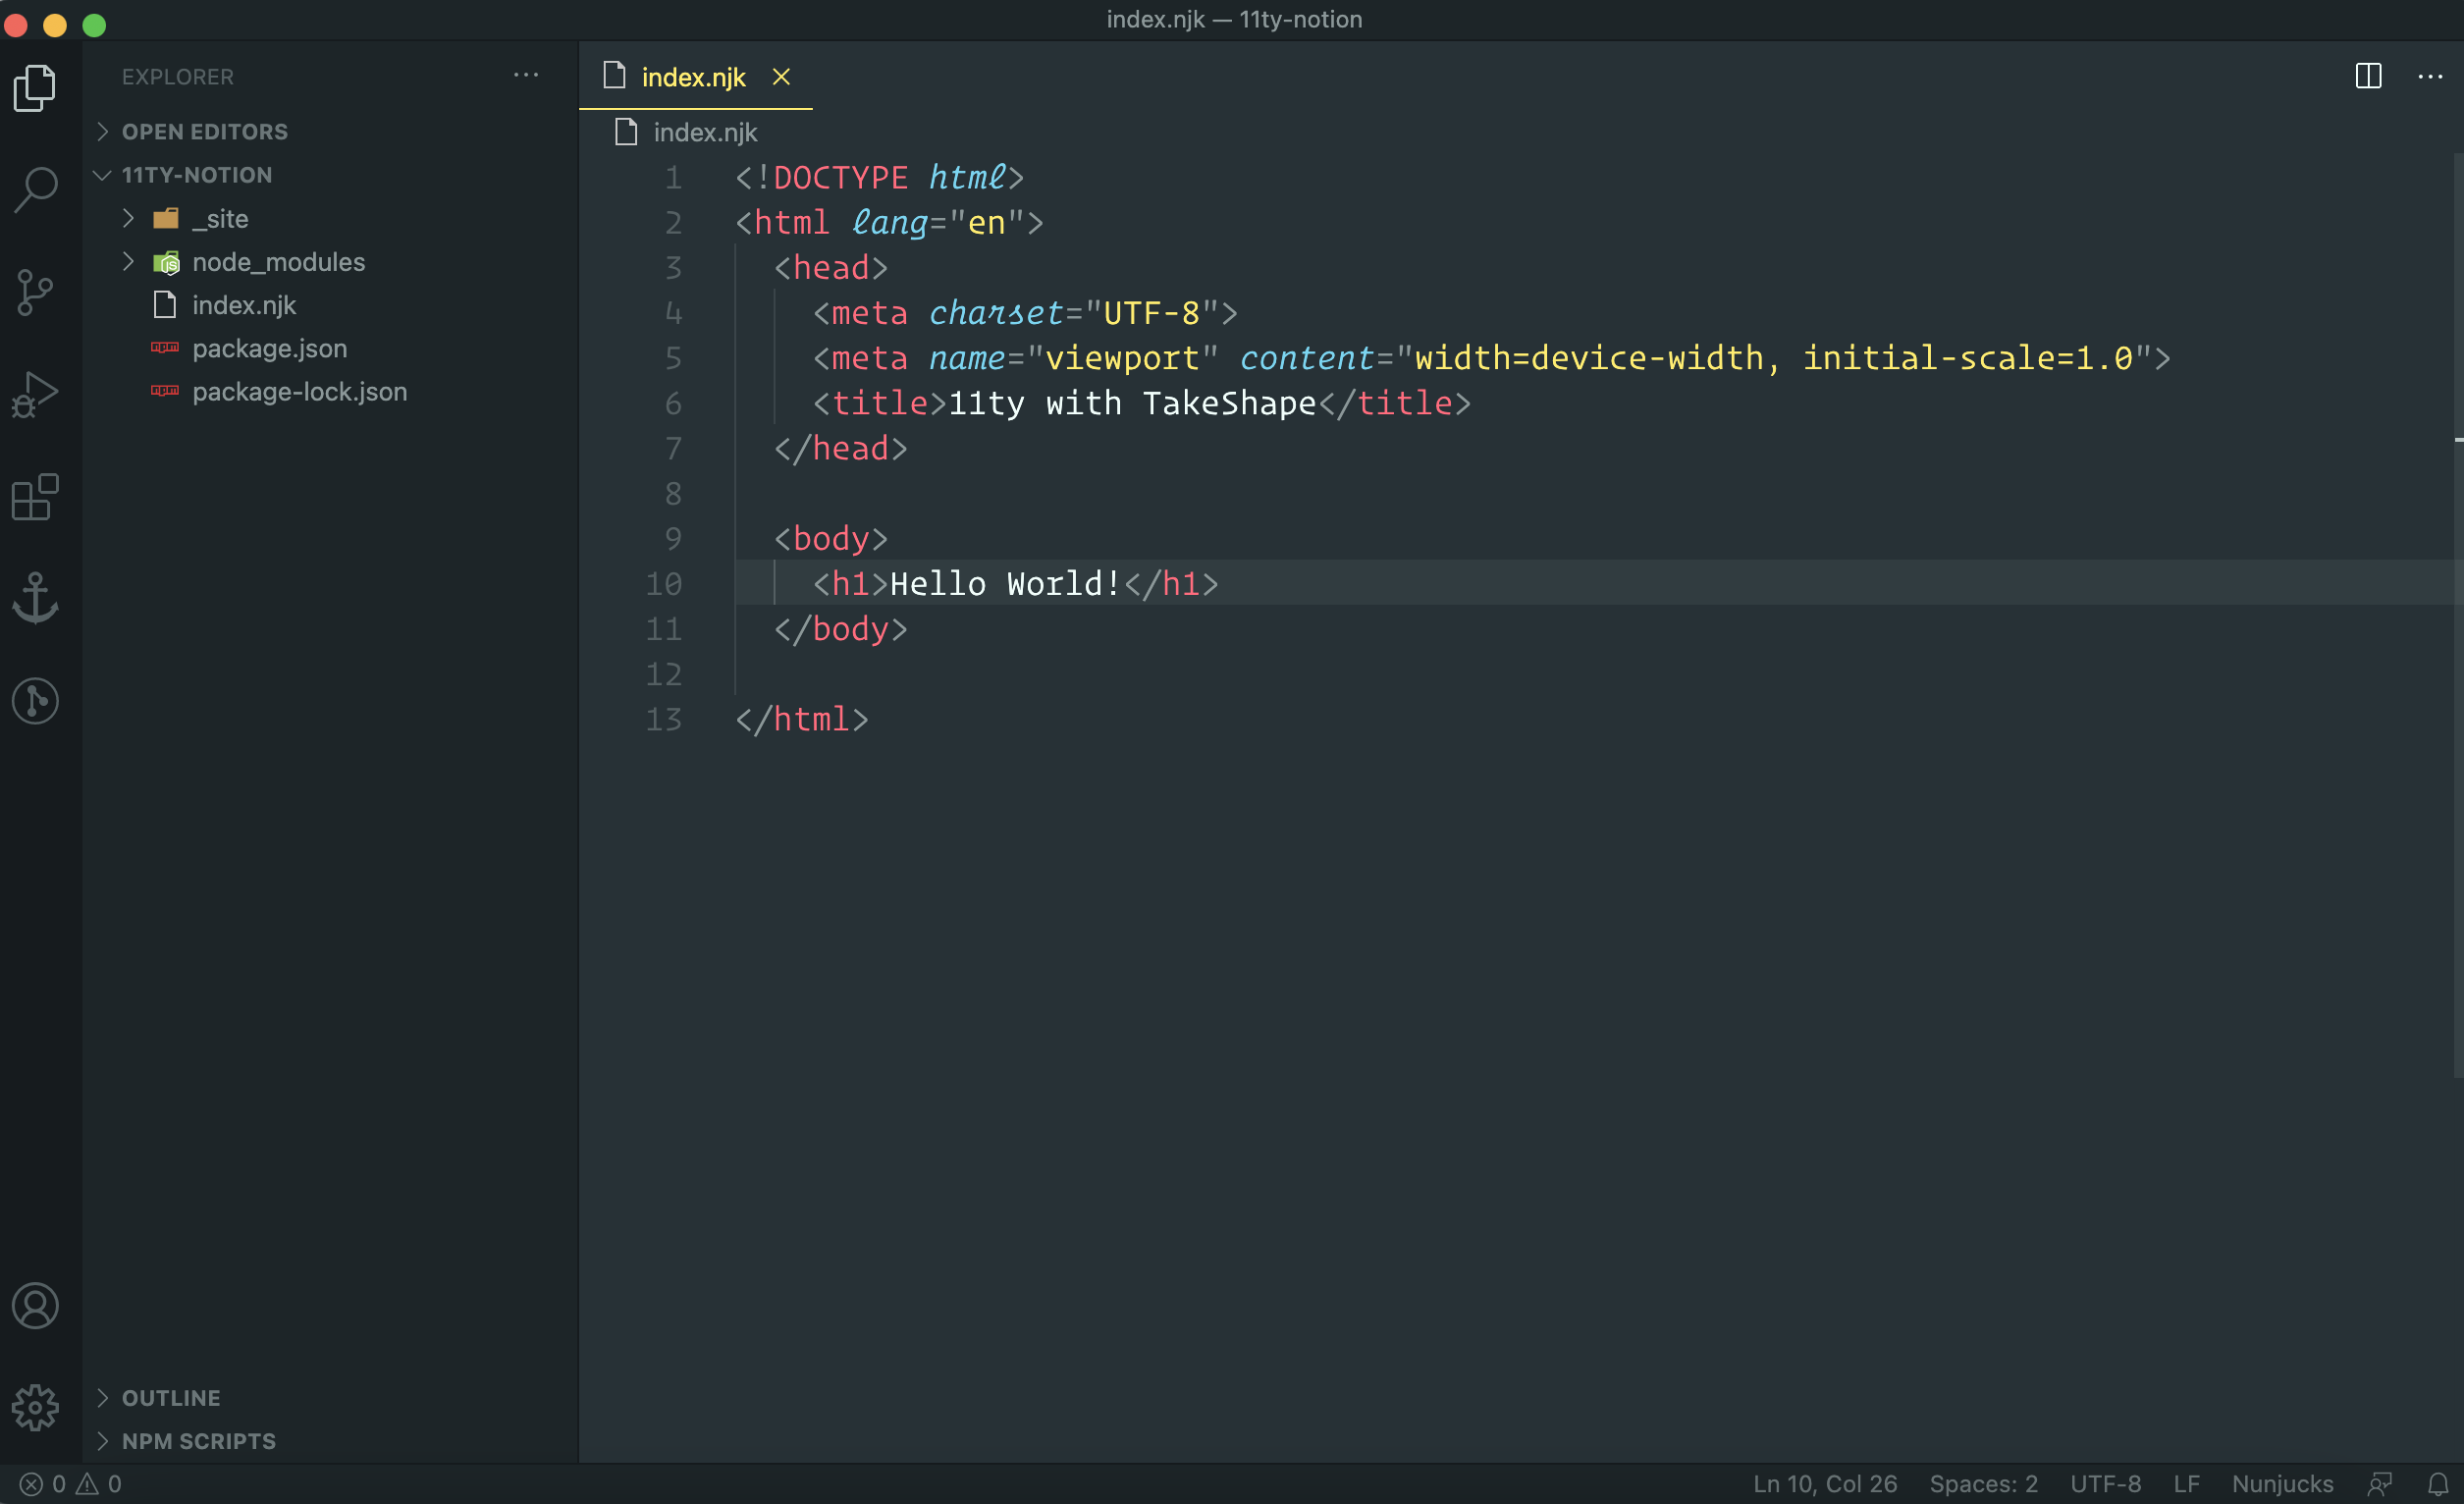
If you head back to your text-editor, you'll see that Eleventy created a _site folder. This folder will compile all of our Nunjucks files and transform them to static .html files. If you open the _site folder, and look inside of index.html, you'll see a good old fashion transformed html file.
Creating a layout
In Eleventy, layouts are special templates that can be used to wrap other content. With this, we're going to create a navbar layout that we can re-use throughout our whole app. To do this, create a folder called _includes and inside of that folder, create a file called navbar.njk.
The _includes folder is a special folder in Eleventy that is meant to hold layouts, css, etc.. By default, the name of the folder will be _includes but you can name it whatever you like. You just have to configure it in Eleventy's configuration file (.eleventy.js)
To re-name that folder, you can read more about that here.
Note: You can also re-name your _site folder to what ever you want through .eleventy.js
_includes > navbar.njk

<!DOCTYPE html>
<html lang="en">
  <head>
    <meta charset="UTF-8">
    <meta name="viewport" content="width=device-width, initial-scale=1.0">
    <title>11ty with TakeShape</title>
  </head>

  <body>
    <section>
      <nav class="navbar">
        <div>
          <a href="/">
            <p class="links">Home</p>
          </a>
        </div>

        <div>
          <a href="/project">
            <p class="links">Projects</p>
          </a>
        </div>

        <div>
          <a href="/blog">

            <p class="links">Blogs</p>
          </a>
        </div>

      </nav>
    </section>

    <section>
      {{content | safe}}
    </section>
  </body>

</html>
Note:
contentWill populate the content data with the child template’s contentsafeWon’t double-escape the output
Using the layout
To use the navbar layout, head back to the index.njk file and add the following:
---
layout: navbar.njk
---

<!DOCTYPE html>
<html lang="en">
  <head>
    <meta charset="UTF-8">
    <meta name="viewport" content="width=device-width, initial-scale=1.0">
    <title>11ty with TakeShape</title>
  </head>

  <body>
    <h1>Hello World!</h1>
  </body>

</html>
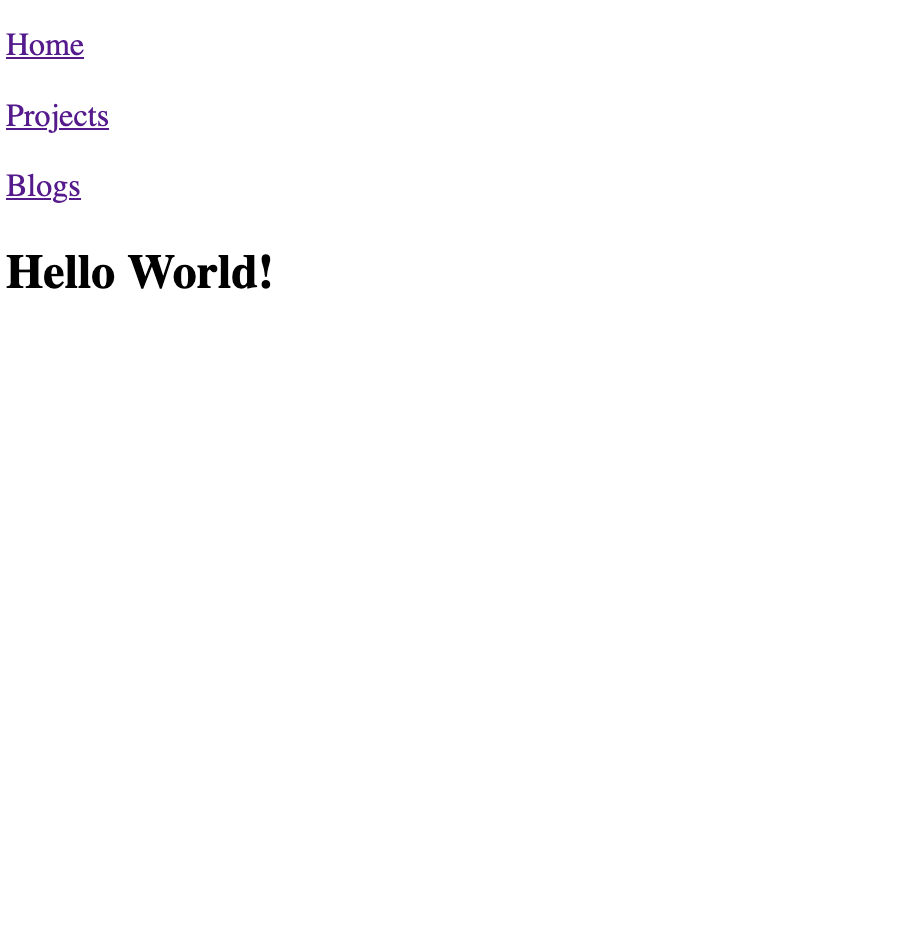
Save it and you should see the following:
Building the landing page
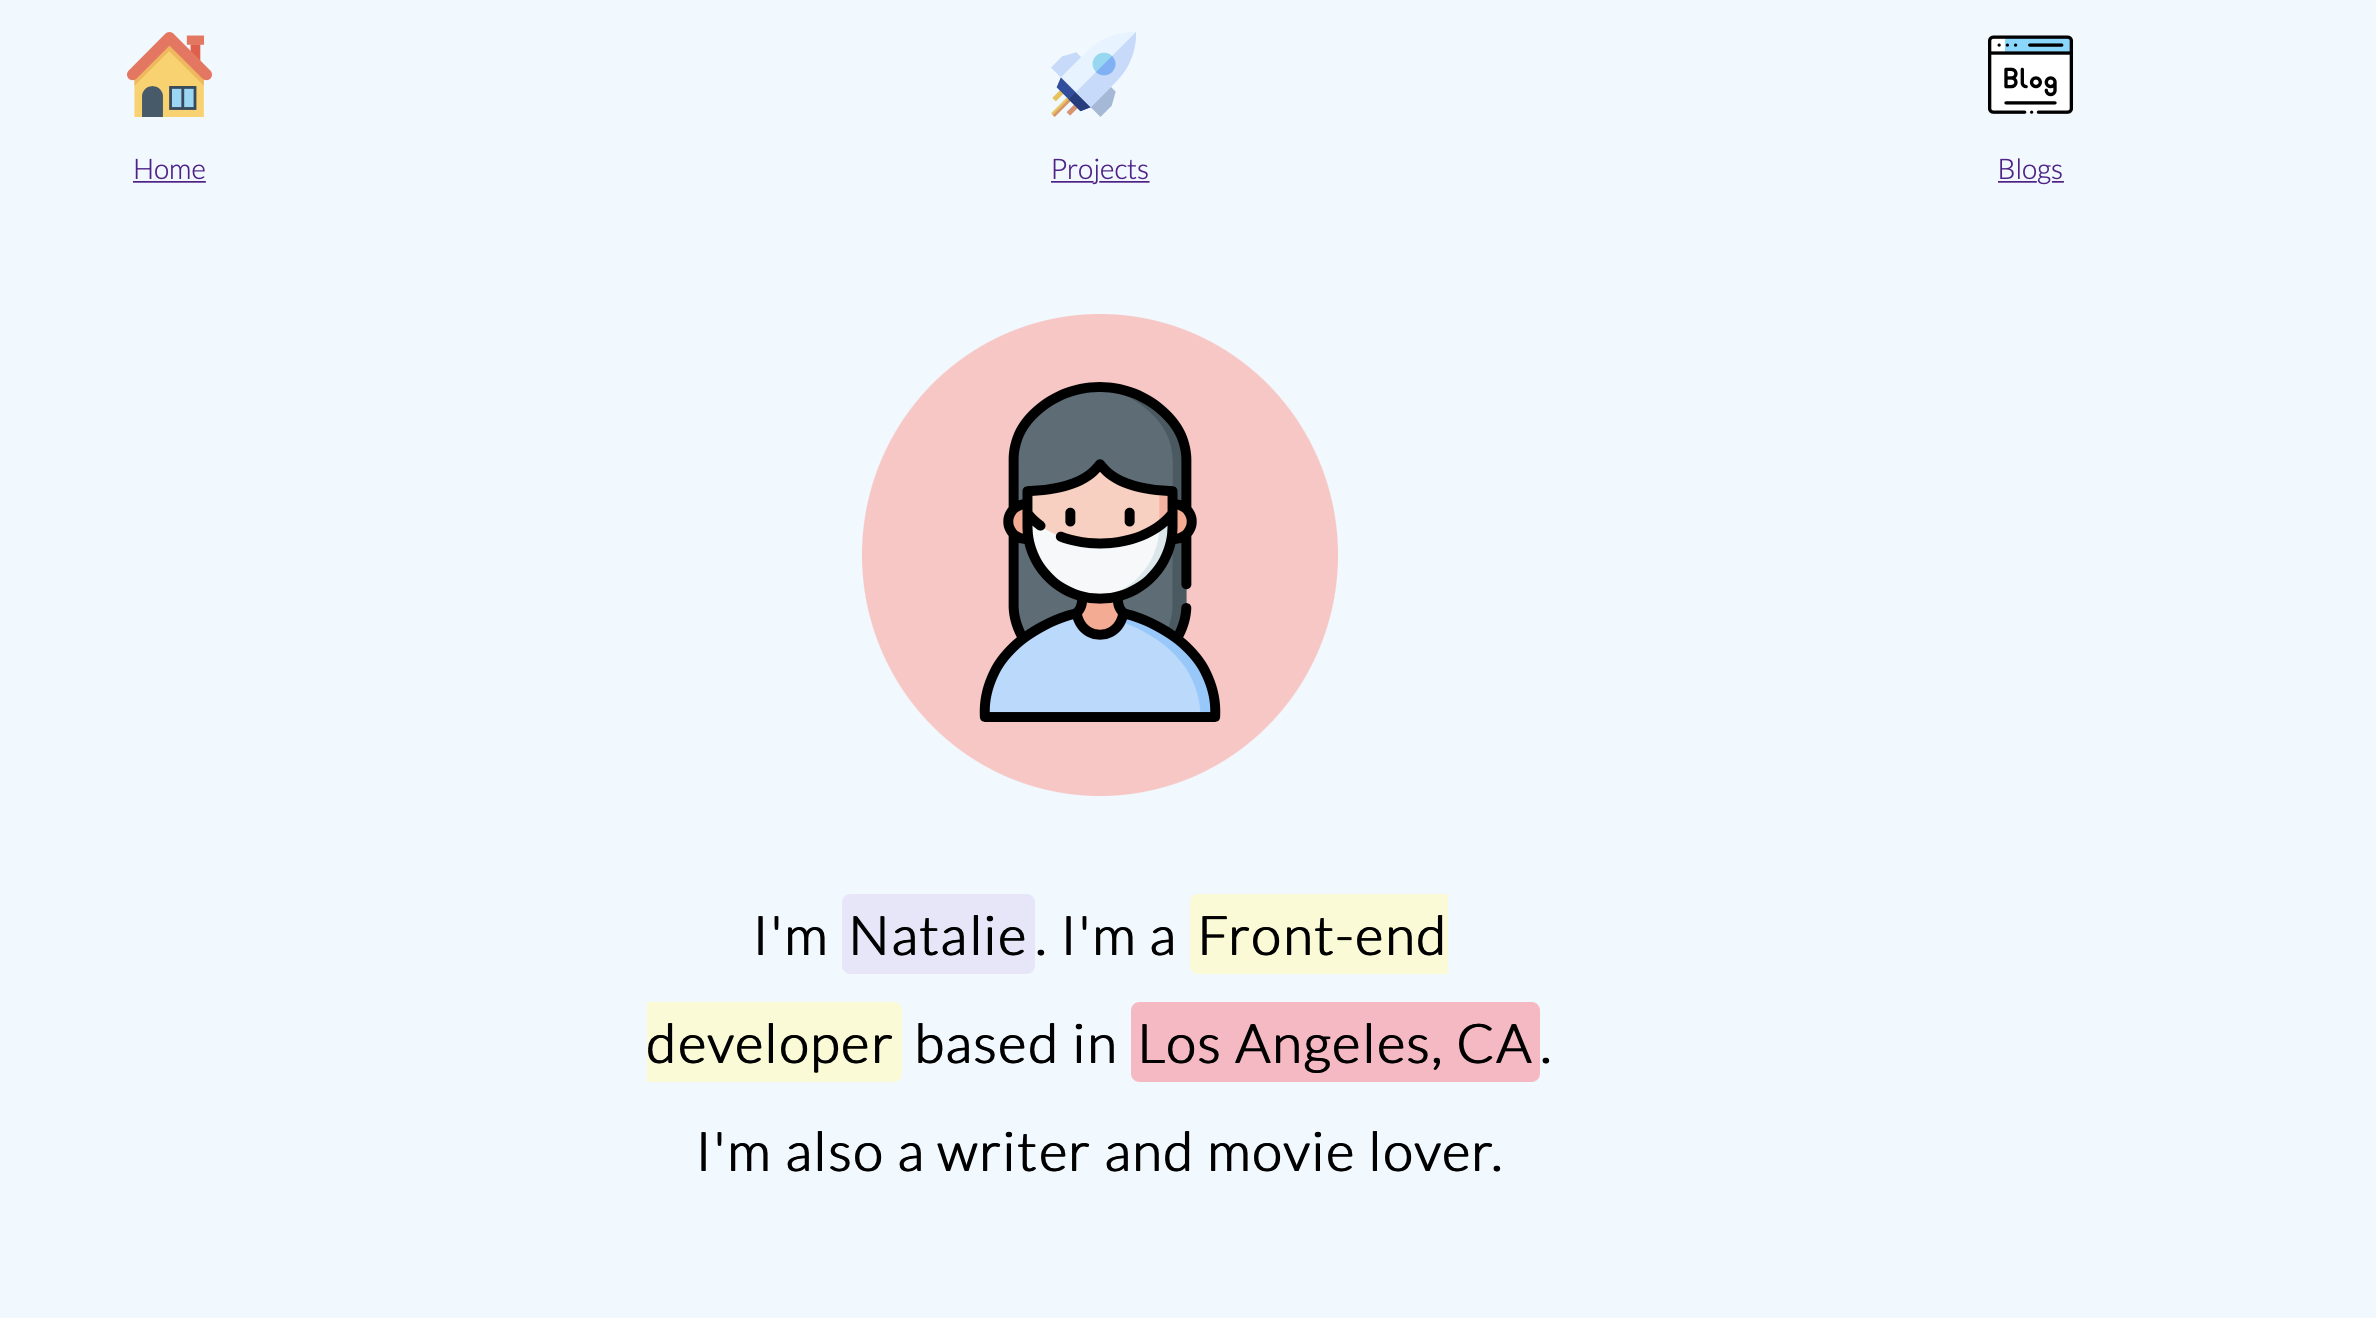
Configuring CSS in 11ty
Now that we have our navbar layout, let's add some CSS to make it look like a navbar. Since this is a small project, we're going to use inlined minifiedCSS.
In your terminal, we're going to install a package called clean-css that will make the CSS minifier available in your project
npm install clean-cssOnce installed, we'll need to add the cssmin filter to our Eleventy Config file. At the root of your project, create a file called .eleventy.js and add the following:
const CleanCSS = require("clean-css");

module.exports = function(eleventyConfig) {
  eleventyConfig.addFilter("cssmin", function(code) {
    return new CleanCSS({}).minify(code).styles;
  });
};
In your _includes folder, create a folder called css and a file called navbar.css. Add the following:
body {
  font-family: fantasy;
}
In your navbar.njk file inside the _includes folder, add the following inside the <head/>:
<head>
<!-- capture the CSS content as a Nunjucks variable -->
    {% set css %}
    {% include "css/navbar.css" %}
    {% endset %}
    <!-- feed it through our cssmin filter to minify -->
    <style>
      {{css | cssmin | safe}}
    </style>
</head>
. . .
Save it and head back to the browser, you should see the font change
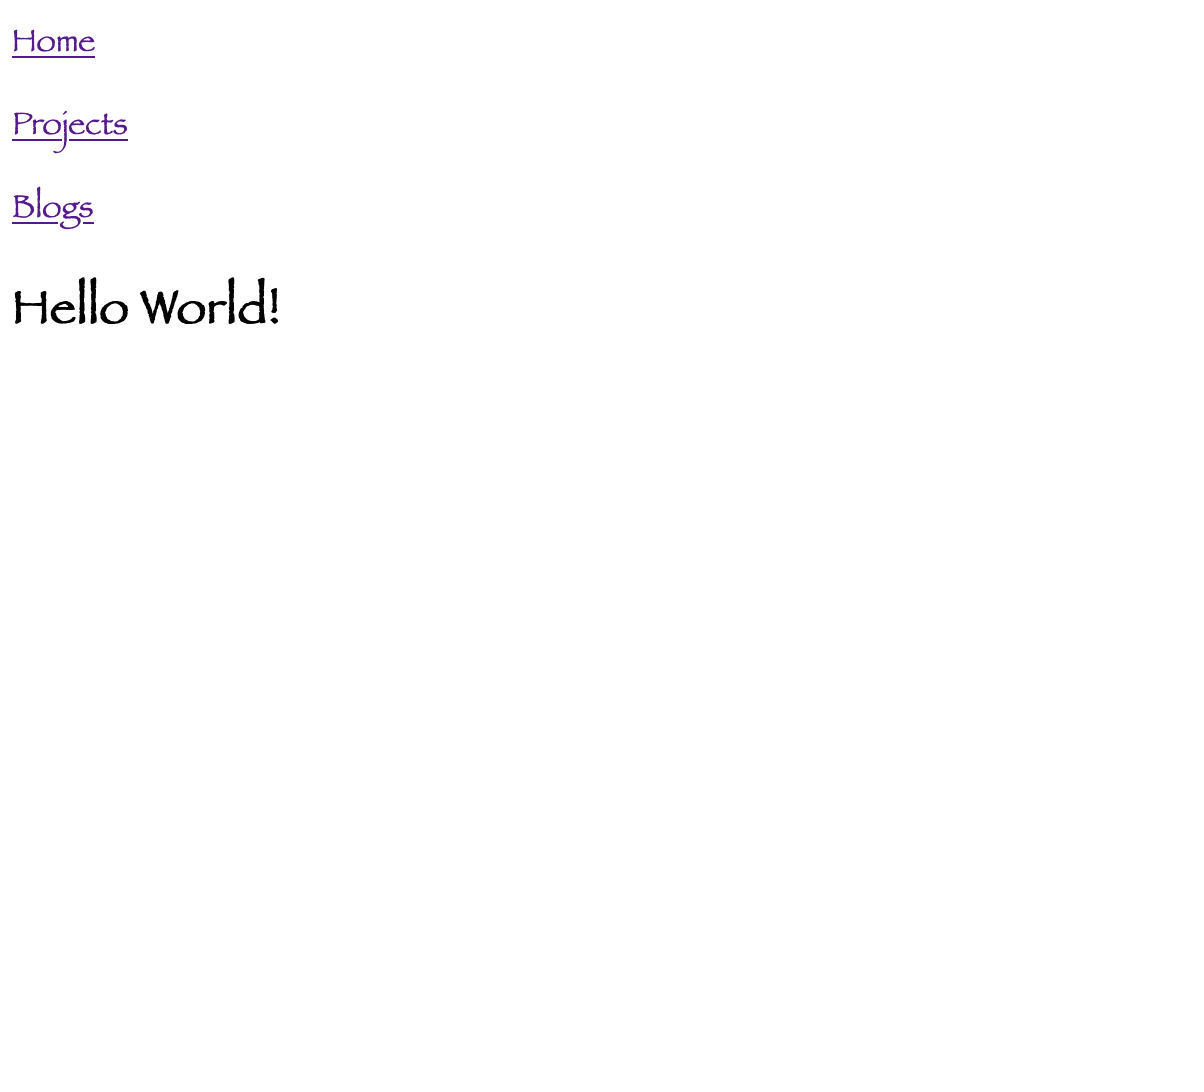
Building the navbar
First, let's grab some svg icons from Flat Icons and use them in our navbar.njk file. To do this, create a folder at the root called img and go ahead and download some svgs and place them inside the img folder.
Now, we're going to need to tell Eleventy to include this folder inside of the _site folder. To do this, head into the .eleventy.js file and add the following:
const CleanCSS = require('clean-css');

module.exports = function (eleventyConfig) {
  eleventyConfig.addFilter('cssmin', function (code) {
    return new CleanCSS({}).minify(code).styles;
  });

  // Copy `img/` to `_site/img`
  eleventyConfig.addPassthroughCopy('img'); <------- Add this
};
Back to your navbar.njk file, add the following:
<!DOCTYPE html>
<html lang="en">
  <head>
    <meta charset="UTF-8">
    <meta name="viewport" content="width=device-width, initial-scale=1.0">
    <title>11ty with TakeShape</title>

    <!-- capture the CSS content as a Nunjucks variable -->
    {% set css %}
    {% include "css/navbar.css" %}
    {% endset %}
    <!-- feed it through our cssmin filter to minify -->
    <style>
      {{css | cssmin | safe}}
    </style>

  </head>

  <body>
    <section>
      <nav class="navbar">

        <div>
          <a href="/">
            <img class="nav-icon" src="../img/home-run.svg" alt="home icon"/>
            <p class="links">Home</p>
          </a>
        </div>

        <div>
          <a href="/project">
            <img class="nav-icon" src="../img/project.svg" alt="project icon"/>
            <p class="links">Projects</p>
          </a>
        </div>

        <div>
          <a href="/blog">
            <img class="nav-icon" src="../img/blog.svg" alt="blog icon"/>
            <p class="links">Blogs</p>
          </a>
        </div>
      </nav>
    </section>

    <section>
      {{content | safe}}
    </section>
  </body>

</html>
Now head into your navbar.css file and add the following:
@import url('https://fonts.googleapis.com/css2?family=Lato:wght@300&display=swap');

body {
  font-family: 'Lato', sans-serif;
  background: aliceblue;
}

.navbar {
  display: flex;
  justify-content: space-around;
  list-style-type: none;
  padding: 20px;
}

.nav-icon {
  width: 50px;
  height: 50px;
}

.links {
  text-align: center;
}
Save it and head back to the browser. You should see this:
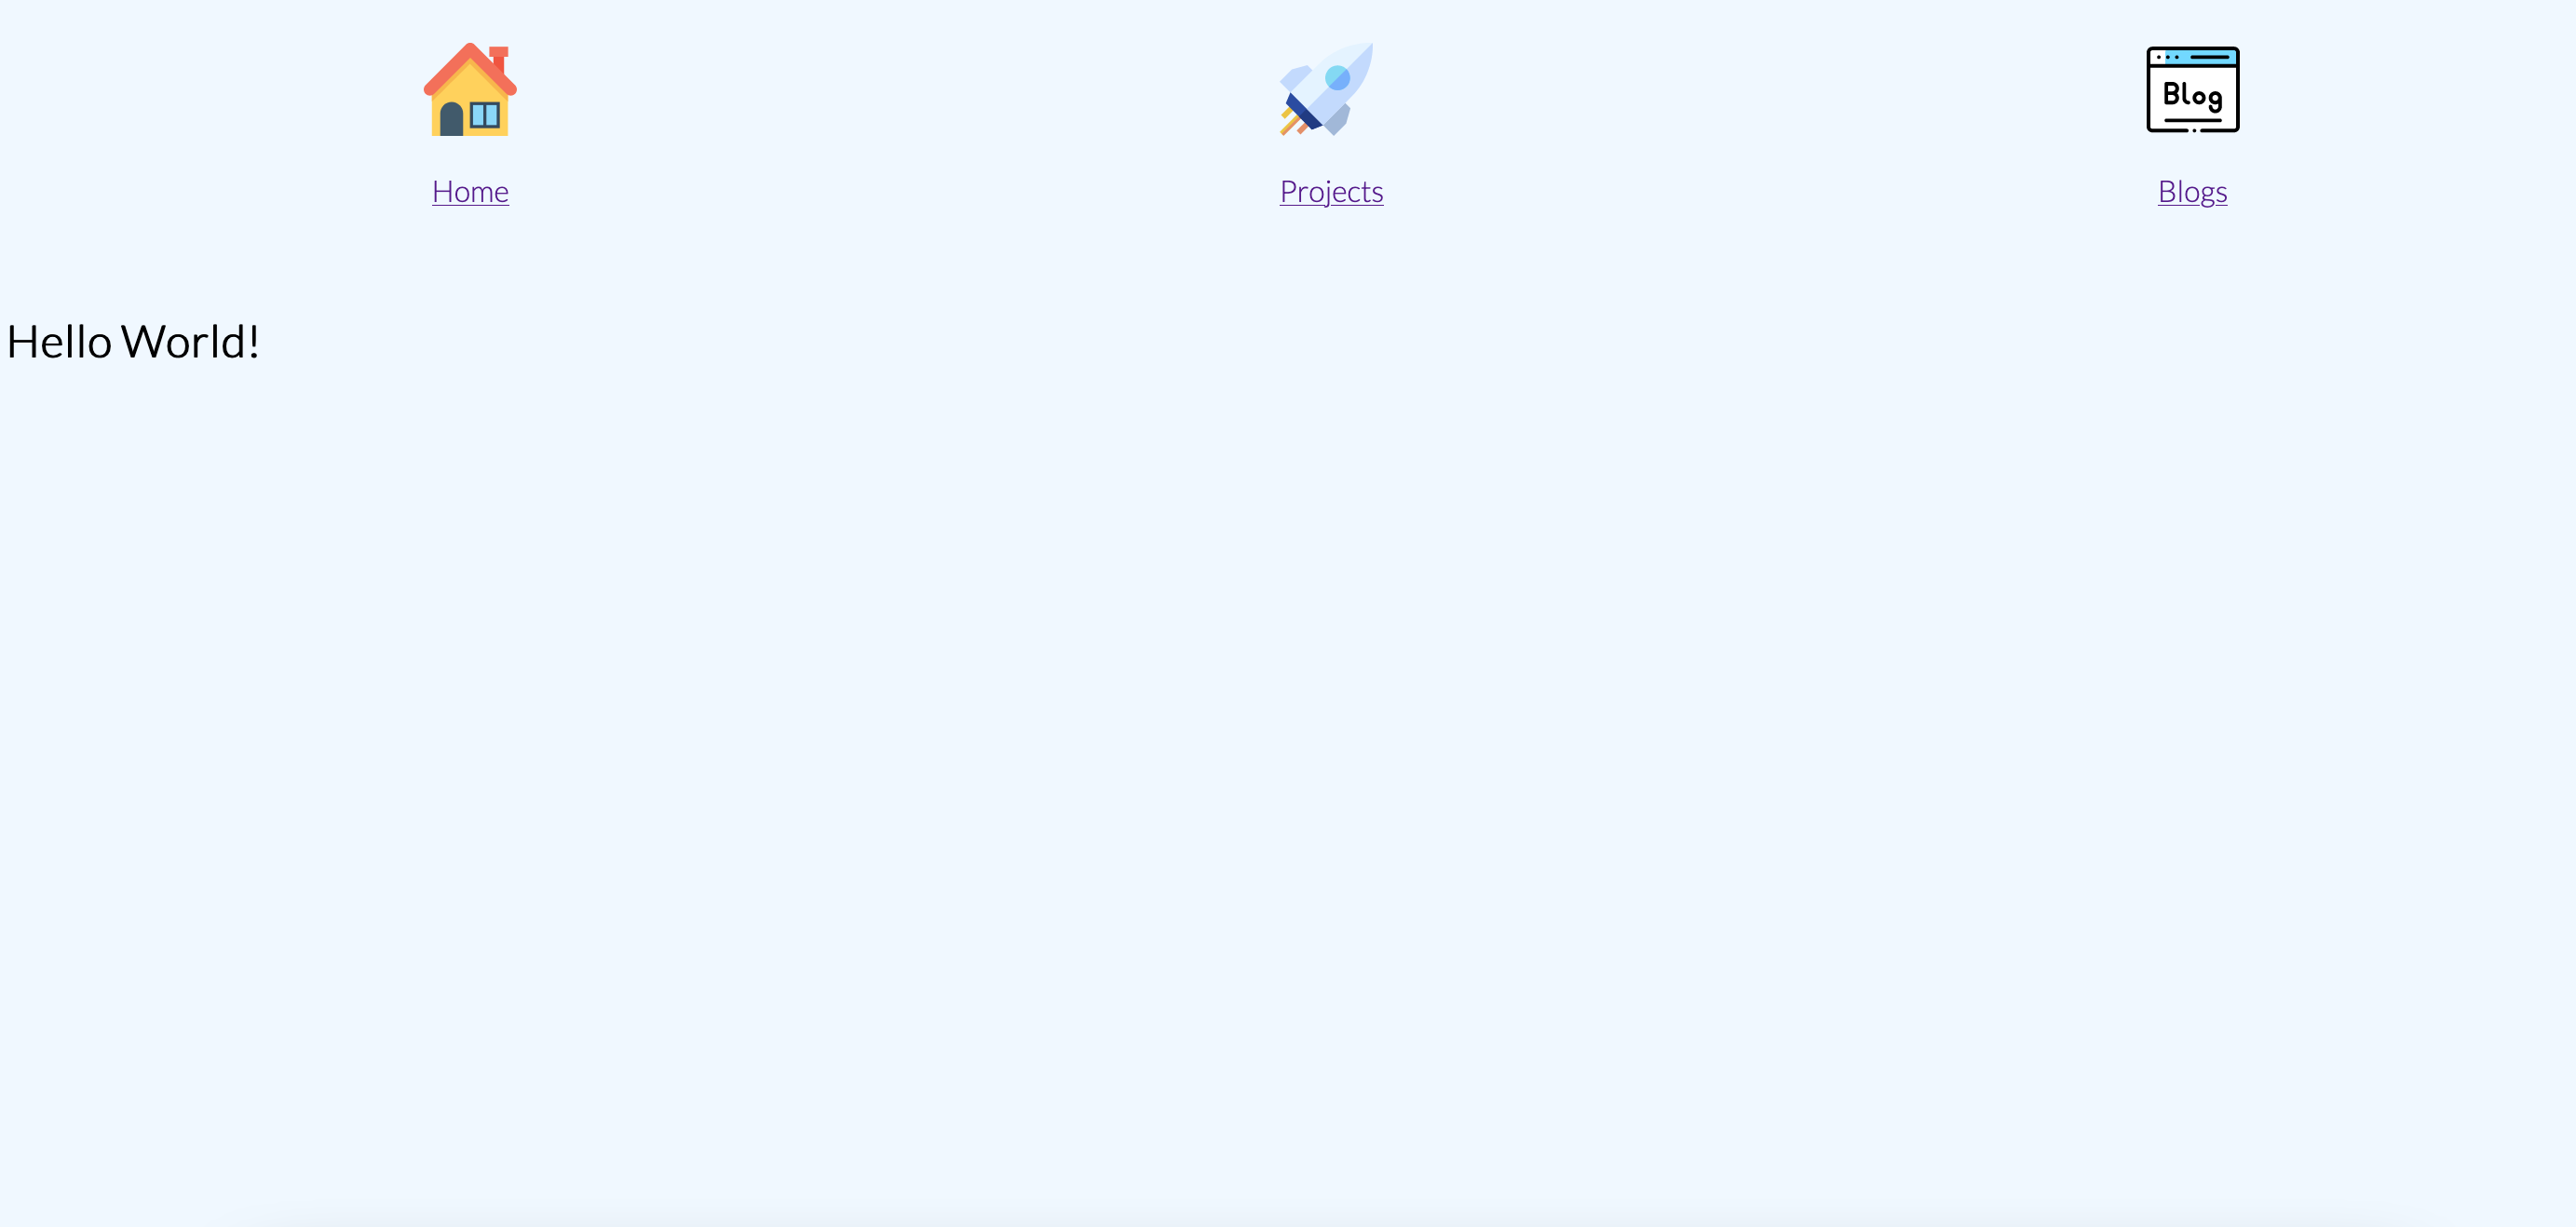
Creating the profile
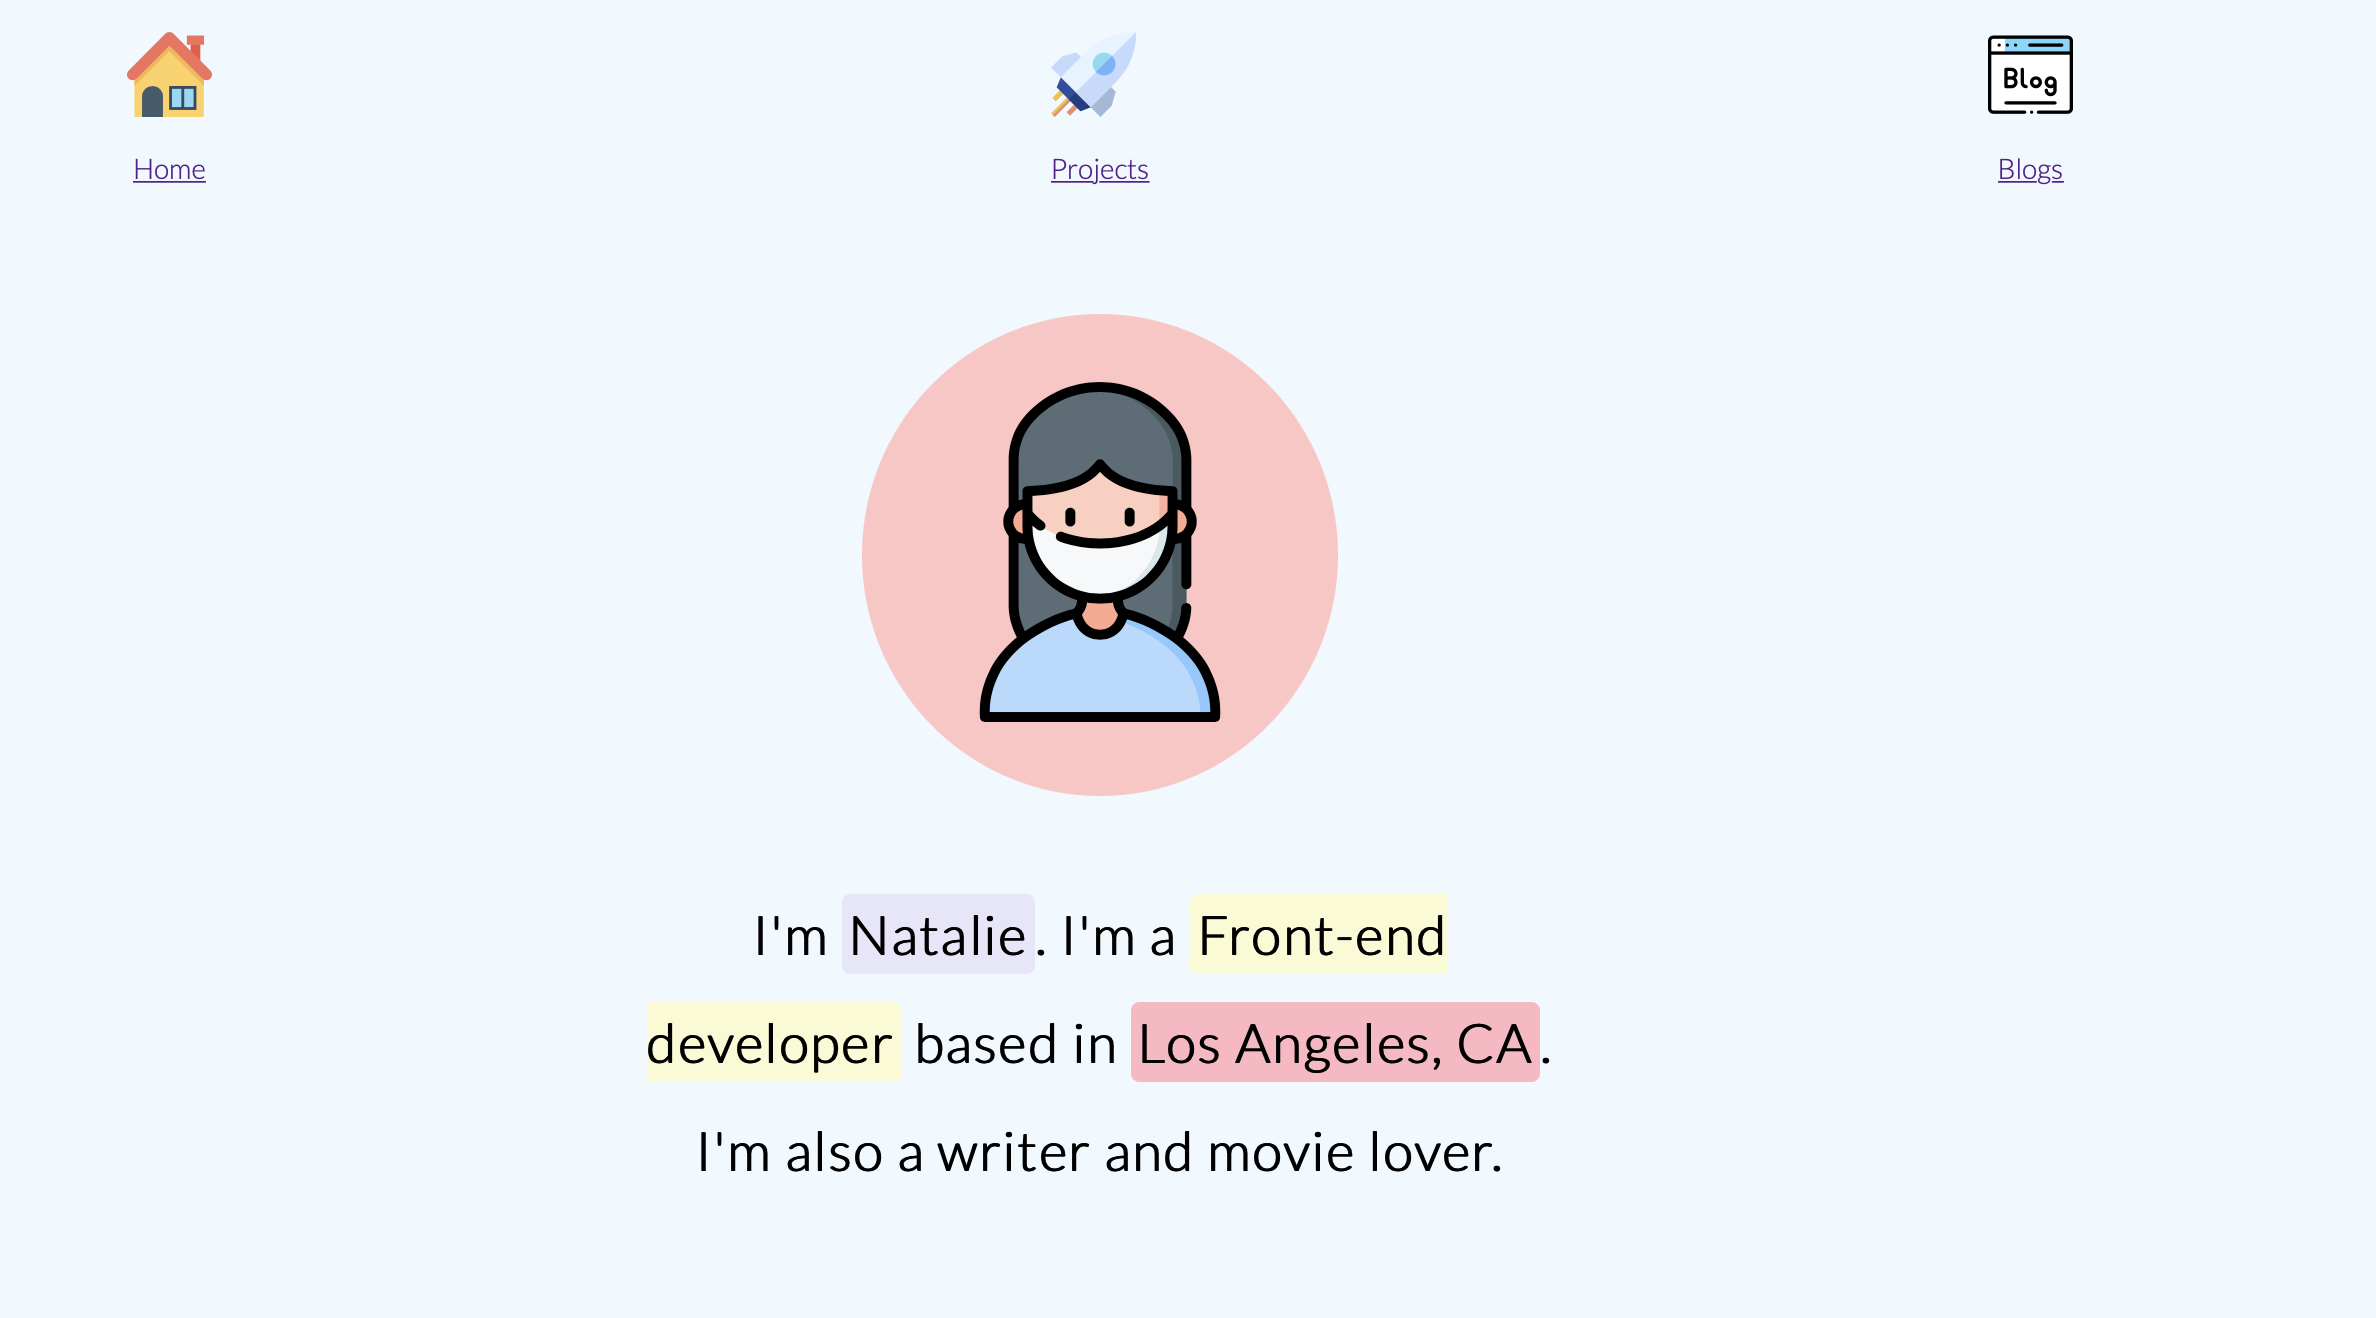
At the root, in your index.njk file, add the following
---
layout: navbar.njk
---

<!DOCTYPE html>
<html lang="en">

  <head>
    <meta charset="UTF-8">
    <meta name="viewport" content="width=device-width, initial-scale=1.0">
    <title>11ty with TakeShape - 🏡</title>

    <!-- capture the CSS content as a Nunjucks variable -->
    {% set css %}
    {% include "css/index.css" %}
    {% endset %}
    <!-- feed it through our cssmin filter to minify -->
    <style>
      {{css | cssmin | safe}}
    </style>
  </head>

  <body>

    <section class="container">
      <div class="profile">
        <img src="./img/woman.svg"/>
      </div>

      <h1>I'm
        <span class="name">Natalie</span>. I'm a
        <span class="dev">Front-end developer</span>
        based in
        <span class="location">Los Angeles, CA</span>. I'm also a writer and movie lover.</h1>
    </section>

    <footer class="footer">
      <p>Made with ❤️</p>
      <div>Home Icon made by
        <a href="https://www.flaticon.com/authors/vectors-market" title="Vectors Market">Vectors Market</a>
        from
        <a href="https://www.flaticon.com/" title="Flaticon">www.flaticon.com</a>
      </div>
      <div>Project Icon made by
        <a href="http://www.freepik.com/" title="Freepik">Freepik</a>
        from
        <a href="https://www.flaticon.com/" title="Flaticon">www.flaticon.com</a>
      </div>
      <div>Blog Icon made by
        <a href="https://www.flaticon.com/authors/freepik" title="Freepik">Freepik</a>
        from
        <a href="https://www.flaticon.com/" title="Flaticon">www.flaticon.com</a>
      </div>
      <div>Women Icon made by
        <a href="http://www.freepik.com/" title="Freepik">Freepik</a>
        from
        <a href="https://www.flaticon.com/" title="Flaticon">www.flaticon.com</a>
      </div>
    </footer>
  </body>

</html>
Inside the _includes folder, create a new file called index.css inside of the css folder and add the following:
.container {
  display: grid;
  place-items: center;
  padding: 40px;
}

.profile {
  padding: 40px;
  background: #ffc5c4;
  border-radius: 50%;
}

.profile > img {
  width: 200px;
}

.container > h1 {
  margin: 50px;
  font-size: 2em;
  text-align: center;
  width: 550px;

  line-height: 200%;
}

.name {
  color: black;
  background: lavender;
  border-radius: 5px;
  padding: 4px;
}

.dev {
  color: black;
  background: lightgoldenrodyellow;
  border-radius: 5px;
  padding: 4px;
}

.location {
  color: black;
  background: lightpink;
  border-radius: 5px;
  padding: 4px;
}

.footer {
  display: grid;
  place-items: center;
}
Building the project page
Creating .env variables
In order to use .env variables in Eleventy, we're going to need to usse the dotenv package. In your terminal, run the following command:
npm i dotenvNow, in your .eleventy.js file, add the following:
require('dotenv').config(); <---- Add this

module.exports = () => {. . .}
Next, we'll need to obtain our TakeShape API Key and Project ID. To do that:
1. Login to your TakeShape account
2. Under your project's name, click API Keys
3. Click New API Key to obtain the key and under API Endpoint, you should see your project id
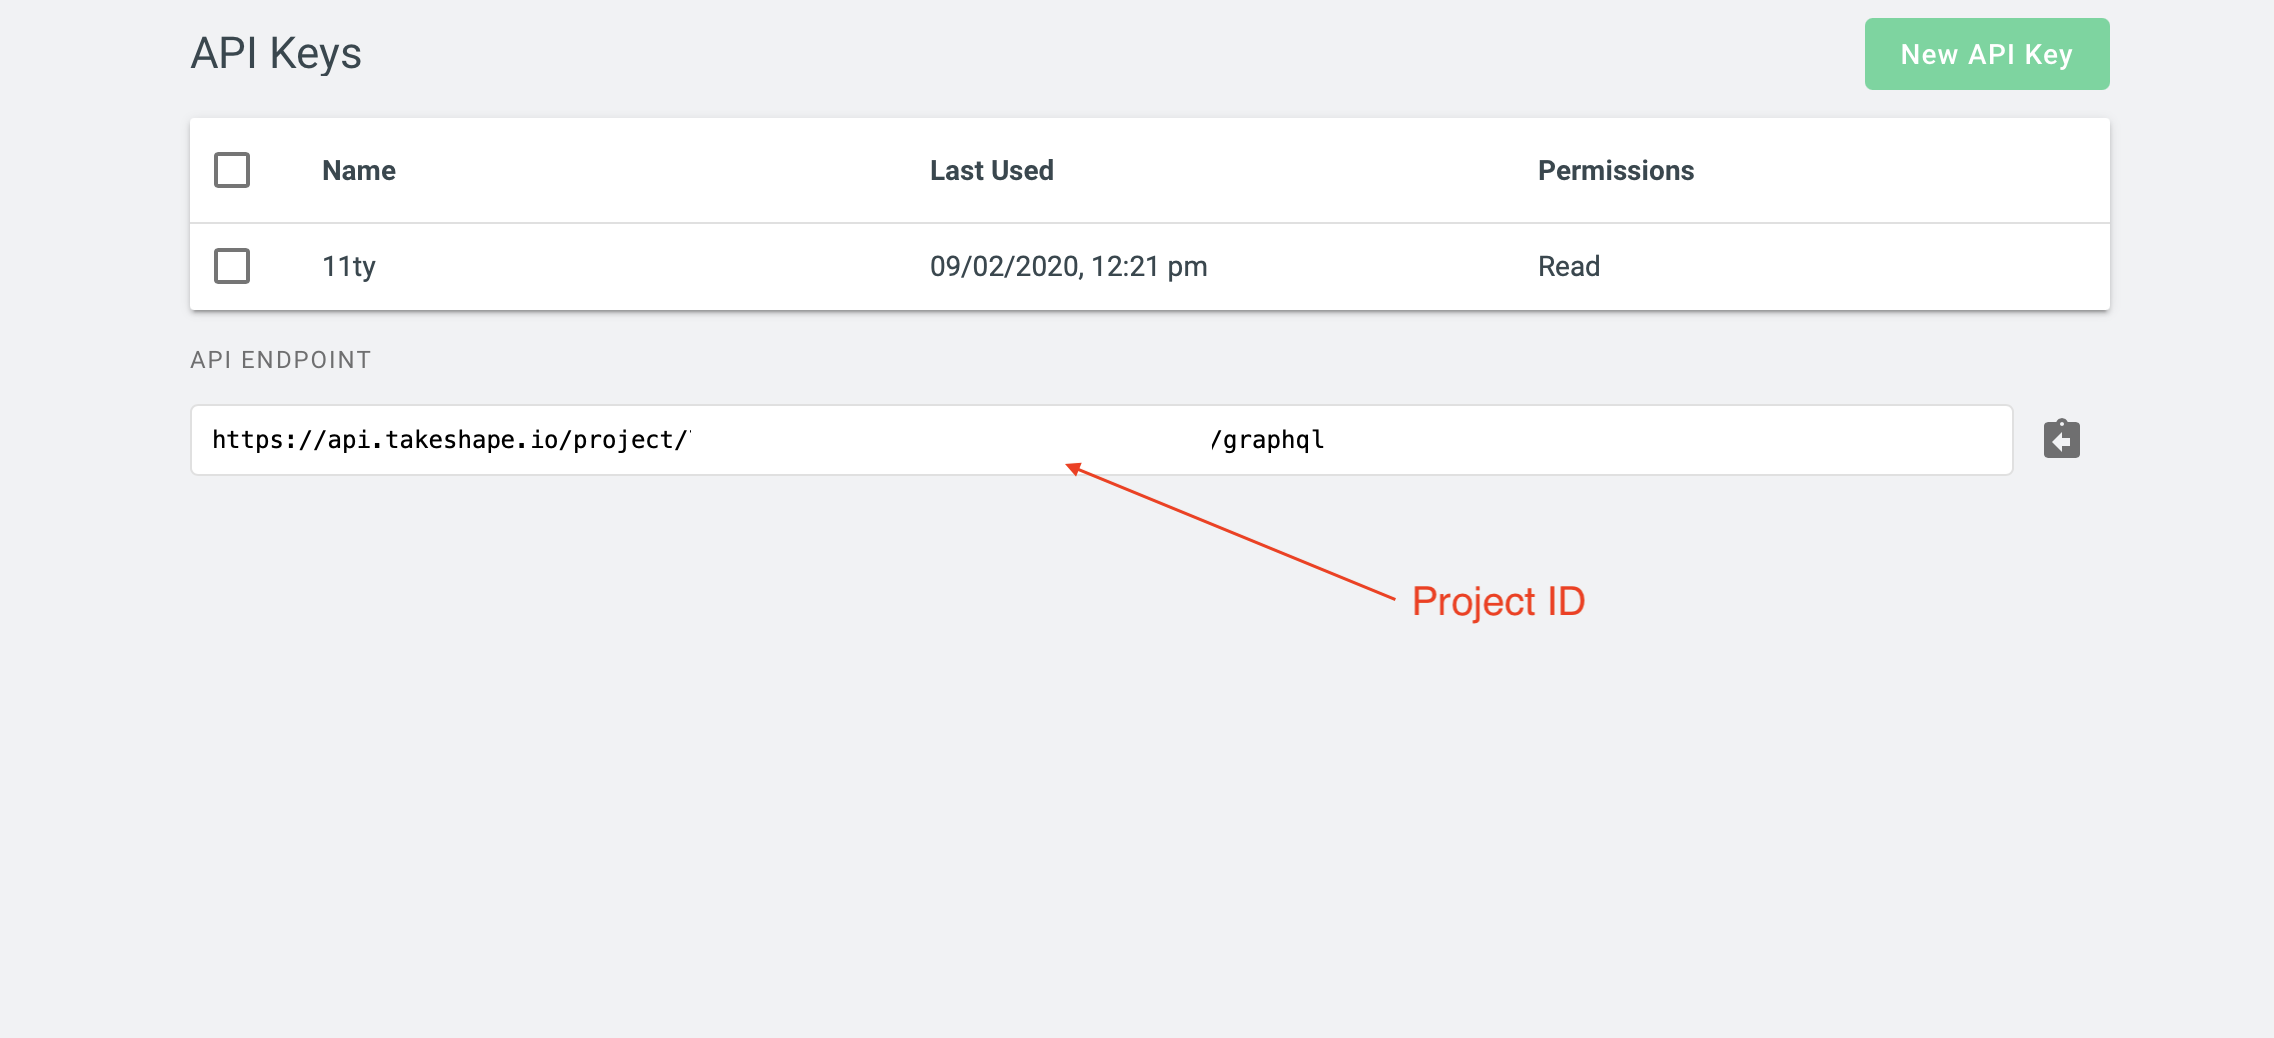
At the root of your project, create a file called .env and paste in your TakeShape API Key and Project ID.
TAEKSHAPE_API_KEY=123
TAEKSHAPE_PROJECT_ID=123
Fetching the projects
At the root of your project, create a folder called _data. Create a file inside of _data called projects.js and add the following:
const fetch = require('node-fetch');

const key = process.env.API_KEY;
const projectId = process.env.PROJECT_ID;

const endponit = `https://api.takeshape.io/project/${projectId}/graphql`;

module.exports = async () => {
  const getProjects = await fetch(endponit, {
    method: 'POST',
    headers: {
      'Content-Type': 'application/json',
      Accept: 'application/json',
      Authorization: `Bearer ${key}`,
    },
    body: JSON.stringify({
      query: `
        {
          getProjectList {
            items {
              name
              description
              startDate
              endDate
              client {
                name
              }
            }
          }
        }
      `,
    }),
  });
  const response = await getProjects.json();

  return response.data.getProjectList.items;
};
The _data folder is a special folder in Eleventy that holds everything related to data fetching.
Note: Similar to _includes and _site, you can also re name your _datafile. Just configure it in .eleventy.js file.
We also need to install [node-fetch](<https://www.npmjs.com/package/node-fetch>). To do that, head to your terminal and run the following command:
npm i node-fetchNow, let's make a project page. At the root of your project, create a file called project.njk and add the following:
---
data: projects <--- Coming from _data/projects.js -->
layout: navbar.njk
---

<!DOCTYPE html>
<html lang="en">

  <head>
    <meta charset="UTF-8">
    <meta name="viewport" content="width=device-width, initial-scale=1.0">
    <title>11ty with TakeShape</title>

    <!-- capture the CSS content as a Nunjucks variable -->
    {% set css %}
    {% include "css/project.css" %}
    {% endset %}
    <!-- feed it through our cssmin filter to minify -->
    <style>
      {{css | cssmin | safe}}
    </style>
  </head>

  <body>
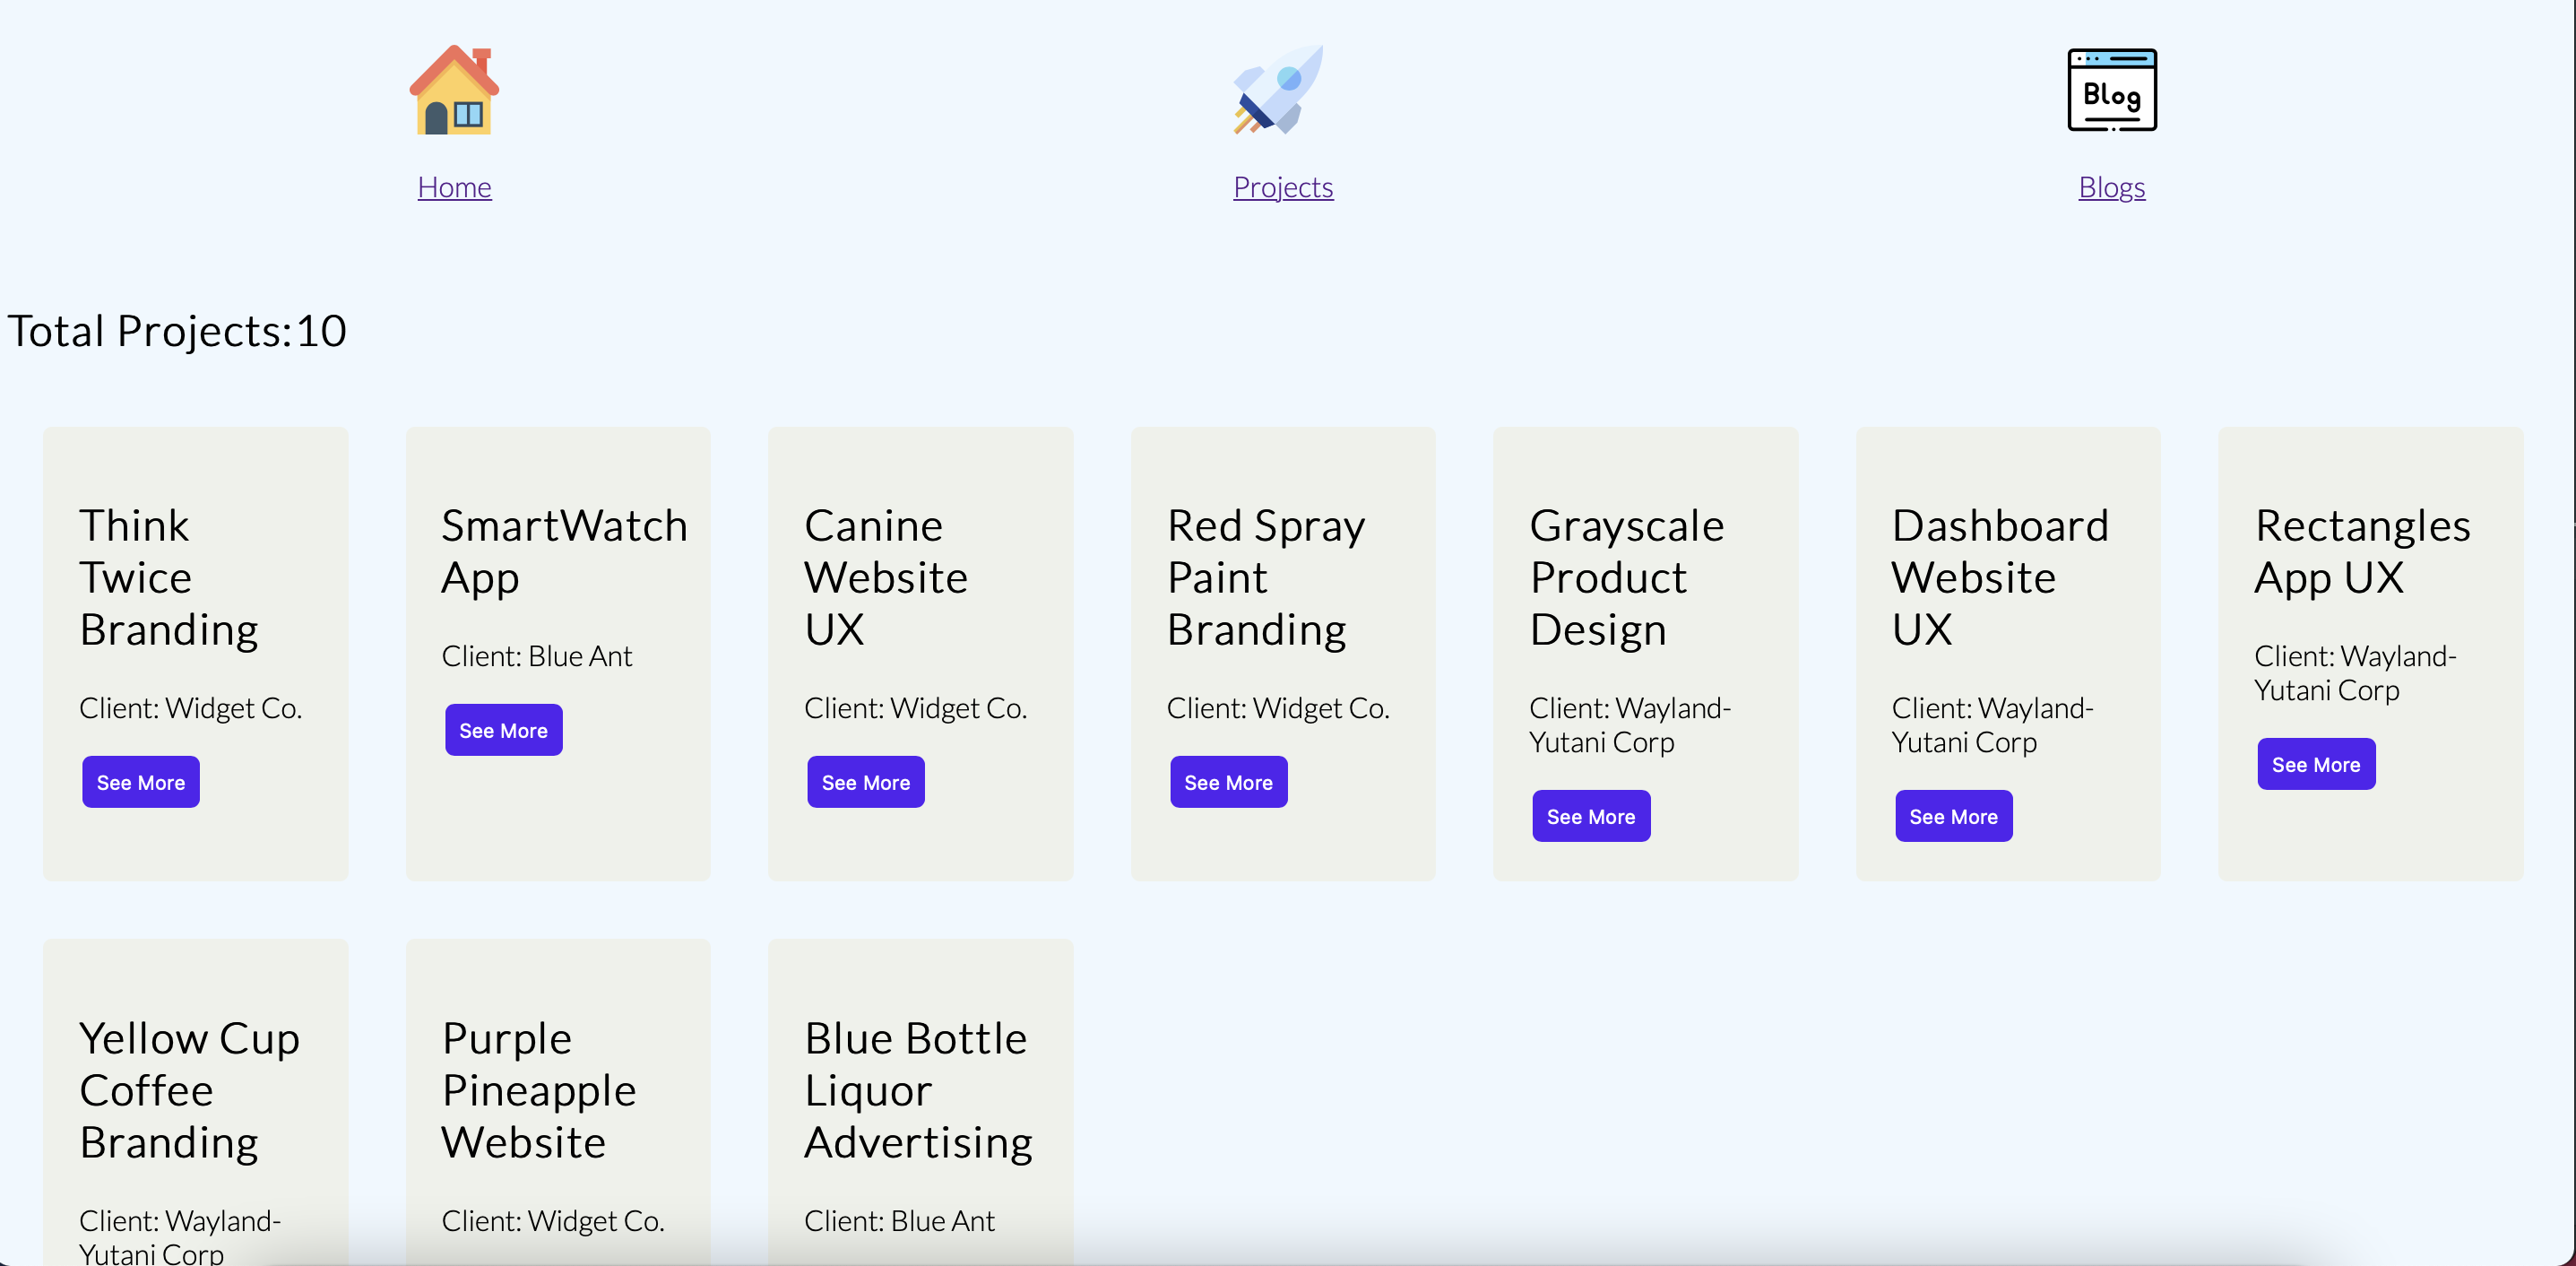
    <h1>Total Projects:{{projects.length}}</h1>
    <div class="card-container">
      {% for project in projects %}

        <div class="card">
          <h1>{{ project.name }}</h1>
          <p>Client:
            {{project.client.name}}</p>

         <button class="card-btn">See More</button>

        </div>

      {% else %}
        <li>Projects coming soon...</li>
      {% endfor %}
    </div>

  </body>

</html>
Adding CSS
In the _includes folder, create a new file called project.css inside of the css folder. Add the following:
.card-container {
  display: grid;
  grid-template-columns: repeat(auto-fit, minmax(150px, 1fr));
  grid-gap: 2rem;
  padding: 20px;
}

.card {
  background: #eef1ea;
  padding: 20px;
  border-radius: 5px;
}

.card-btn {
  padding: 5px;
  border: 3px solid;
  border-color: #5510f1;
  background-color: #5510f1;
  border-radius: 5px;
  color: white;
  cursor: pointer;
}

.card-btn:hover {
  background: #eef1ea;
  color: black;
}
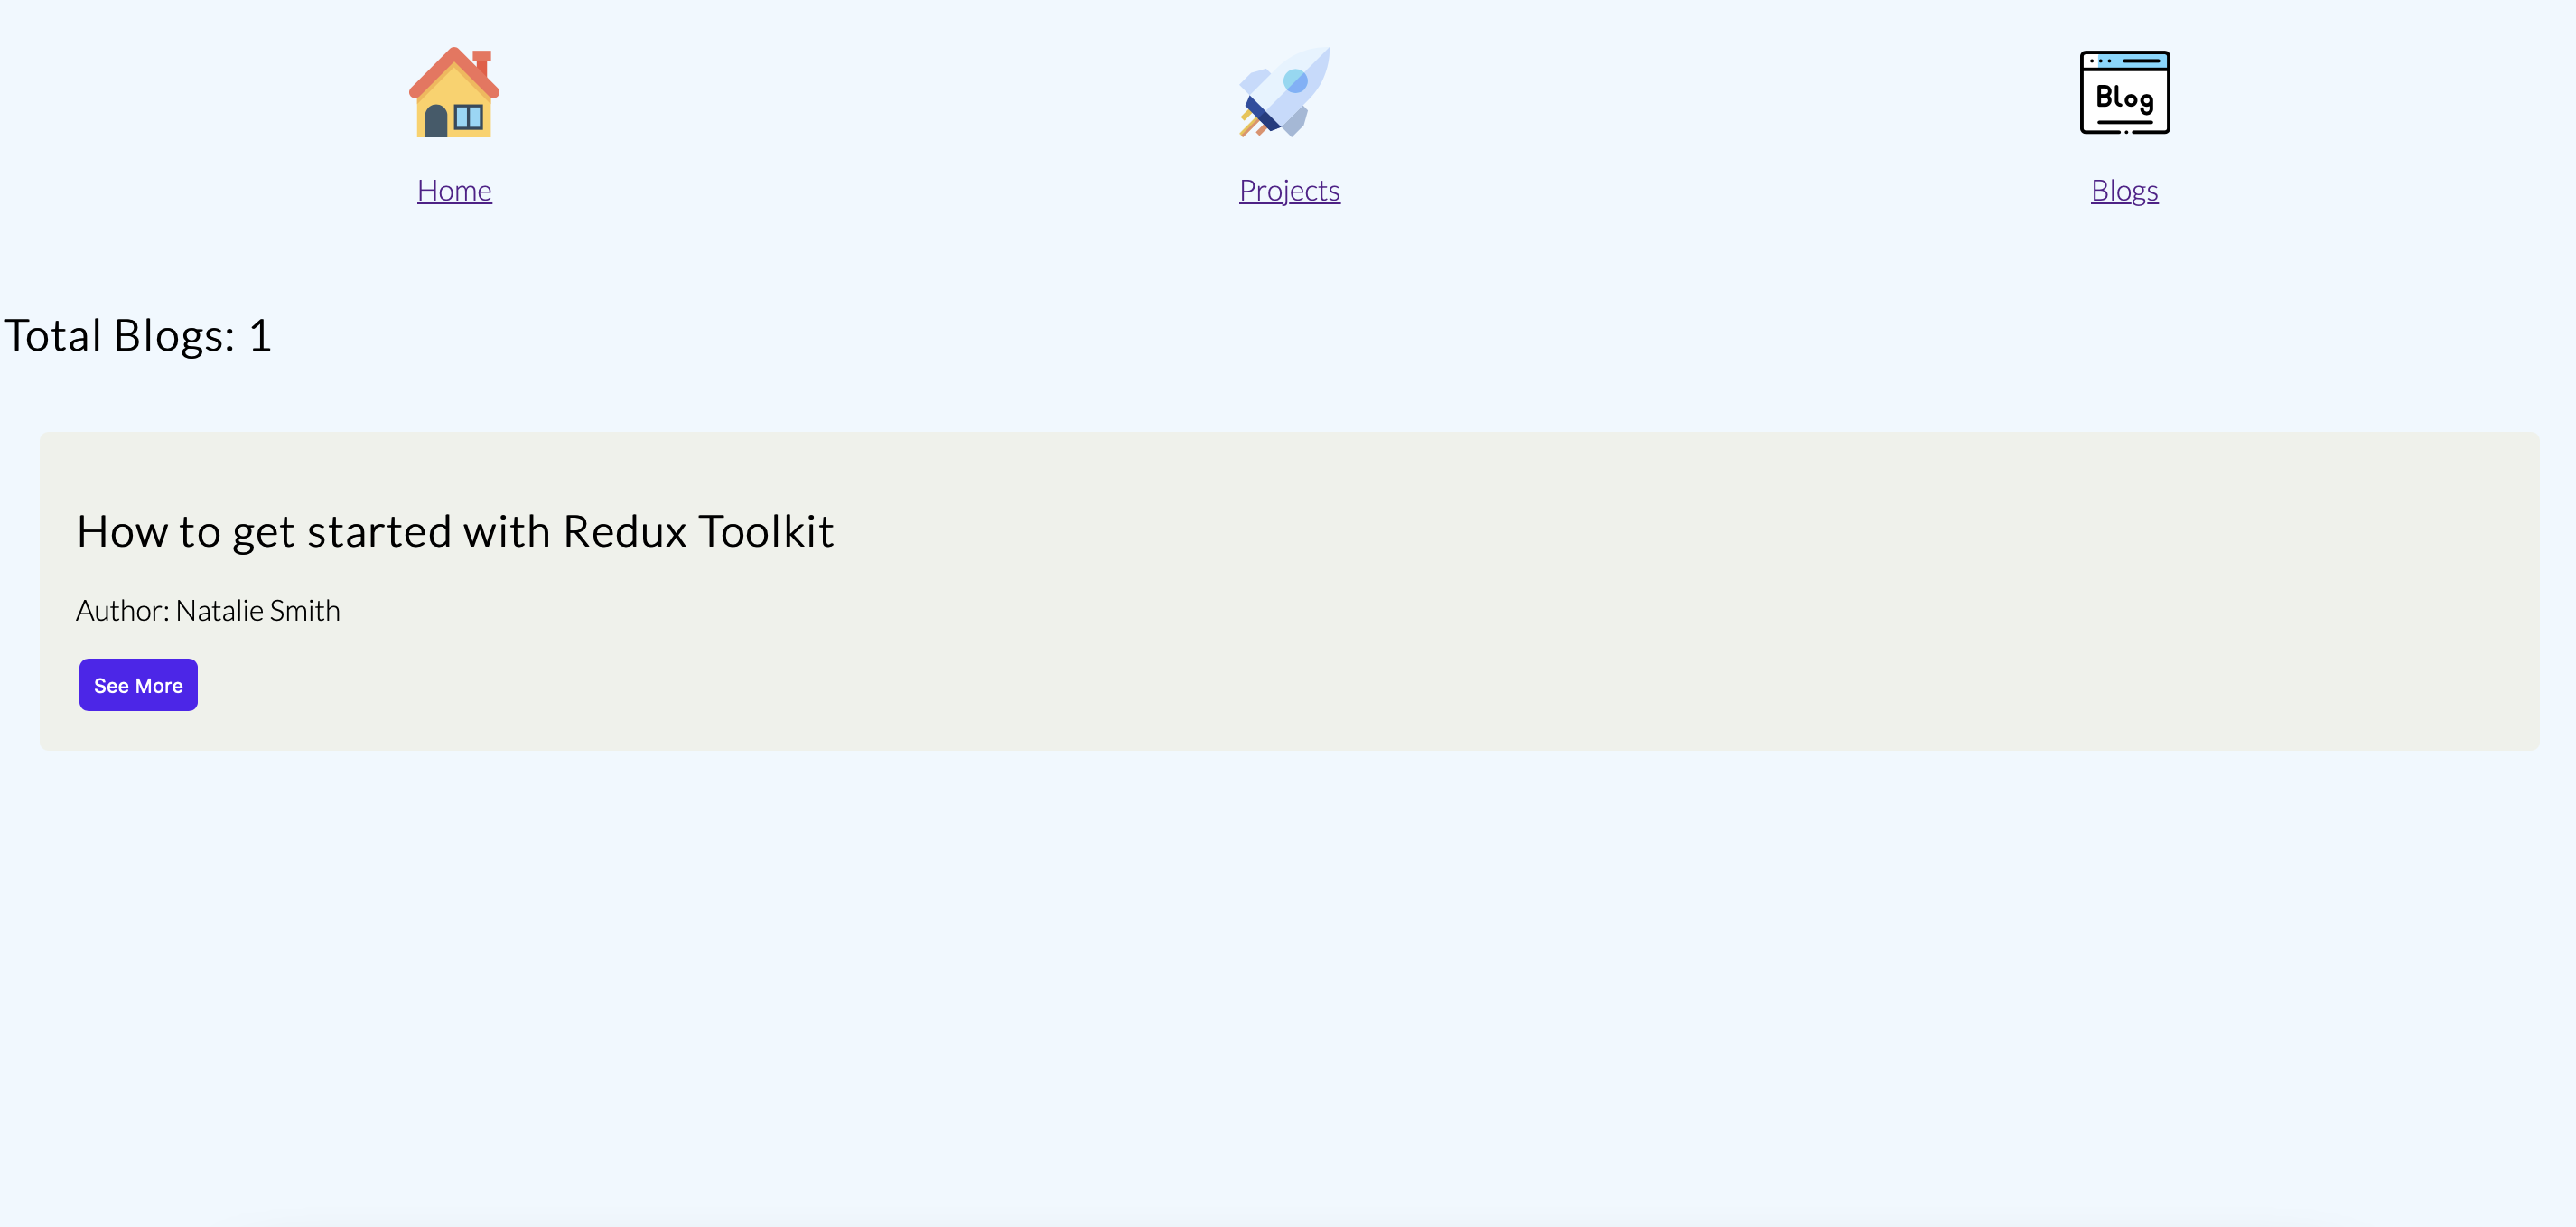
Creating the blog page
Fetching the posts
At the root of your project, inside the _data folder. Create a file inside of _data called blogs.js and add the following:
const fetch = require('node-fetch');

const key = process.env.API_KEY;
const projectId = process.env.PROJECT_ID;

const endponit = `https://api.takeshape.io/project/${projectId}/graphql`;

module.exports = async () => {
  const getBlogs = await fetch(endponit, {
    method: 'POST',
    headers: {
      'Content-Type': 'application/json',
      Accept: 'application/json',
      Authorization: `Bearer ${key}`,
    },
    body: JSON.stringify({
      query: `
      {
        getPostList {
          items {
            title
            author
            datetime
            content
          }
        }
      }
      `,
    }),
  });
  const response = await getBlogs.json();

  return response.data.getPostList.items;
};
Now, let's make a blog page. At the root of your project, create a file called blog.njk and add the following:
---
layout: navbar.njk
data: blogs
---

<!DOCTYPE html>
<html lang="en">

  <head>
    <meta charset="UTF-8">
    <meta name="viewport" content="width=device-width, initial-scale=1.0">
    <title>11ty with TakeShape</title>

    <!-- capture the CSS content as a Nunjucks variable -->
    {% set css %}
    {% include "css/blog.css" %}
    {% endset %}
    <!-- feed it through our cssmin filter to minify -->
    <style>
      {{css | cssmin | safe}}
    </style>
  </head>

  <body>
    <h1>Total Blogs:
      {{blogs.length}}</h1>

    <div class="card-container">
      <div>
        {% for blog in blogs %}
          <div class="card">
            <h1>{{ blog.title }}</h1>
            <p>Author:
              {{blog.author}}</p>

            <button class="card-btn">See More</button>
          </div>
        {% else %}
          <p>Blog post coming soon...</p>
        {% endfor %}
      </div>
    </div>
  </body>

</html>
Adding CSS
In the _includes folder, create a new file called blog.css inside of the css folder. Add the following:
.card-container {
  display: grid;
  grid-template-columns: repeat(auto-fit, minmax(150px, 1fr));
  grid-gap: 2rem;
  padding: 20px;
}

.card {
  background: #eef1ea;
  padding: 20px;
  border-radius: 5px;
}

.card-btn {
  padding: 5px;
  border: 3px solid;
  border-color: #5510f1;
  background-color: #5510f1;
  border-radius: 5px;
  color: white;
  cursor: pointer;
}

.card-btn:hover {
  background: #eef1ea;
  color: black;
}
Creating pages from data
Now that we have our project and blog page, we want to be be able to create pages form data for both our project and blog page. To do this, Eleventy has a thing called Pagination which is used for iterating over any data to create multiple output files.
For example, if we're on the project page and we click on the read more button, It should take us to that project page (/projects/<slug>)
Project page
At the root of the project, create a file called projects.njk and add the following:
---
pagination:
  data: projects
  size: 1
  alias: project
permalink: '/projects/{{project.name|slug}}/'
---

<!DOCTYPE html>
<html lang="en">

  <head>
    <meta charset="UTF-8">
    <meta name="viewport" content="width=device-width, initial-scale=1.0">
    <title>11ty with TakeShape</title>

    <!-- capture the CSS content as a Nunjucks variable -->
    {% set css %}
    {% include "css/projects.css" %}
    {% endset %}
    <!-- feed it through our cssmin filter to minify -->
    <style>
      {{css | cssmin | safe}}
    </style>
  </head>

  <body>
    <a href="/project">
      <button class="btn">Back</button>
    </a>

    <section class="container">
      <h1>{{project.name}}</h1>

      {% for item in project.description.blocks %}
        <p>{{ item.text }}</p>
      {% else %}
        <p>Description coming soon...</p>
      {% endfor %}

    </section>
  </body>

</html>
Create a projects.css file inside of the _includes > css folder and add the following:
@import url('https://fonts.googleapis.com/css2?family=Londrina+Solid:wght@100;400&display=swap');

body {
  background-color: aliceblue;
}

.container {
  display: grid;
  place-items: center;
  padding: 10px;
}

h1 {
  font-family: 'Londrina Solid', cursive;
  font-size: 4em;
}

p {
  font-family: 'Londrina Solid', cursive;
  font-weight: 100;
  font-size: 2em;
  width: 700px;
}

.btn {
  padding: 5px;
  border: 3px solid;
  border-color: #5510f1;
  background-color: #5510f1;
  border-radius: 5px;
  color: white;
  cursor: pointer;
}

.btn:hover {
  background: #eef1ea;
  color: black;
}
Blog page
At the root of the project, create a file called blogs.njk and add the following:
---
pagination:
  data: blogs
  size: 1
  alias: blog
permalink: '/blogs/{{blog.title|slug}}/'
---

<!DOCTYPE html>
<html lang="en">
  <head>
    <meta charset="UTF-8">
    <meta name="viewport" content="width=device-width, initial-scale=1.0">
    <title>11ty with TakeShape</title>

    <!-- capture the CSS content as a Nunjucks variable -->
    {% set css %}
    {% include "css/blogs.css" %}
    {% endset %}
    <!-- feed it through our cssmin filter to minify -->
    <style>
      {{css | cssmin | safe}}
    </style>
  </head>

  <body>
    <a href="/blog">
      <button class="btn">Back</button>
    </a>

    <section class="container">
      <h1>{{blog.title}}</h1>

      {% for item in blog.content.blocks %}
        <p>{{ item.text }}</p>
      {% else %}
        <p>Description coming soon...</p>
      {% endfor %}
    </section>

  </body>

</html>
Create a blogs.css file inside of the _includes > css folder and add the following:
@import url('https://fonts.googleapis.com/css2?family=Londrina+Solid:wght@100;400&display=swap');

body {
  background-color: aliceblue;
}

.container {
  display: grid;
  place-items: center;
  padding: 10px;
}

h1 {
  font-family: 'Londrina Solid', cursive;
  font-size: 4em;
}

p {
  font-family: 'Londrina Solid', cursive;
  font-weight: 100;
  font-size: 2em;
  width: 700px;
}

.btn {
  padding: 5px;
  border: 3px solid;
  border-color: #5510f1;
  background-color: #5510f1;
  border-radius: 5px;
  color: white;
  cursor: pointer;
}

.btn:hover {
  background: #eef1ea;
  color: black;
}
Deploying
TakeShape suggests that you use Netlify or Vercel for deployment but they also support S3, Google Cloud Storage, and more
I'm going to use Vercel. To deploy on Vercel:
1. In your project's directory, do a git init in your terminal if you haven't already and push your changes to your Github repo. You can learn more about how to do that [here](<https://medium.com/@aklson_DS/how-to-properly-setup-your-github-repository-windows-version-ea596b398b>)
2. Login to Vercel or create an account
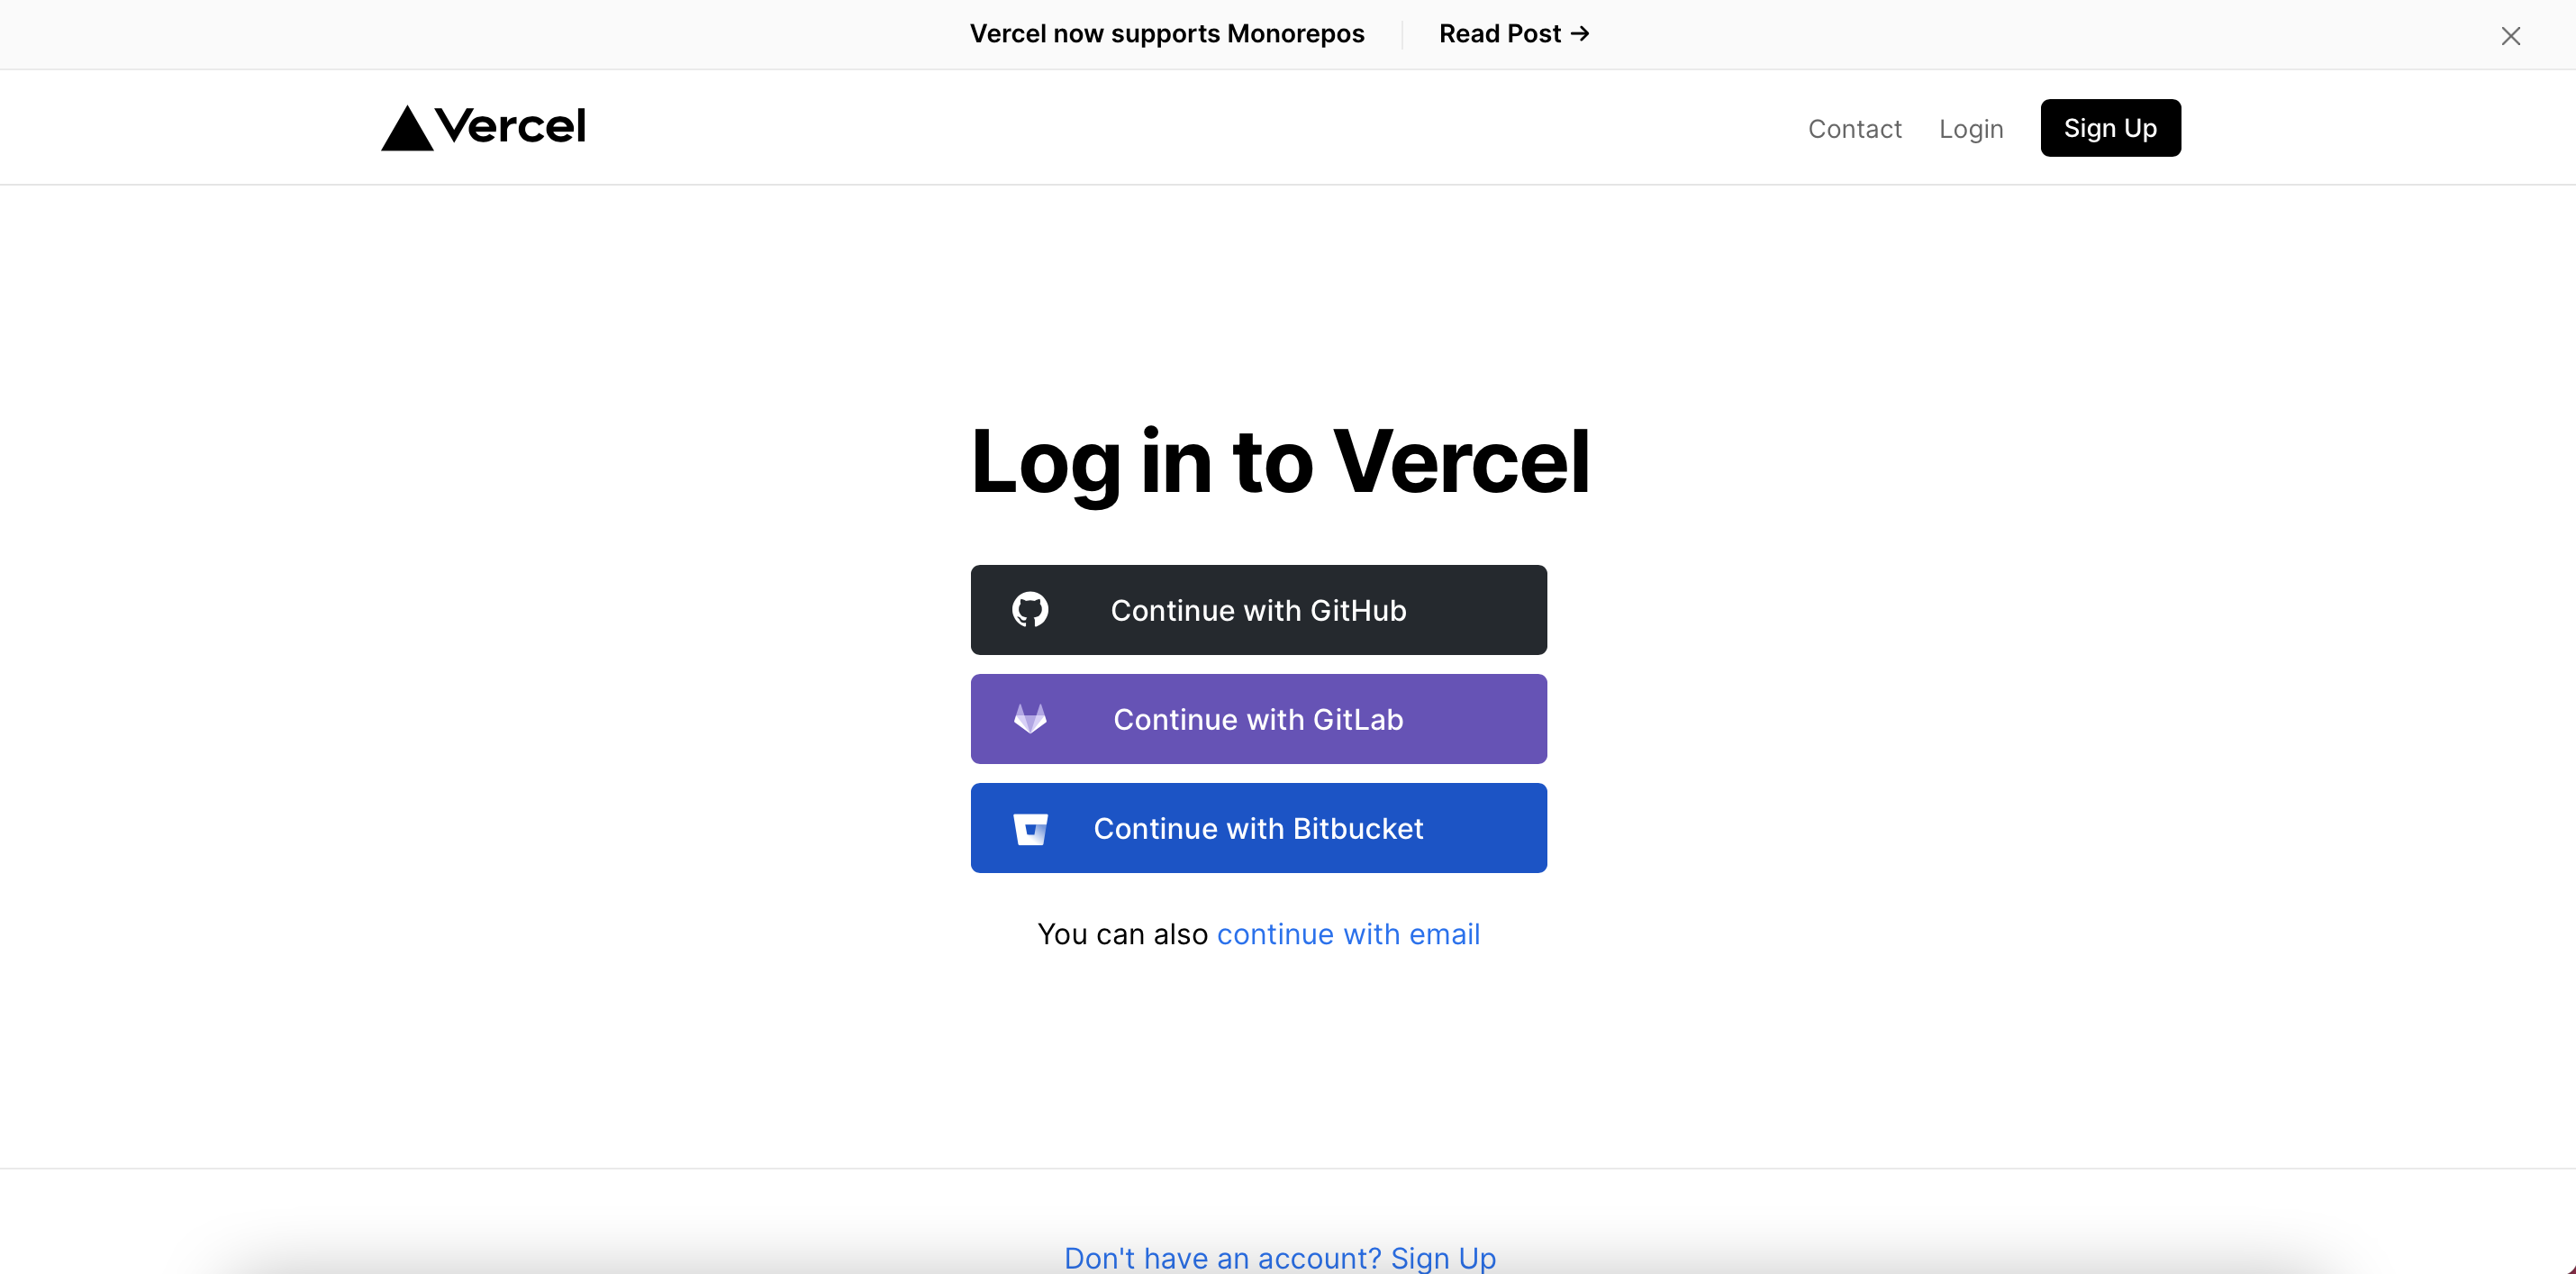
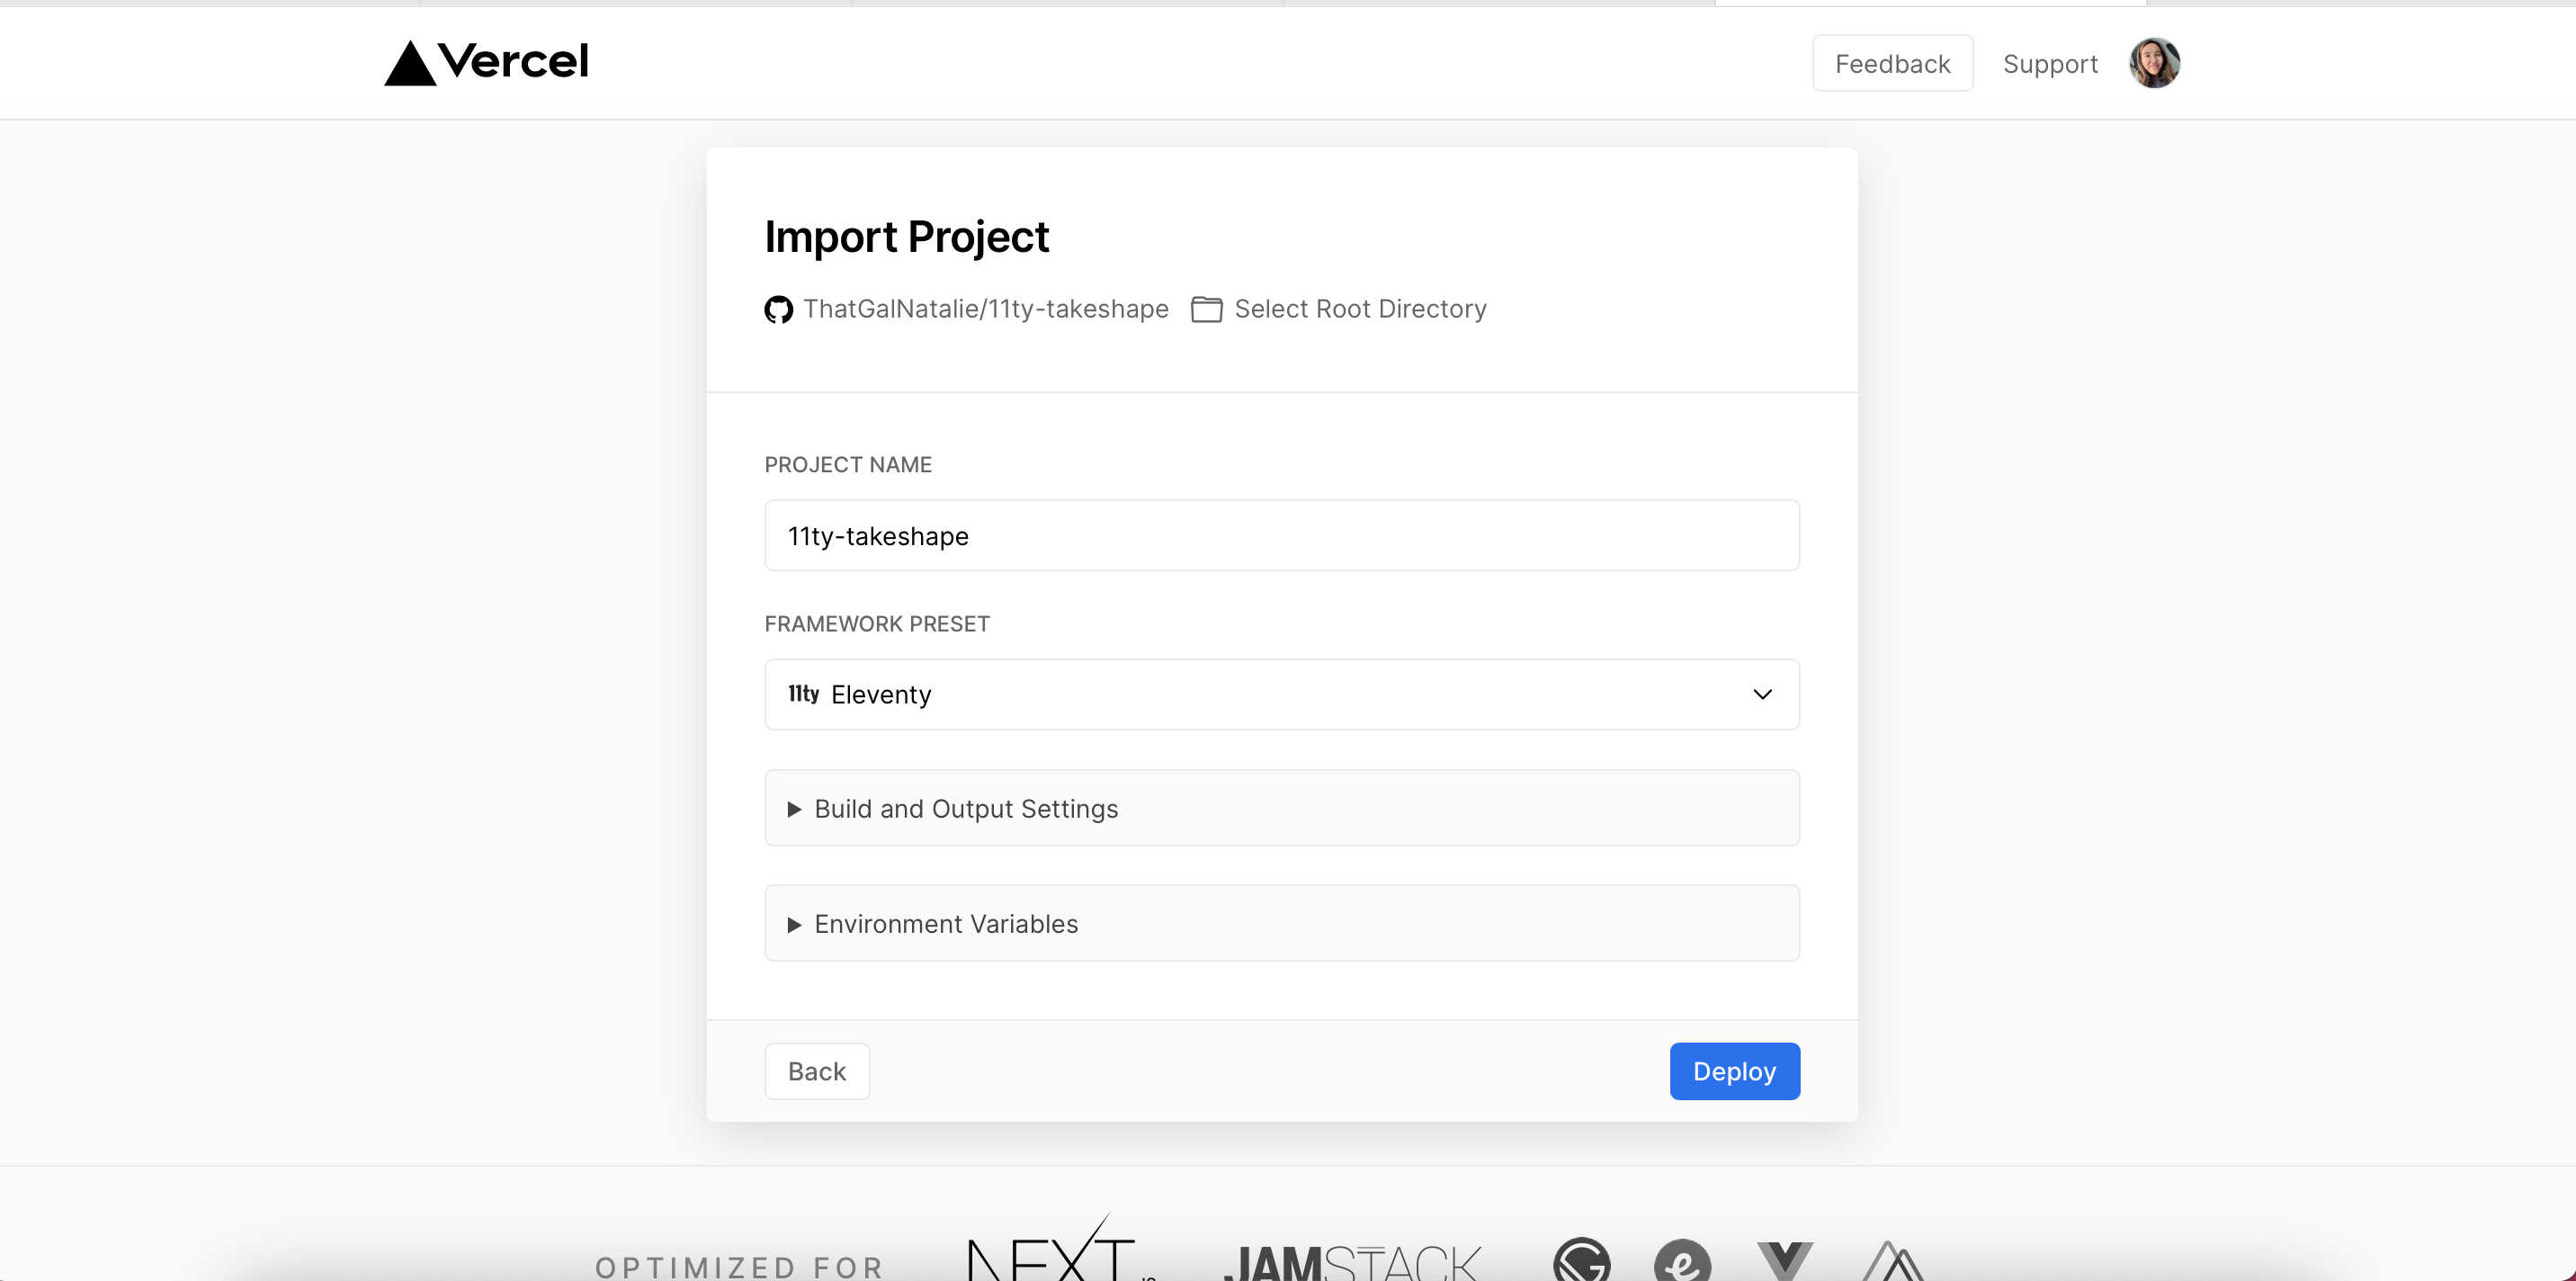
3. Click Import Project

4. Click Import Git repository
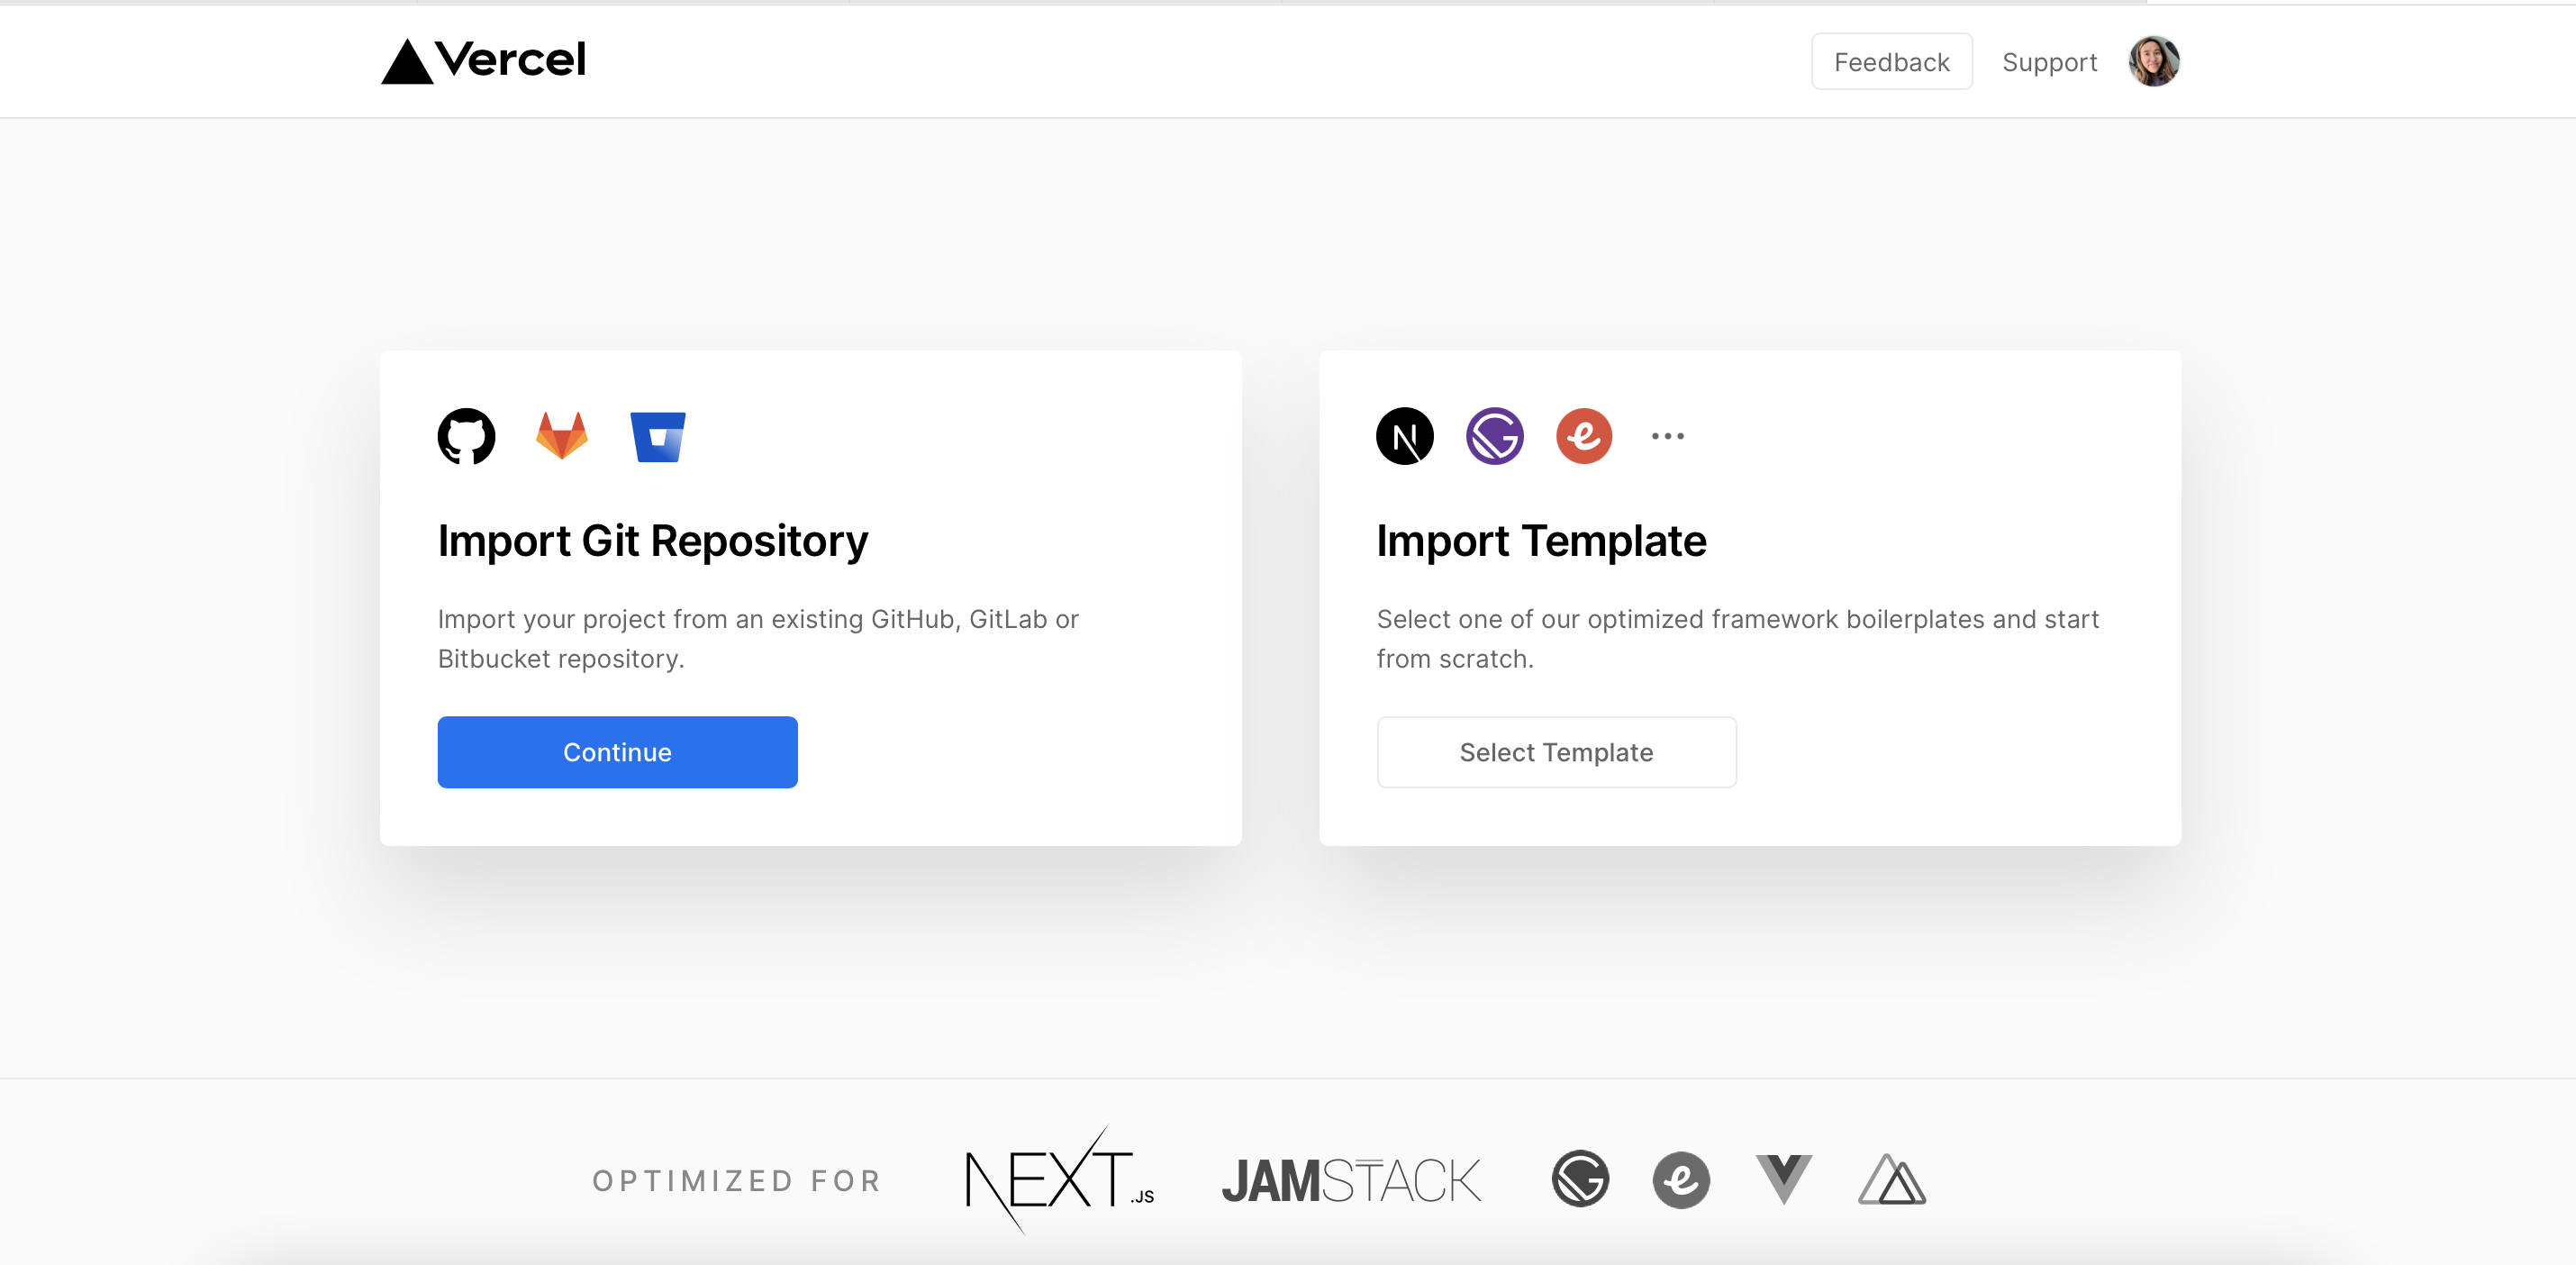
5. Enter the URL of your Git repository. Mine would be https://github.com/ThatGalNatalie/11ty-takeshape
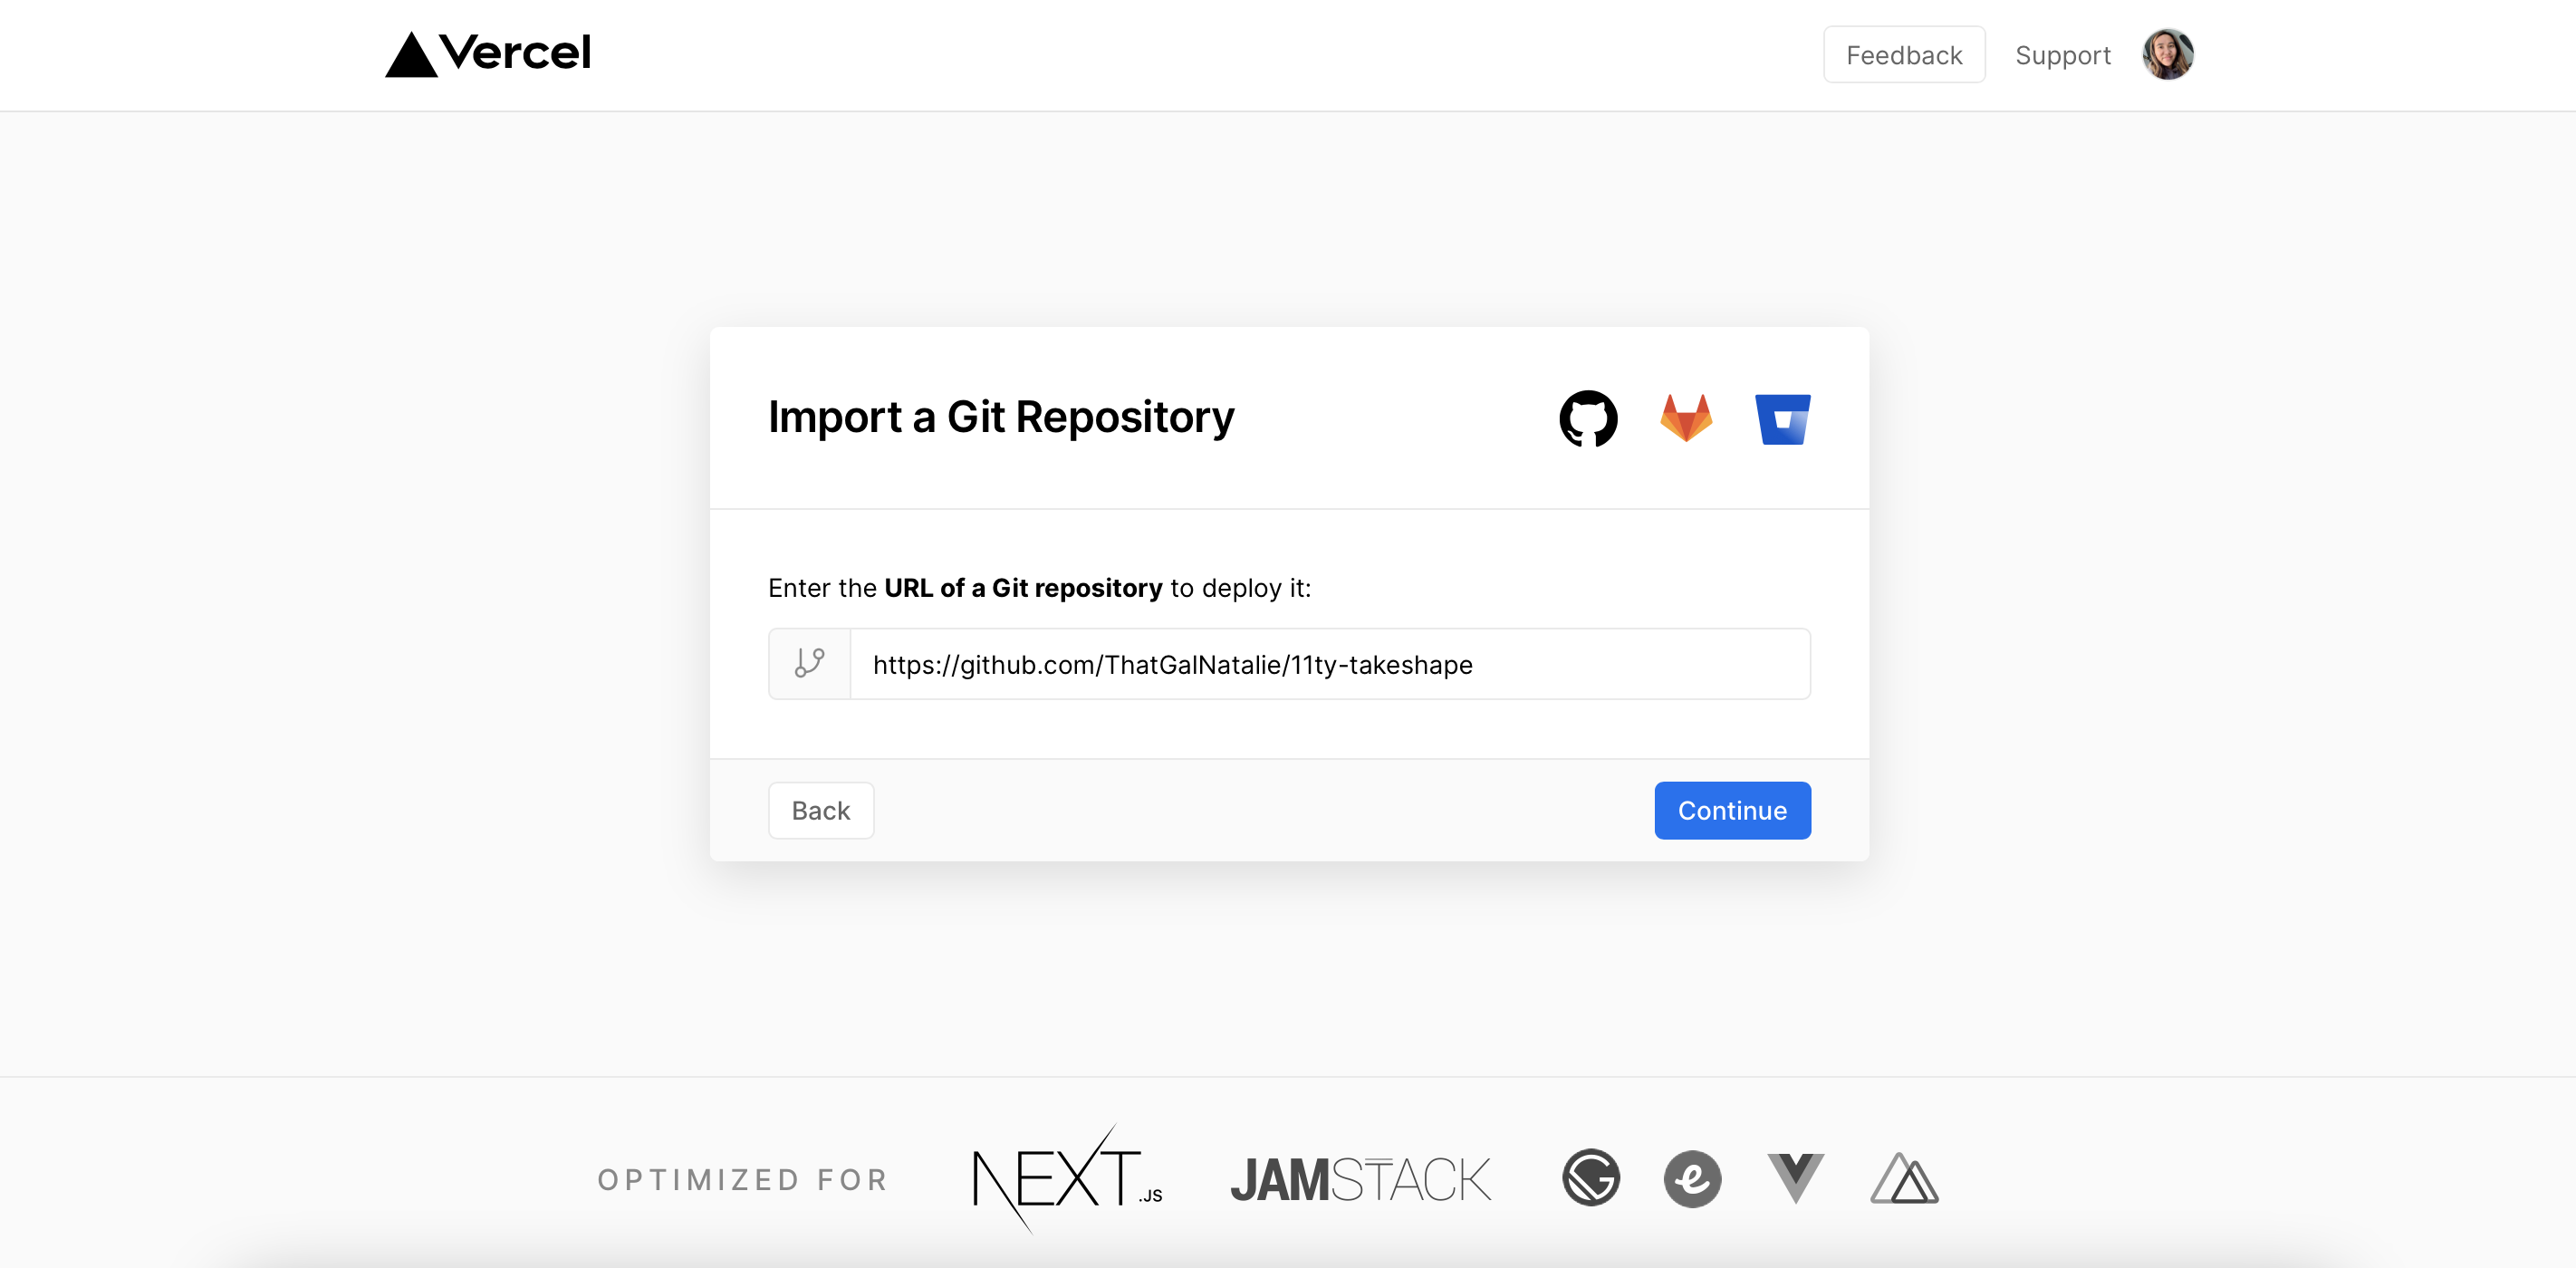
6. Enter your .env variables under Environment Variables and click deploy
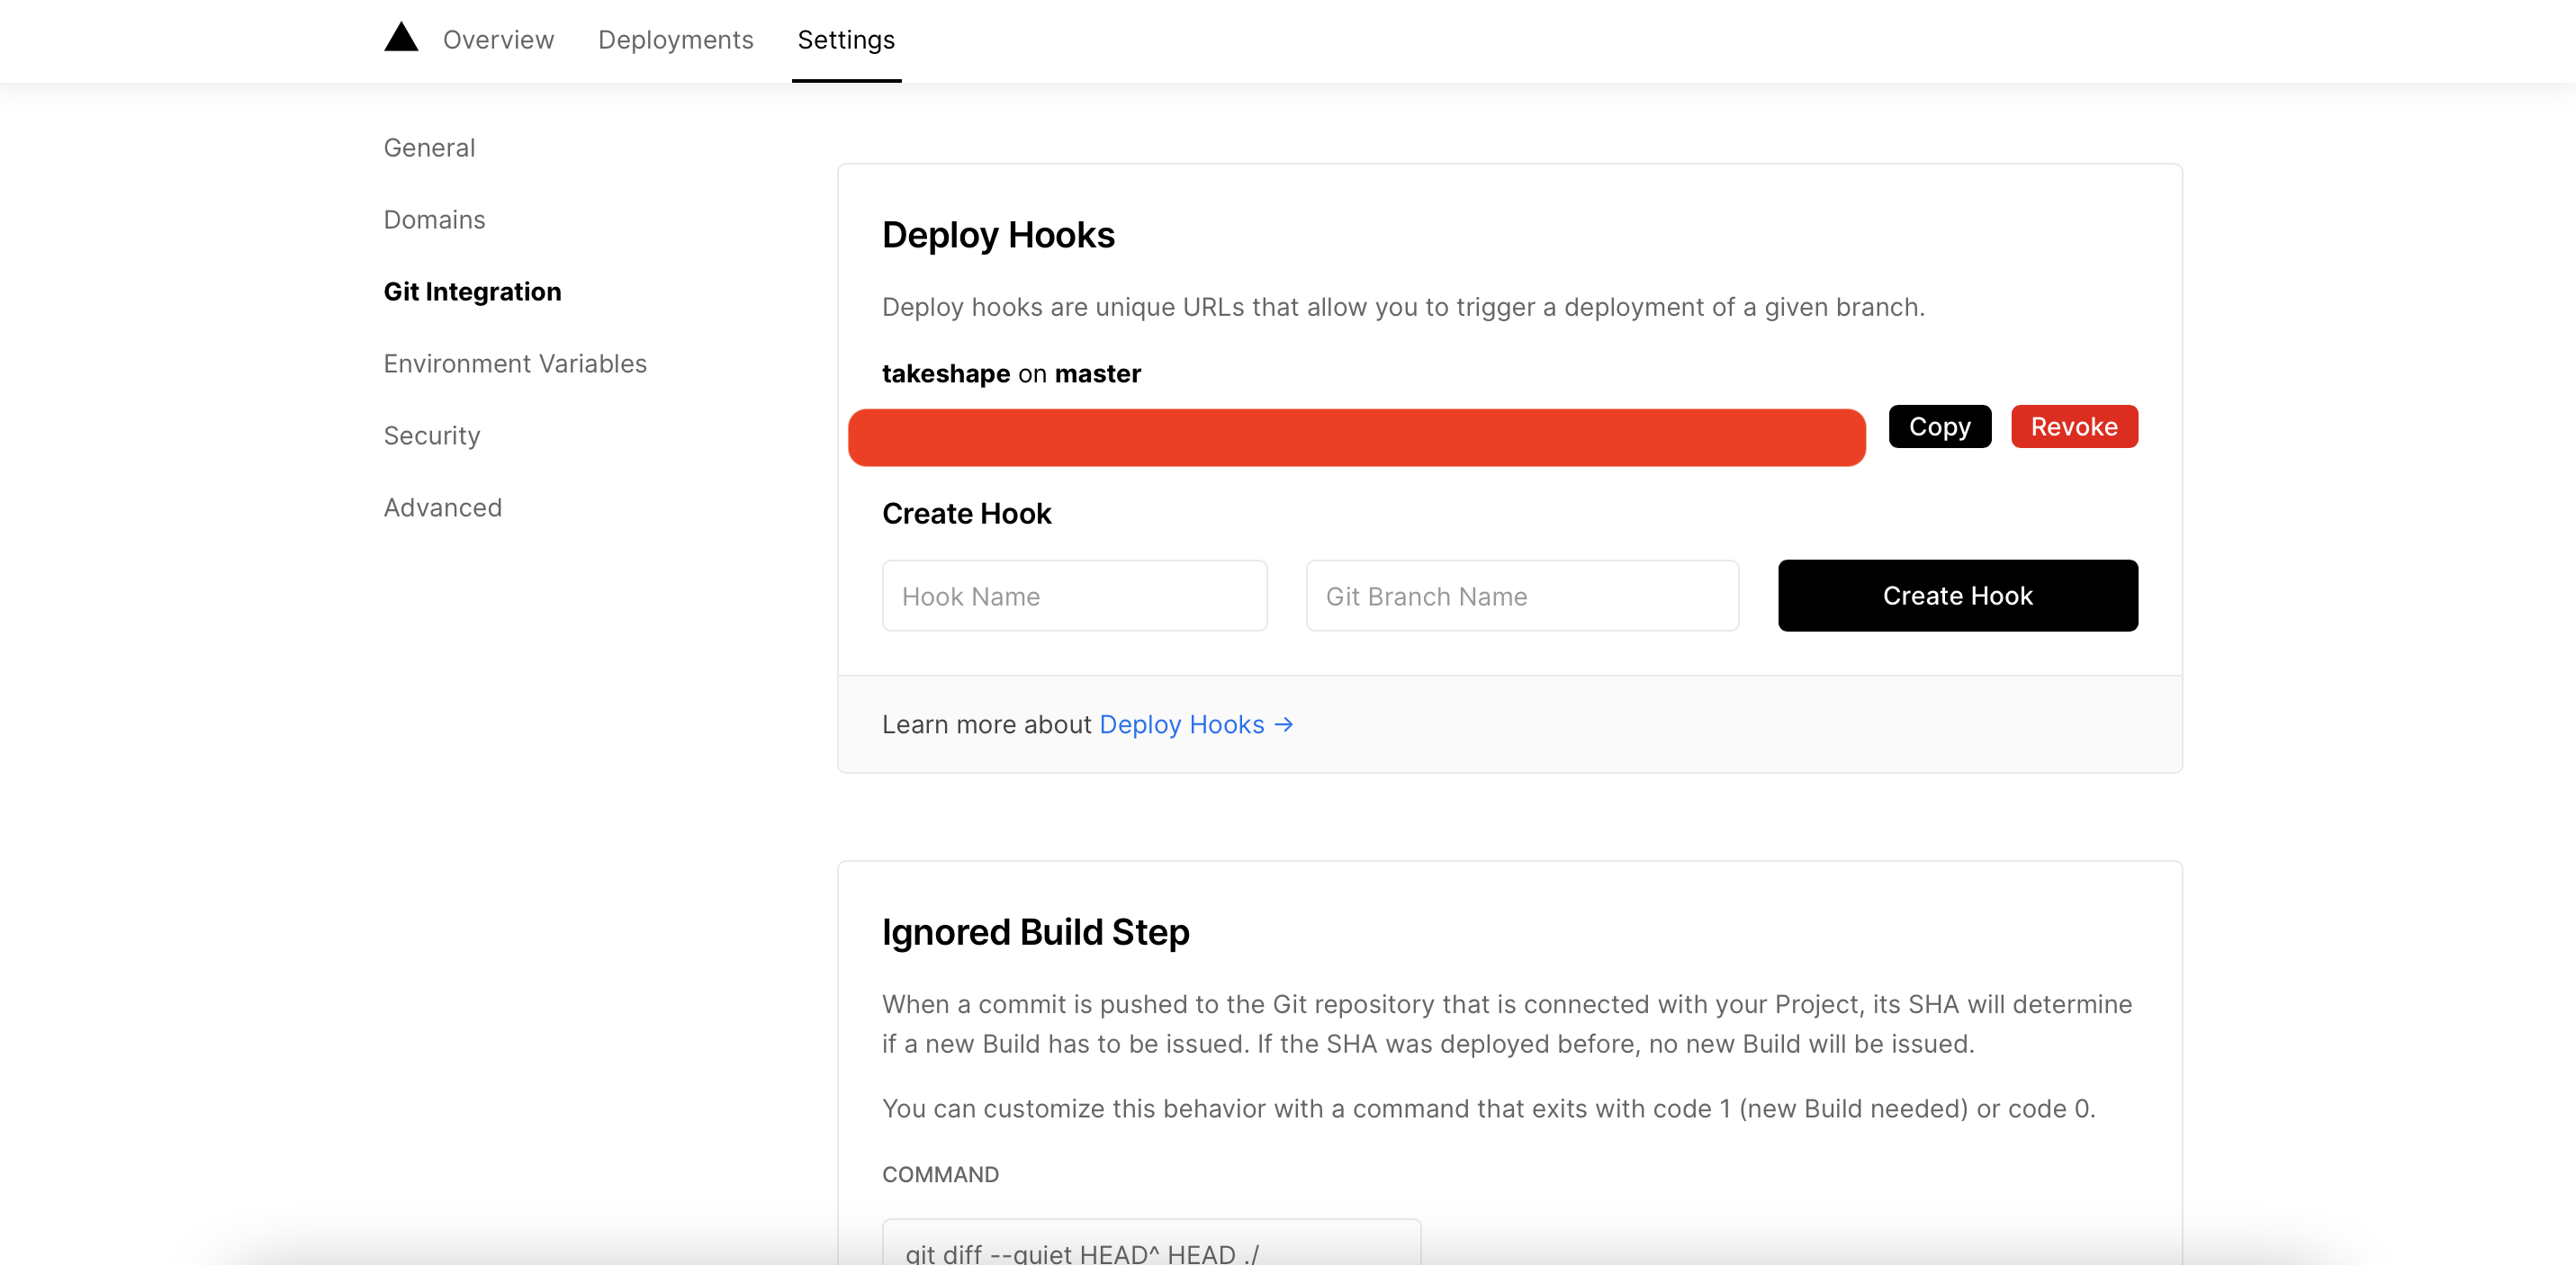
7. In your project's settings, click Git Integration and scroll down until you see Deploy Hooks. Once you create a hook, it will give you a url. Copy that url.

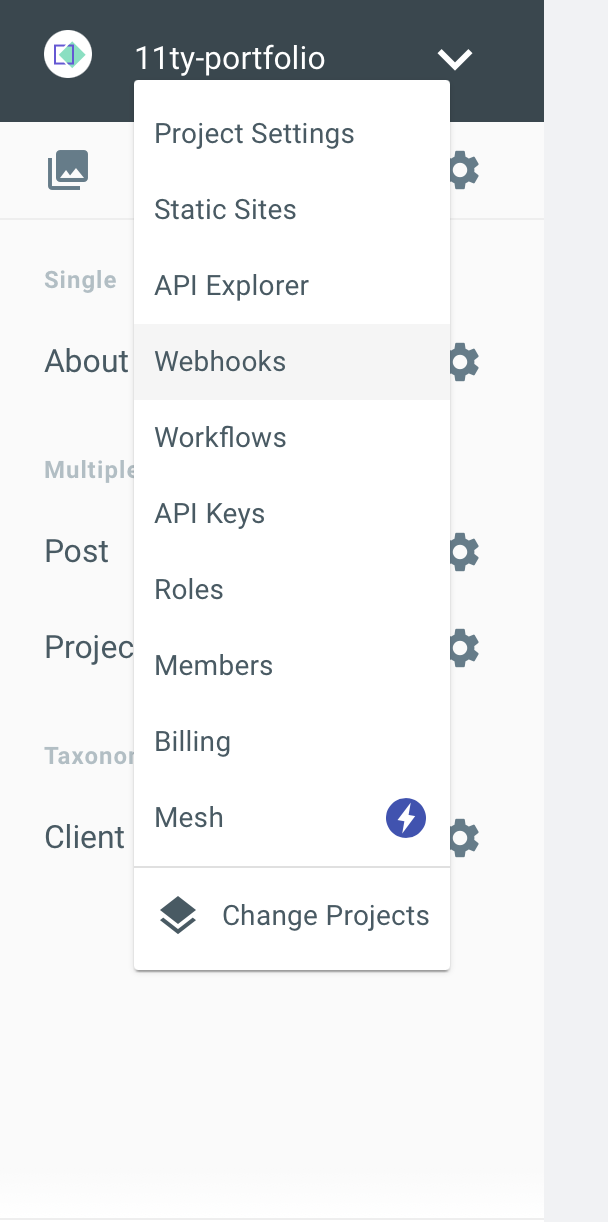
8. Head back into your TakeShape account and under Webhooks, paste in the url that you copied from Vercel. It should look something like this:
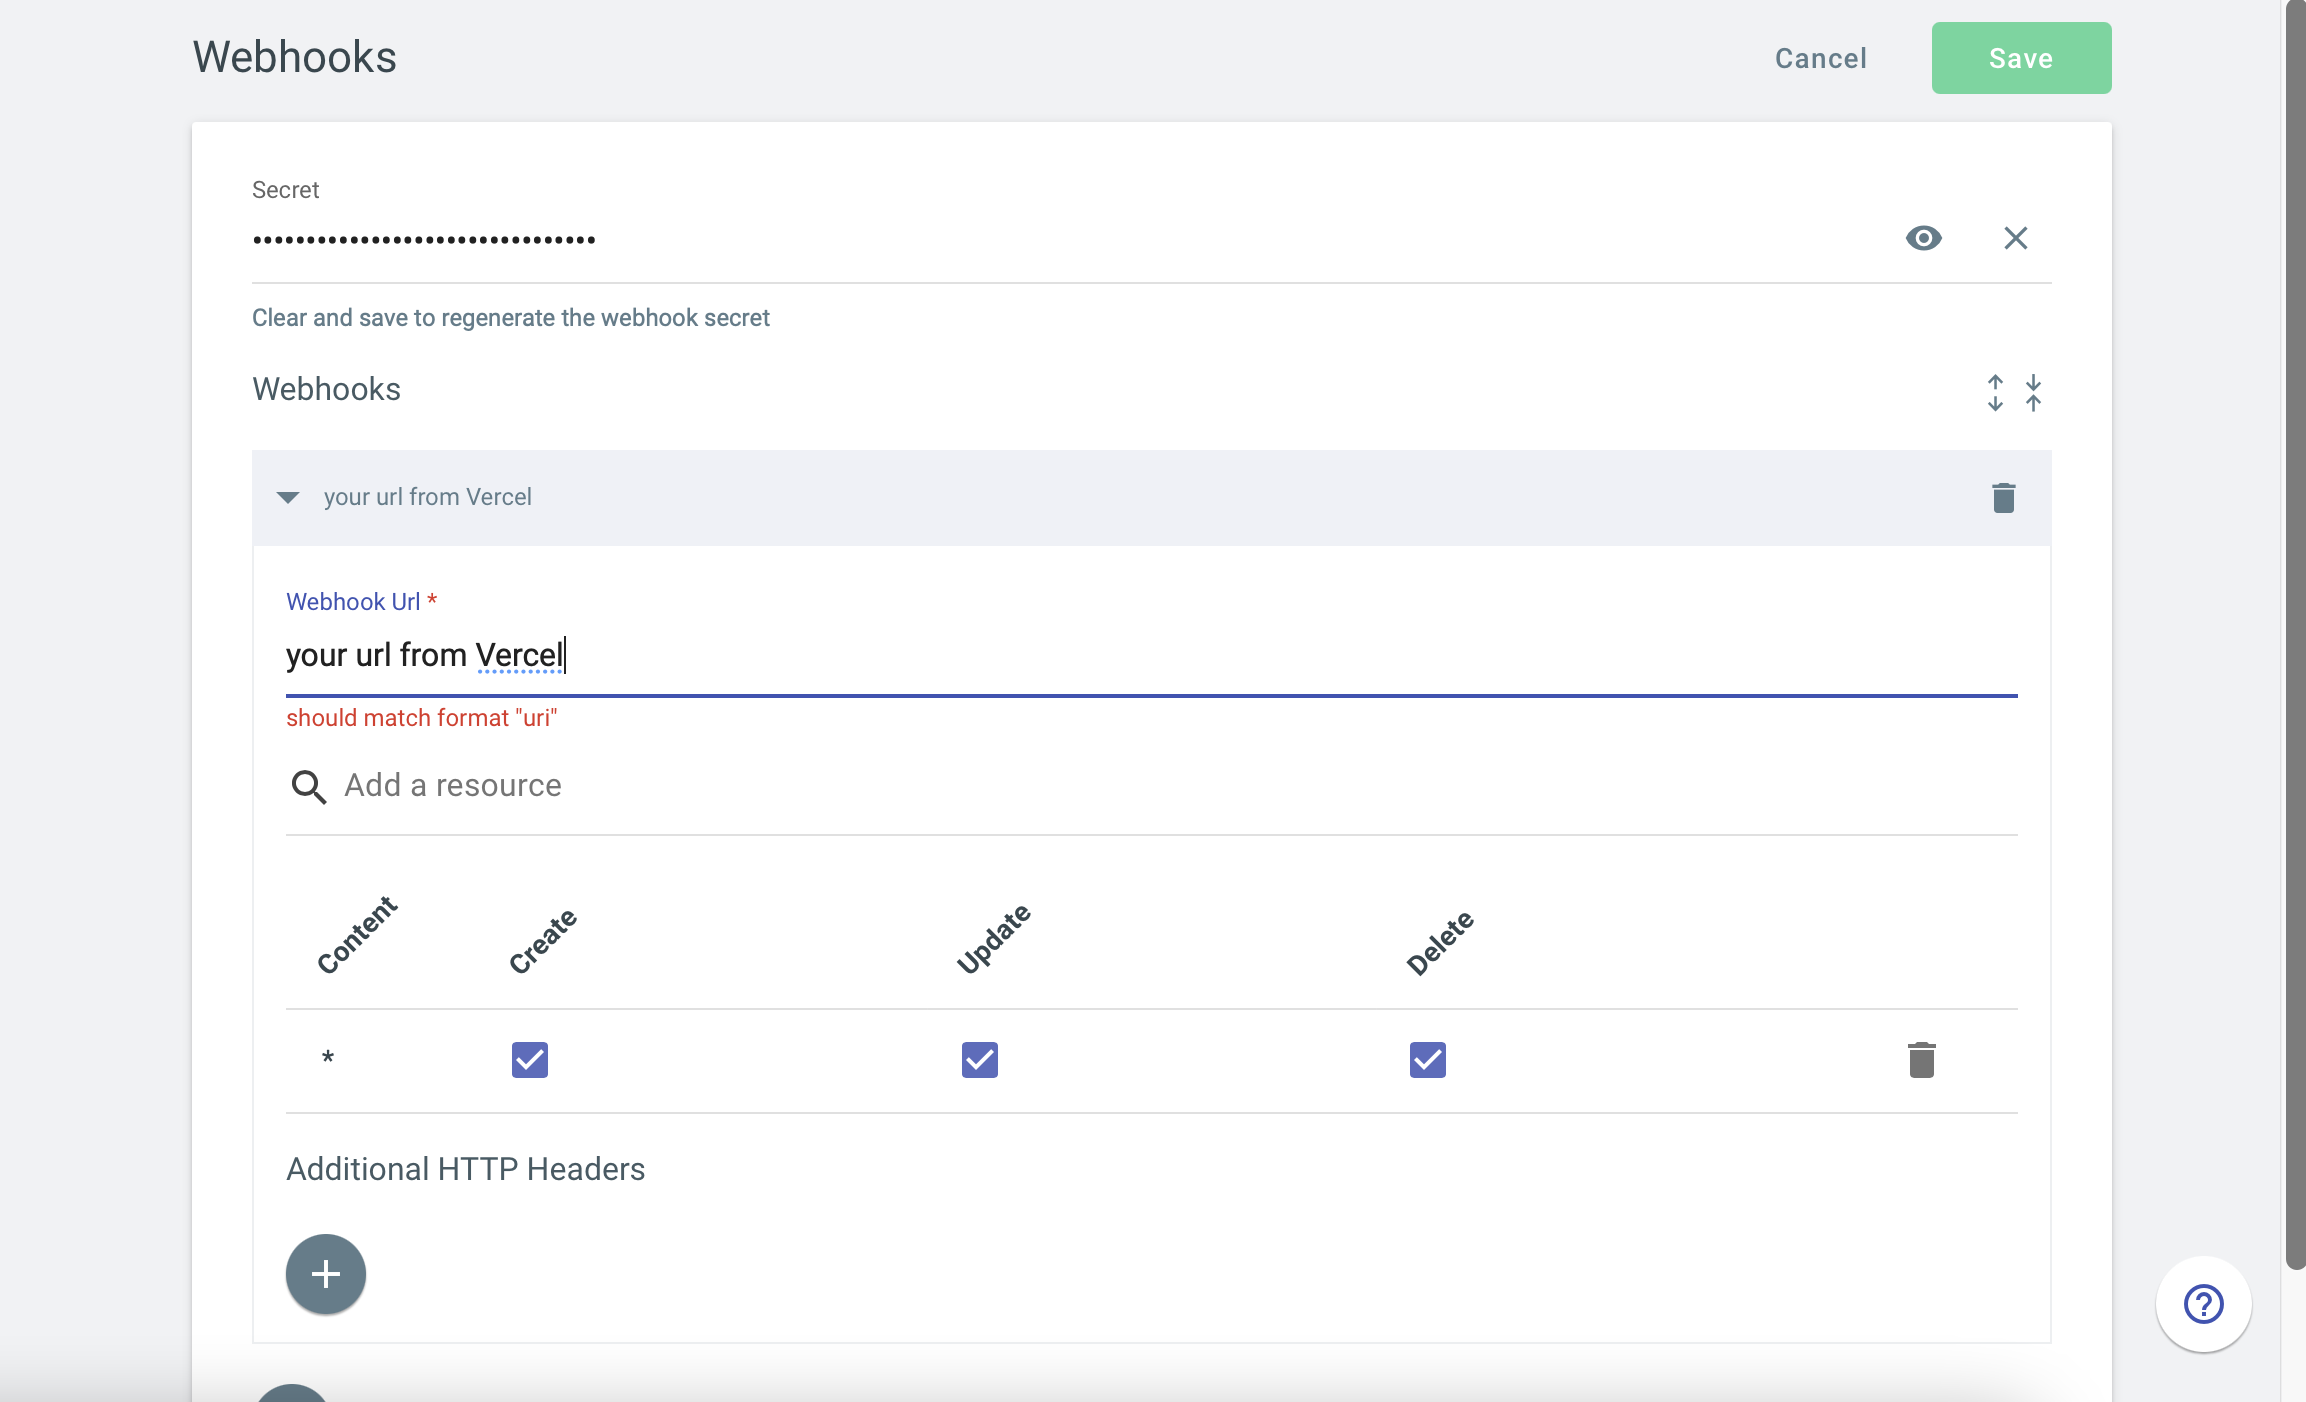
9. Click save and now every time we create a new post or add a new project, it will automatically update and deploy on Vercel
You can view the finished site here and the code for the project here.
Conclusion
In this tutorial, we learned how to use 11ty(Eleventy) with TakeShape to build a portfolio site. With this, we learned about fetching data, creating pages from data, and adding css. TakeShape makes it super easy to power JAMstack projects such as the one we created with 11ty(Eleventy) which makes it a great headless CMS to power your next JAMstack project.
Template Engine independence
