How to use Nuxt.js with TakeShape
Build a simple blog with Nuxt.js with content coming from TakeShape's GraphQL API.
What we're building
In this article, we will learn how to build out a simple blog with Nuxt.js using TakeShape as our headless CMS. Let's get started!

You can view the finished project here
What is Nuxt.js?
Nuxt.js is a modular, performant, and enjoyable Vue framework that's used to create modern web applications. Versatile by nature with a strong module ecosystem, it allows you to easily connect REST or GraphQL endpoints and much more.
Why use Nuxt.js?
- Over 50 officially supported modules, like Google Analytics and Sitemap, as well as loads of community plugins.
- Flexible ways of rendering, including server-side, statically generated, and single page.
- Out of the box optimization that uses Vue.js and Node.js best practices.
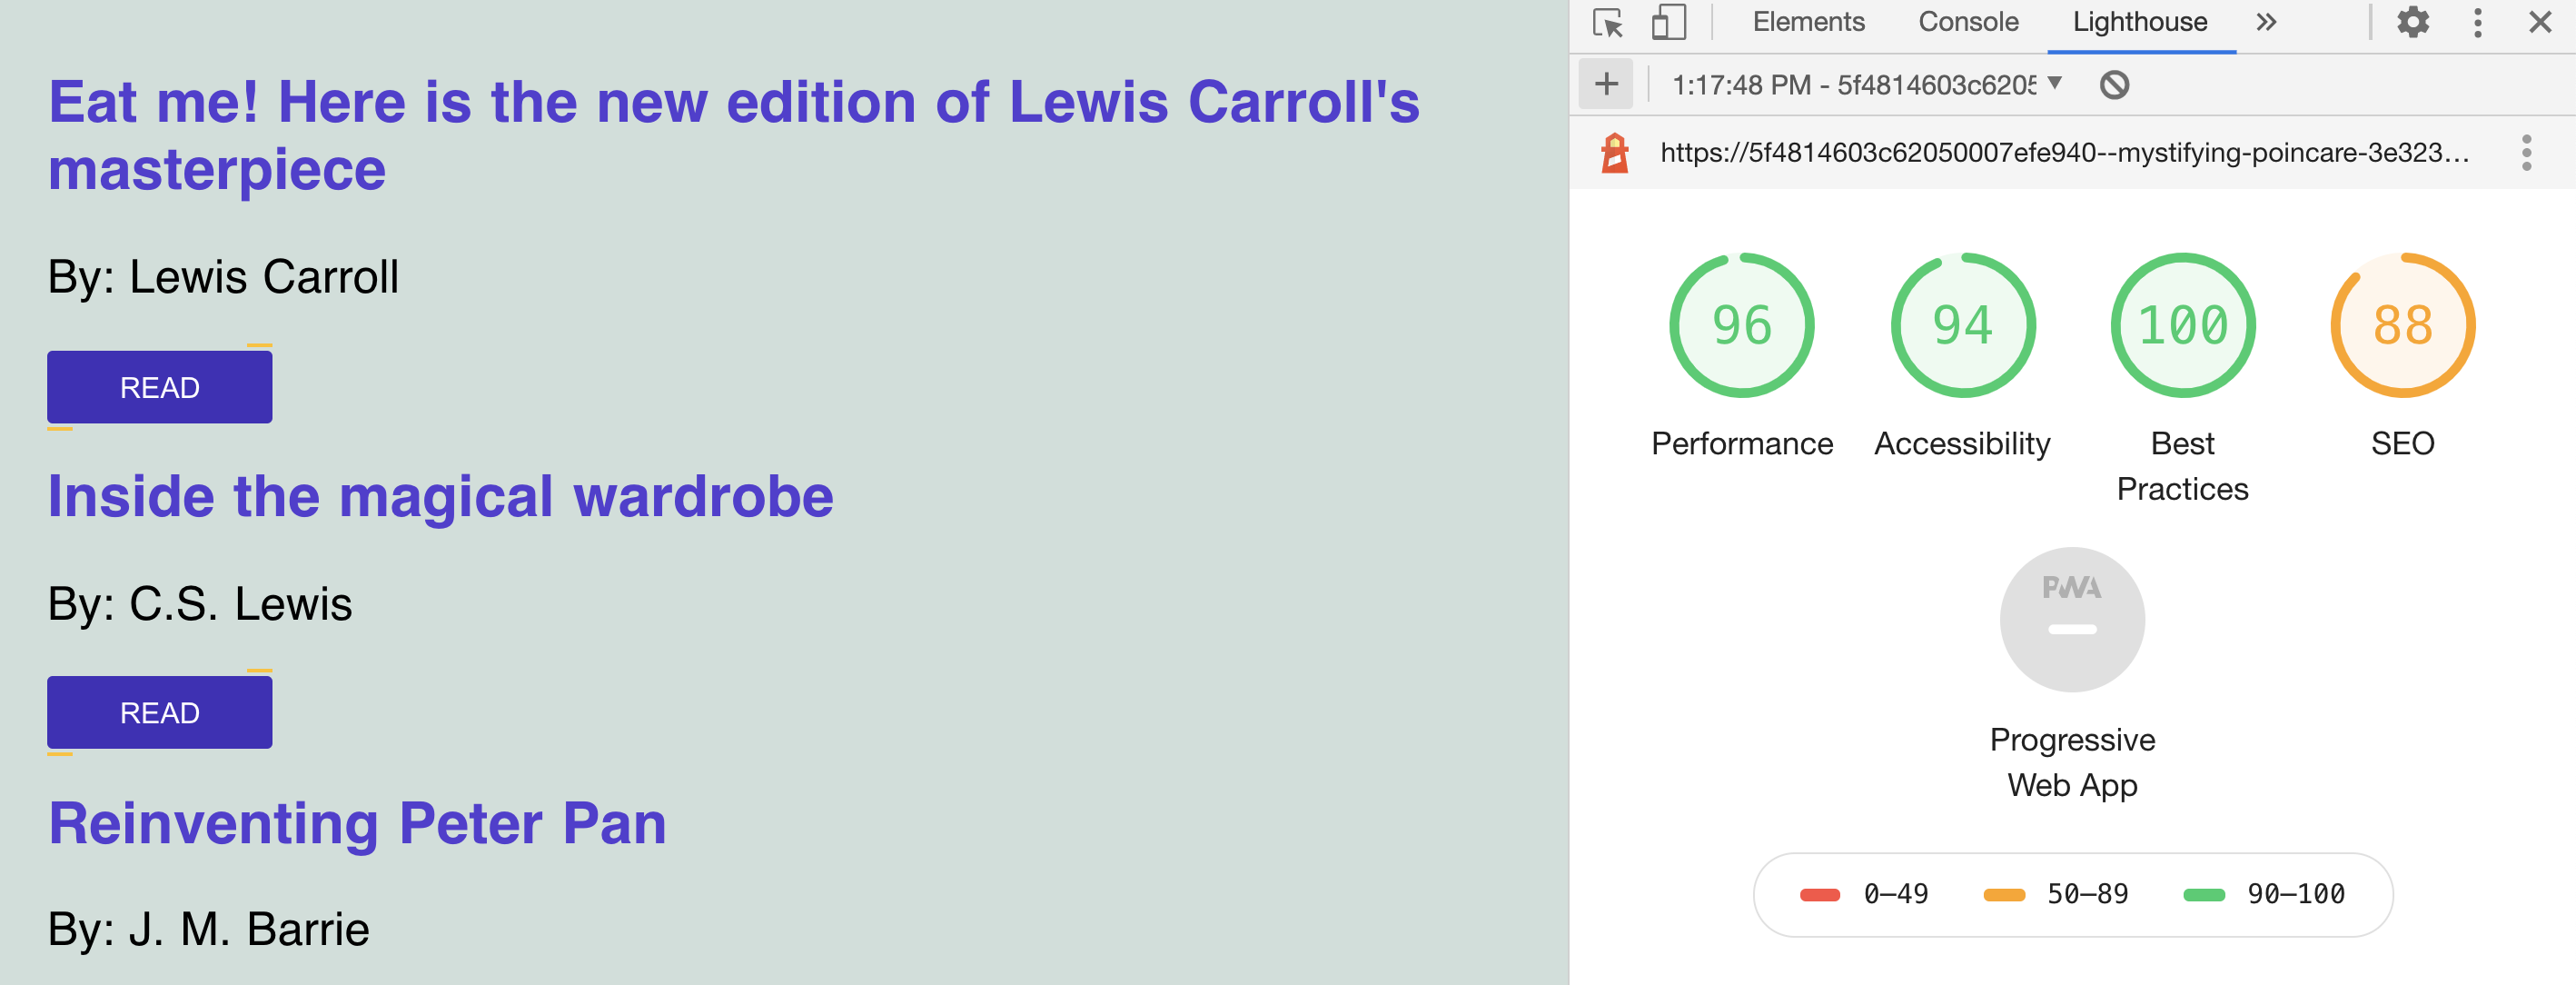
- A bundle analyzer that gives you lots of opportunities to make improvements to your app. (See the picture below for the out of the box Lighthouse score for this project.)
- Great development experience with appealing solutions, descriptive error messages, powerful defaults, and detailed documentation. (And, if you get stuck, the community is happy to help out!)
Features
You can find an exhaustive list of features in the Nuxt docs, but here are a few of my favorites.
- Automatic code splitting: Each statically generated page only loads the JavaScript that it needs to run. This reduces JavaScript file size over the wire and speeds things up for users.
- Powerful routing system with asynchronous data.
- ES2015+ transpilation: Nuxt.js comes prepackaged with Babel, which allows us to use the latest version of JavaScript like ES2019 during development and then compiles down to run on older browsers.
- Single file components
.vue: In smaller Vue projects, components are usually defined usingVue.componentwithnew Vue({el: "#targeted"})to target the element we want to use. As a project grows in size, this can become difficult to manage;single-page-componentswith a.vueextension solve this problem.
Prerequisites
Before we dive in, brush up on the following:
Installation
Make sure you have npm v.5.20+
# NPM
npx create-nuxt-app your-awesome-project-name

# Yarn
yarn create nuxt-app your-awesome-project-name
cd your-awesome-project-name
npm run dev
Getting started with TakeShape
TakeShape offers new and more instant, intuitive, adaptable, and collaborative services to power JAMstack projects.
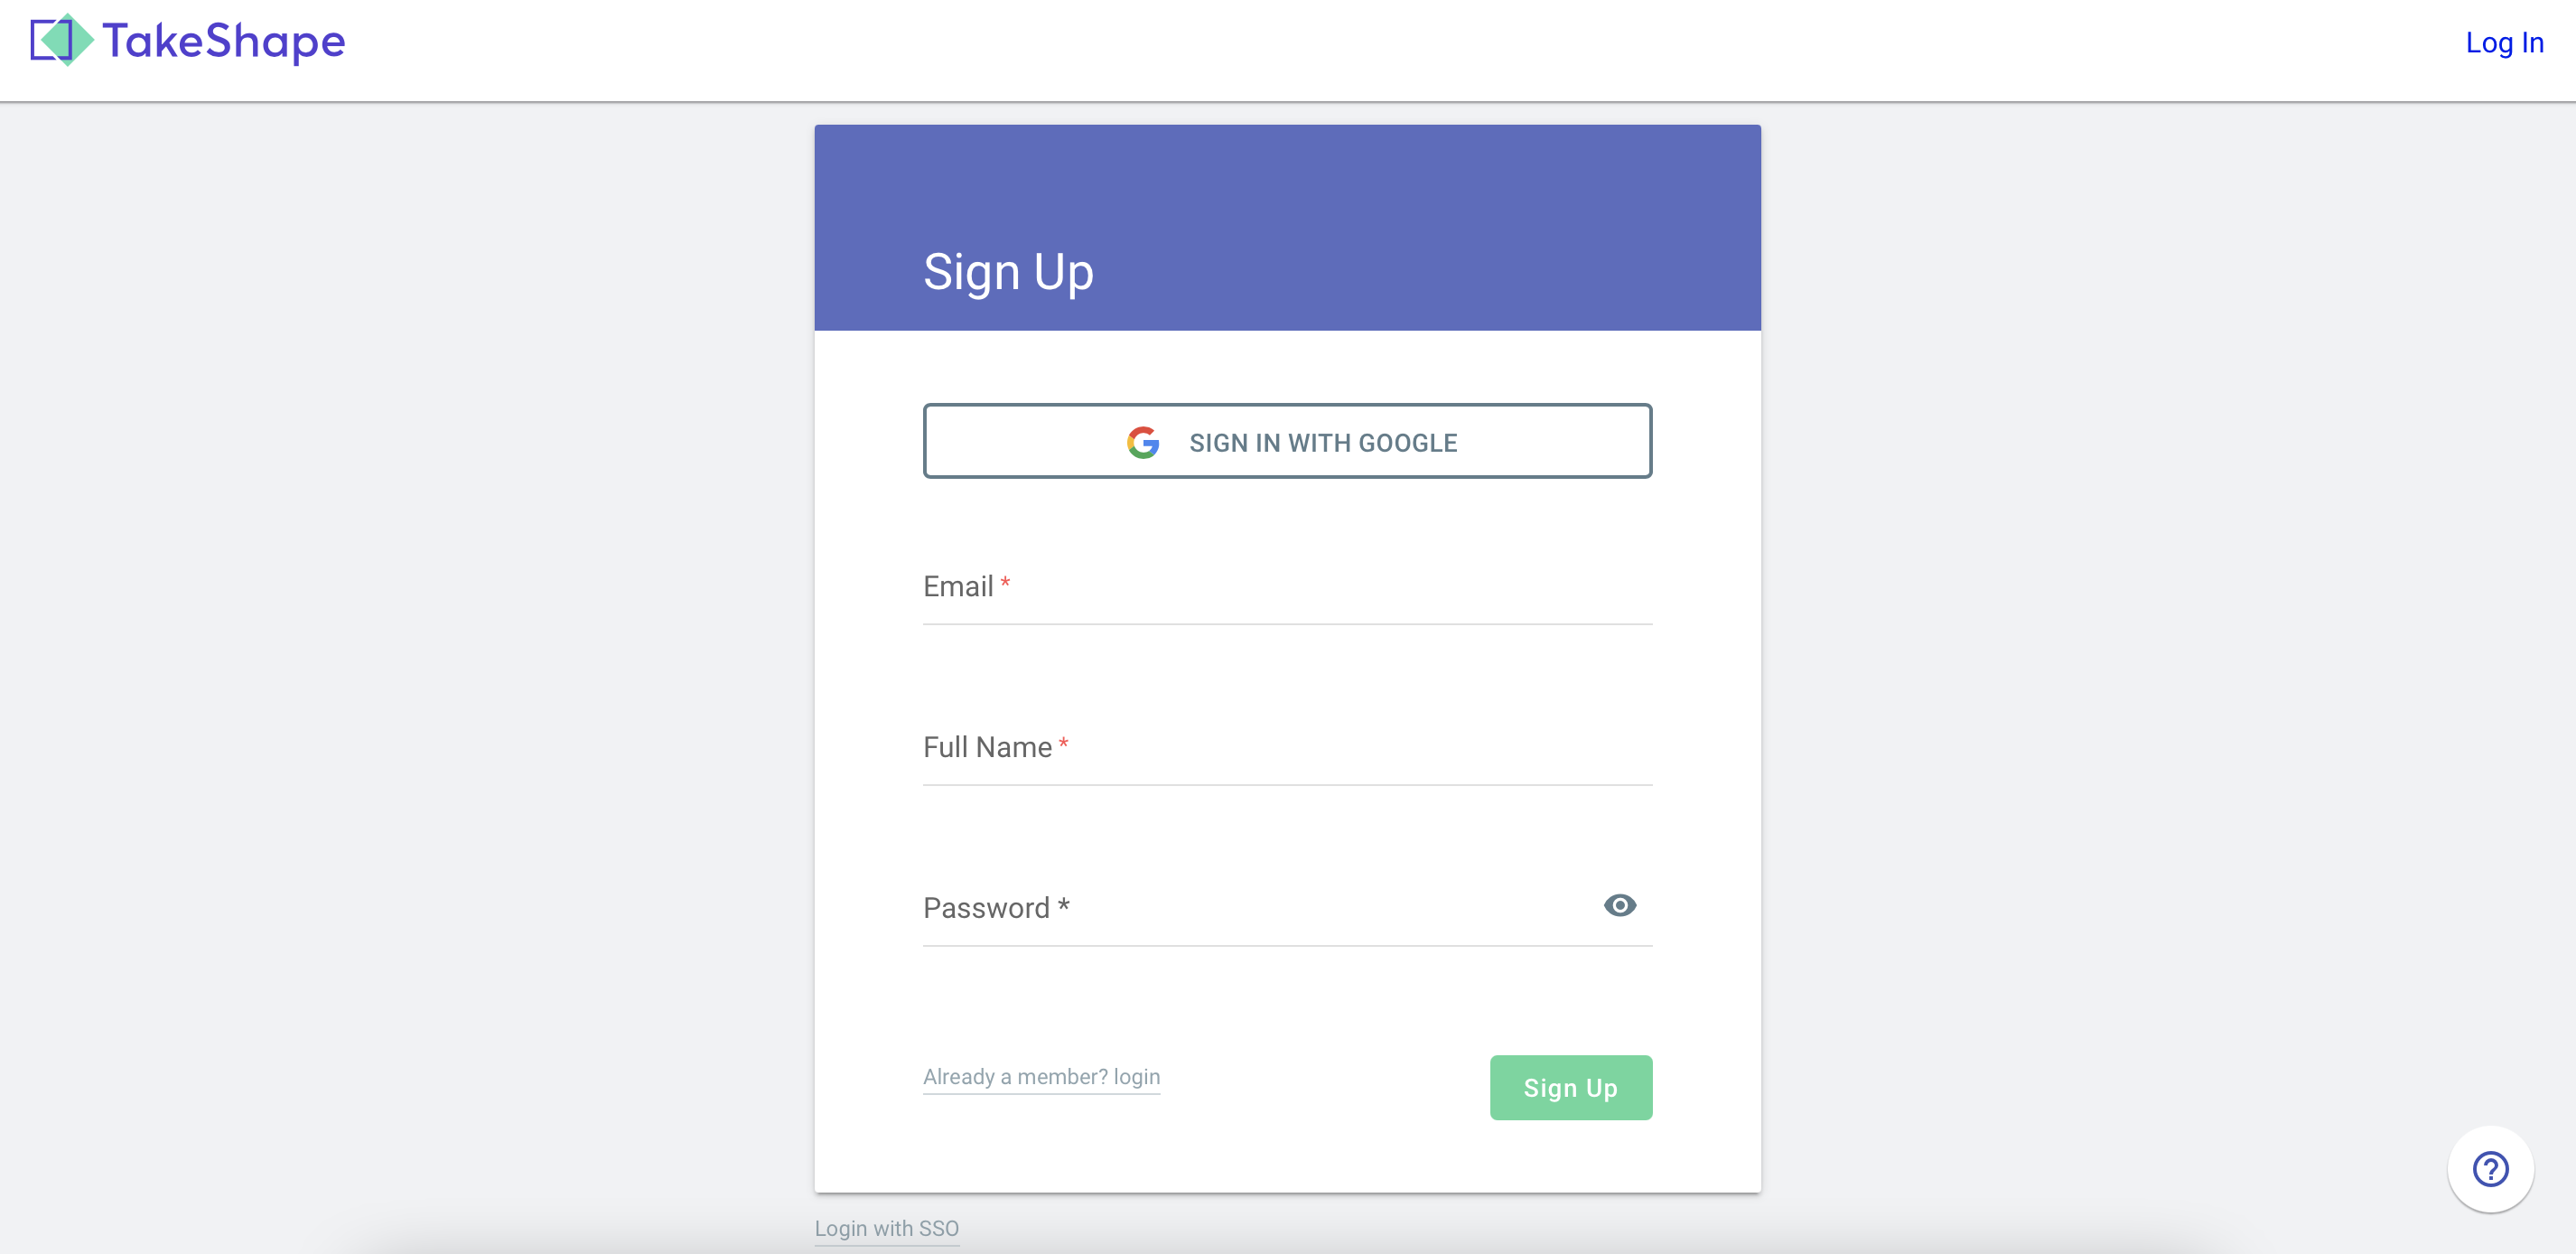
Create a TakeShape account (free)
Sign up for a free developer account. Every project you create gets:
- Up to 3 team members
- 1 static site
- 2 locales
- Unlimited content types
- 500 content entries
- Webhooks
- Community support
- 10GB of bandwidth, 10GB of file storage, and up to 10,000 API requests
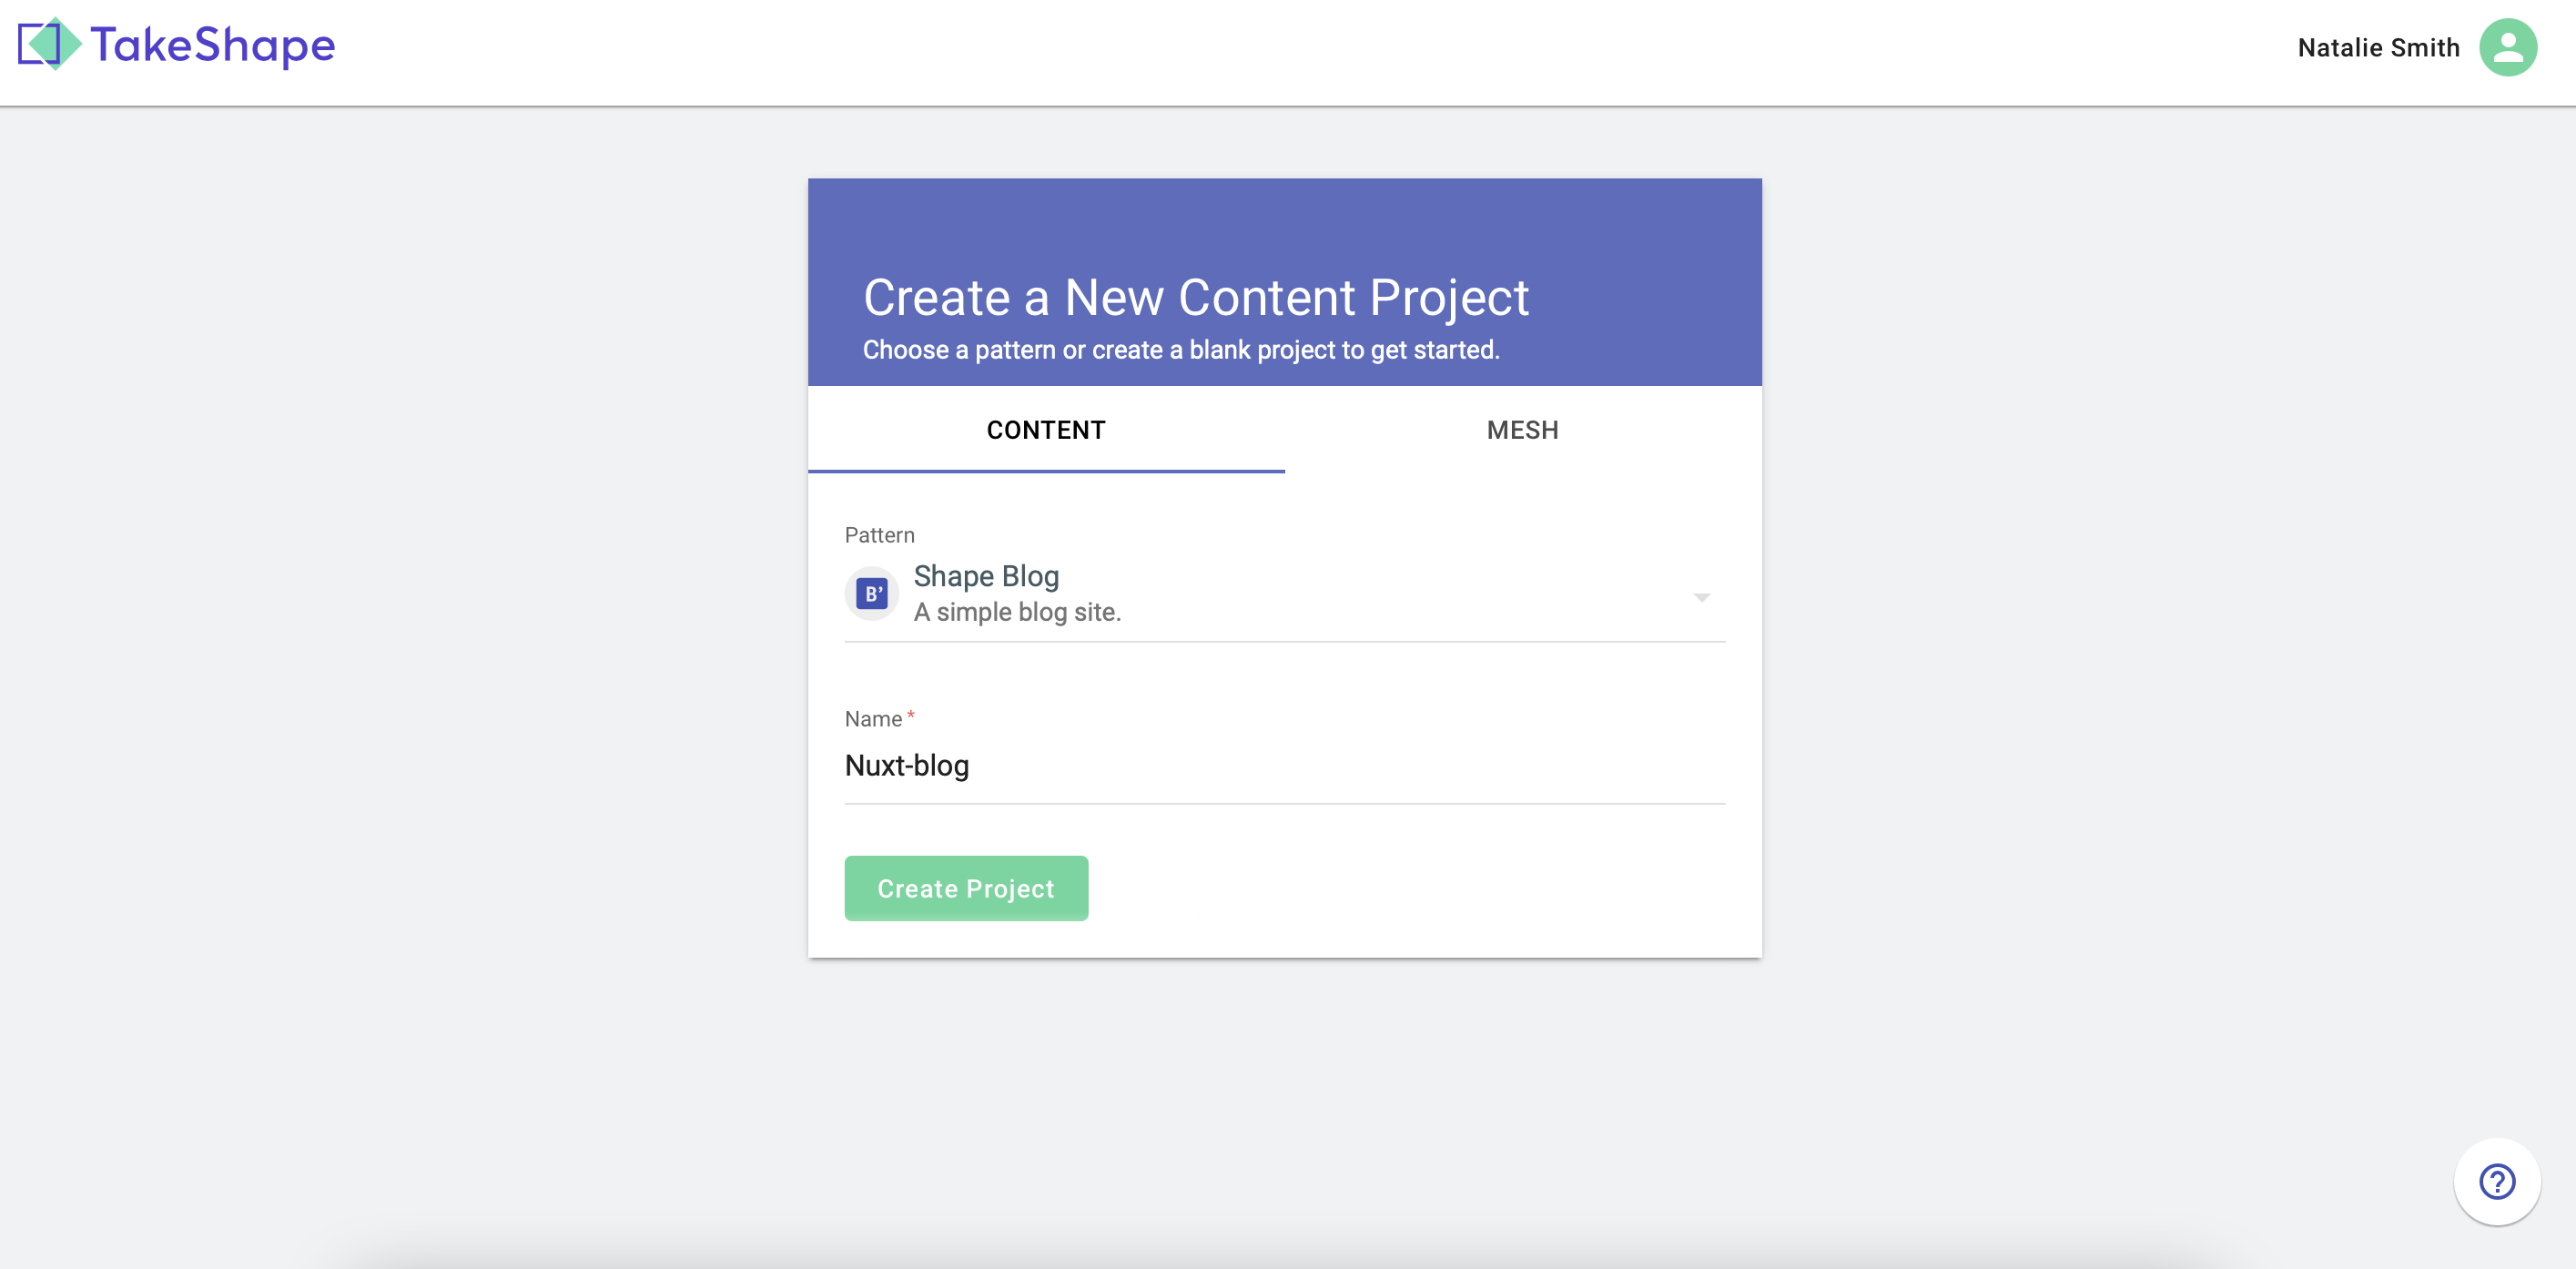
Create a new content project
Under Pattern, select Shape Blog and go ahead and give it a cool name. I'll call mine something generic like Nuxt-blog.
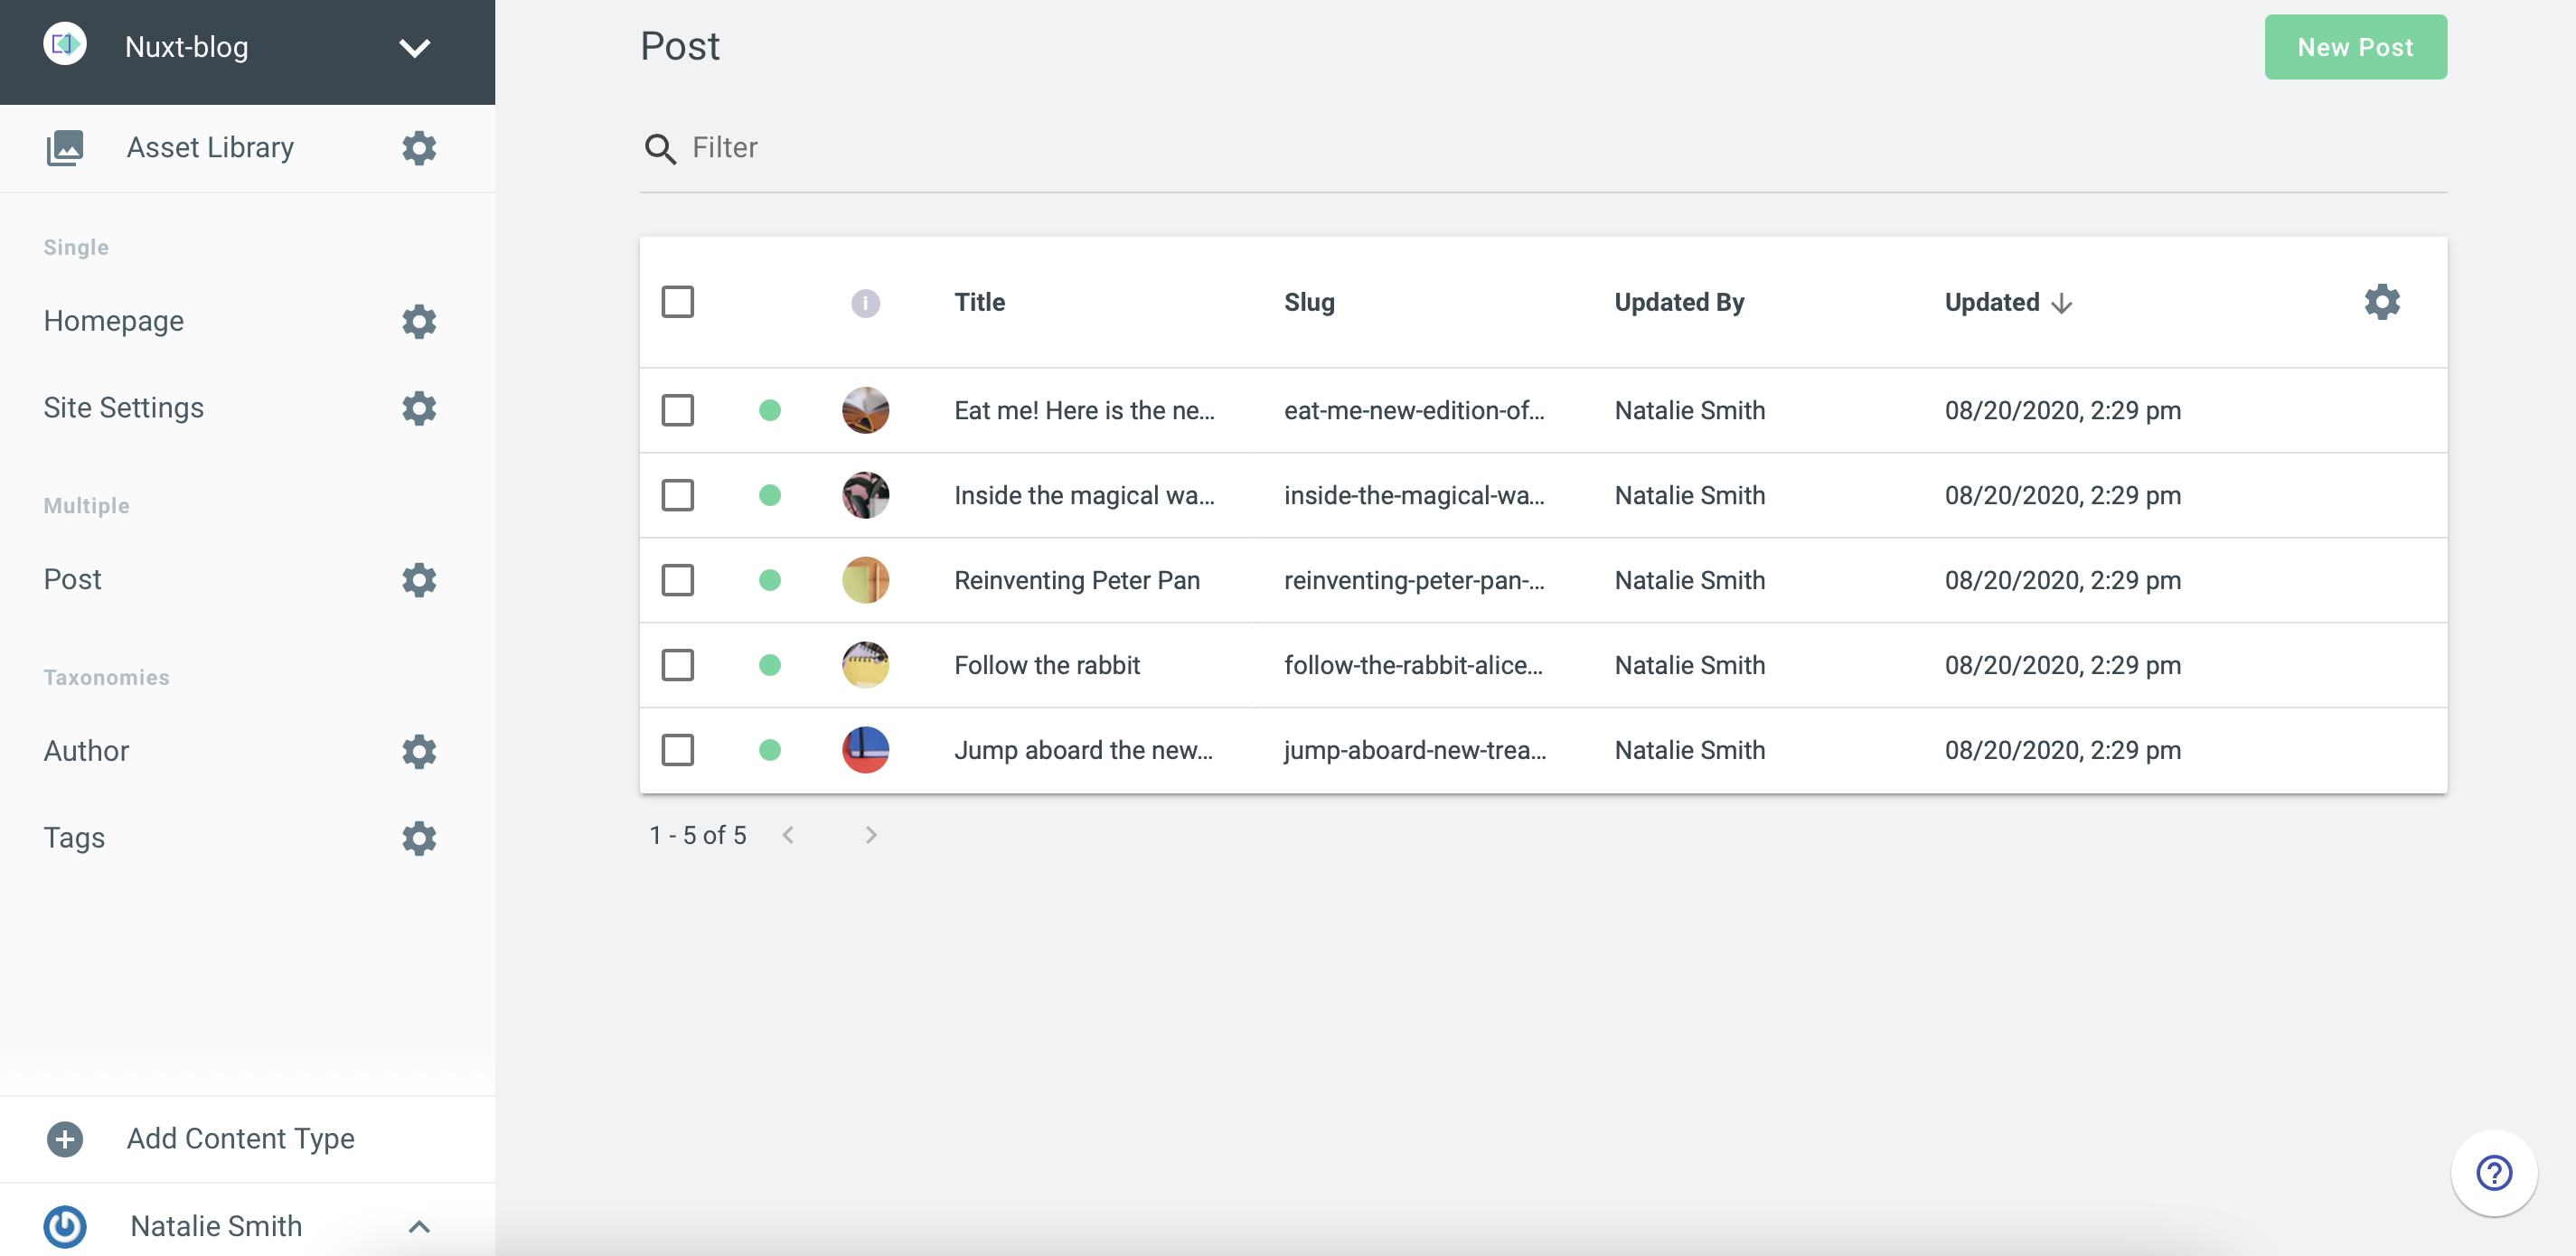
Let's create our API keys
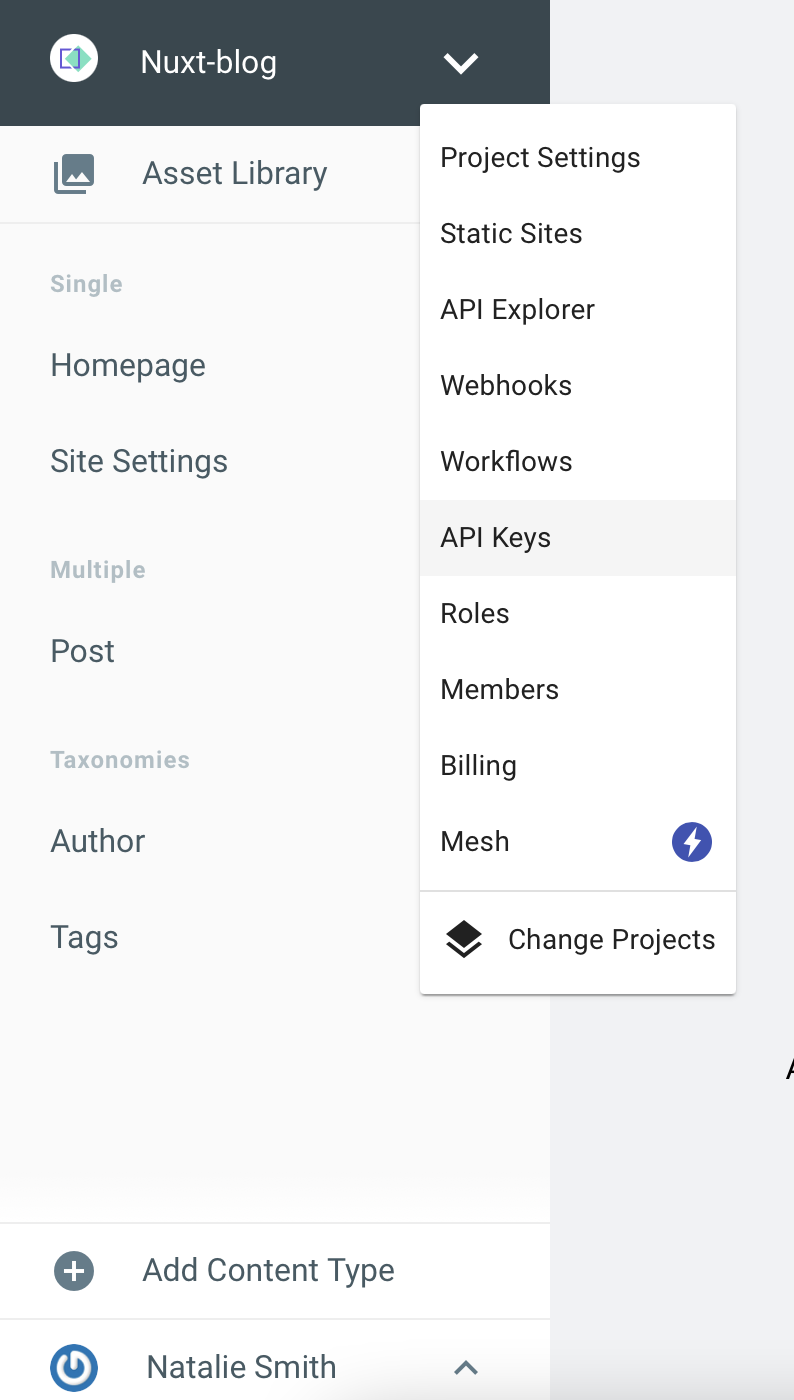
Click the dropdown menu to select API Keys.
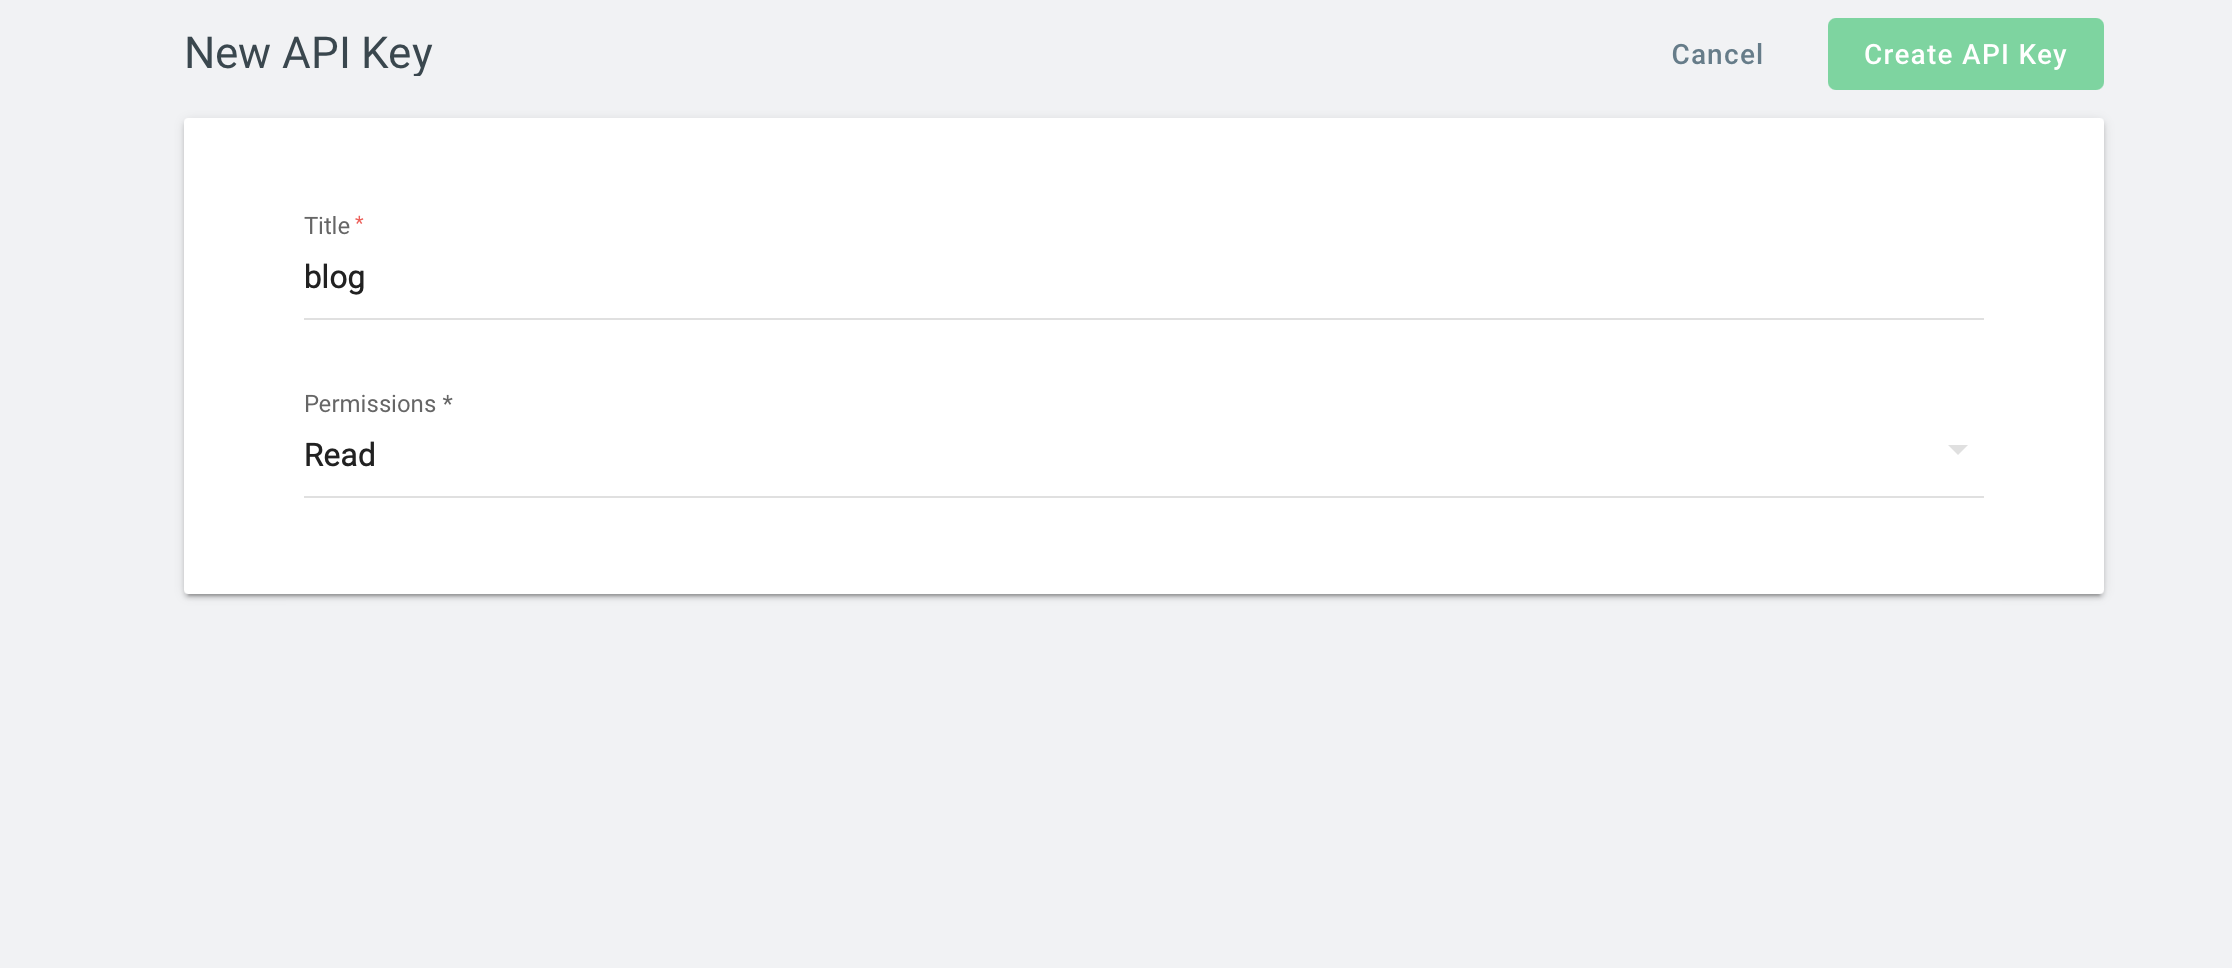
Since we're using it on the client side without any authentication, I'm going to set it to read only.
Creating .env variables in Nuxt
With Nuxt.js 2.13+, we now have access to runtime configurations and built-in dotenv support, which makes development easier and adds better security.
The runtime configurations:
publicRuntimeConfig: holds all the public env variables. Ex: public URL.privateRuntimeConfig: holds all the private env variables. Ex: API keys, secrets, etc...
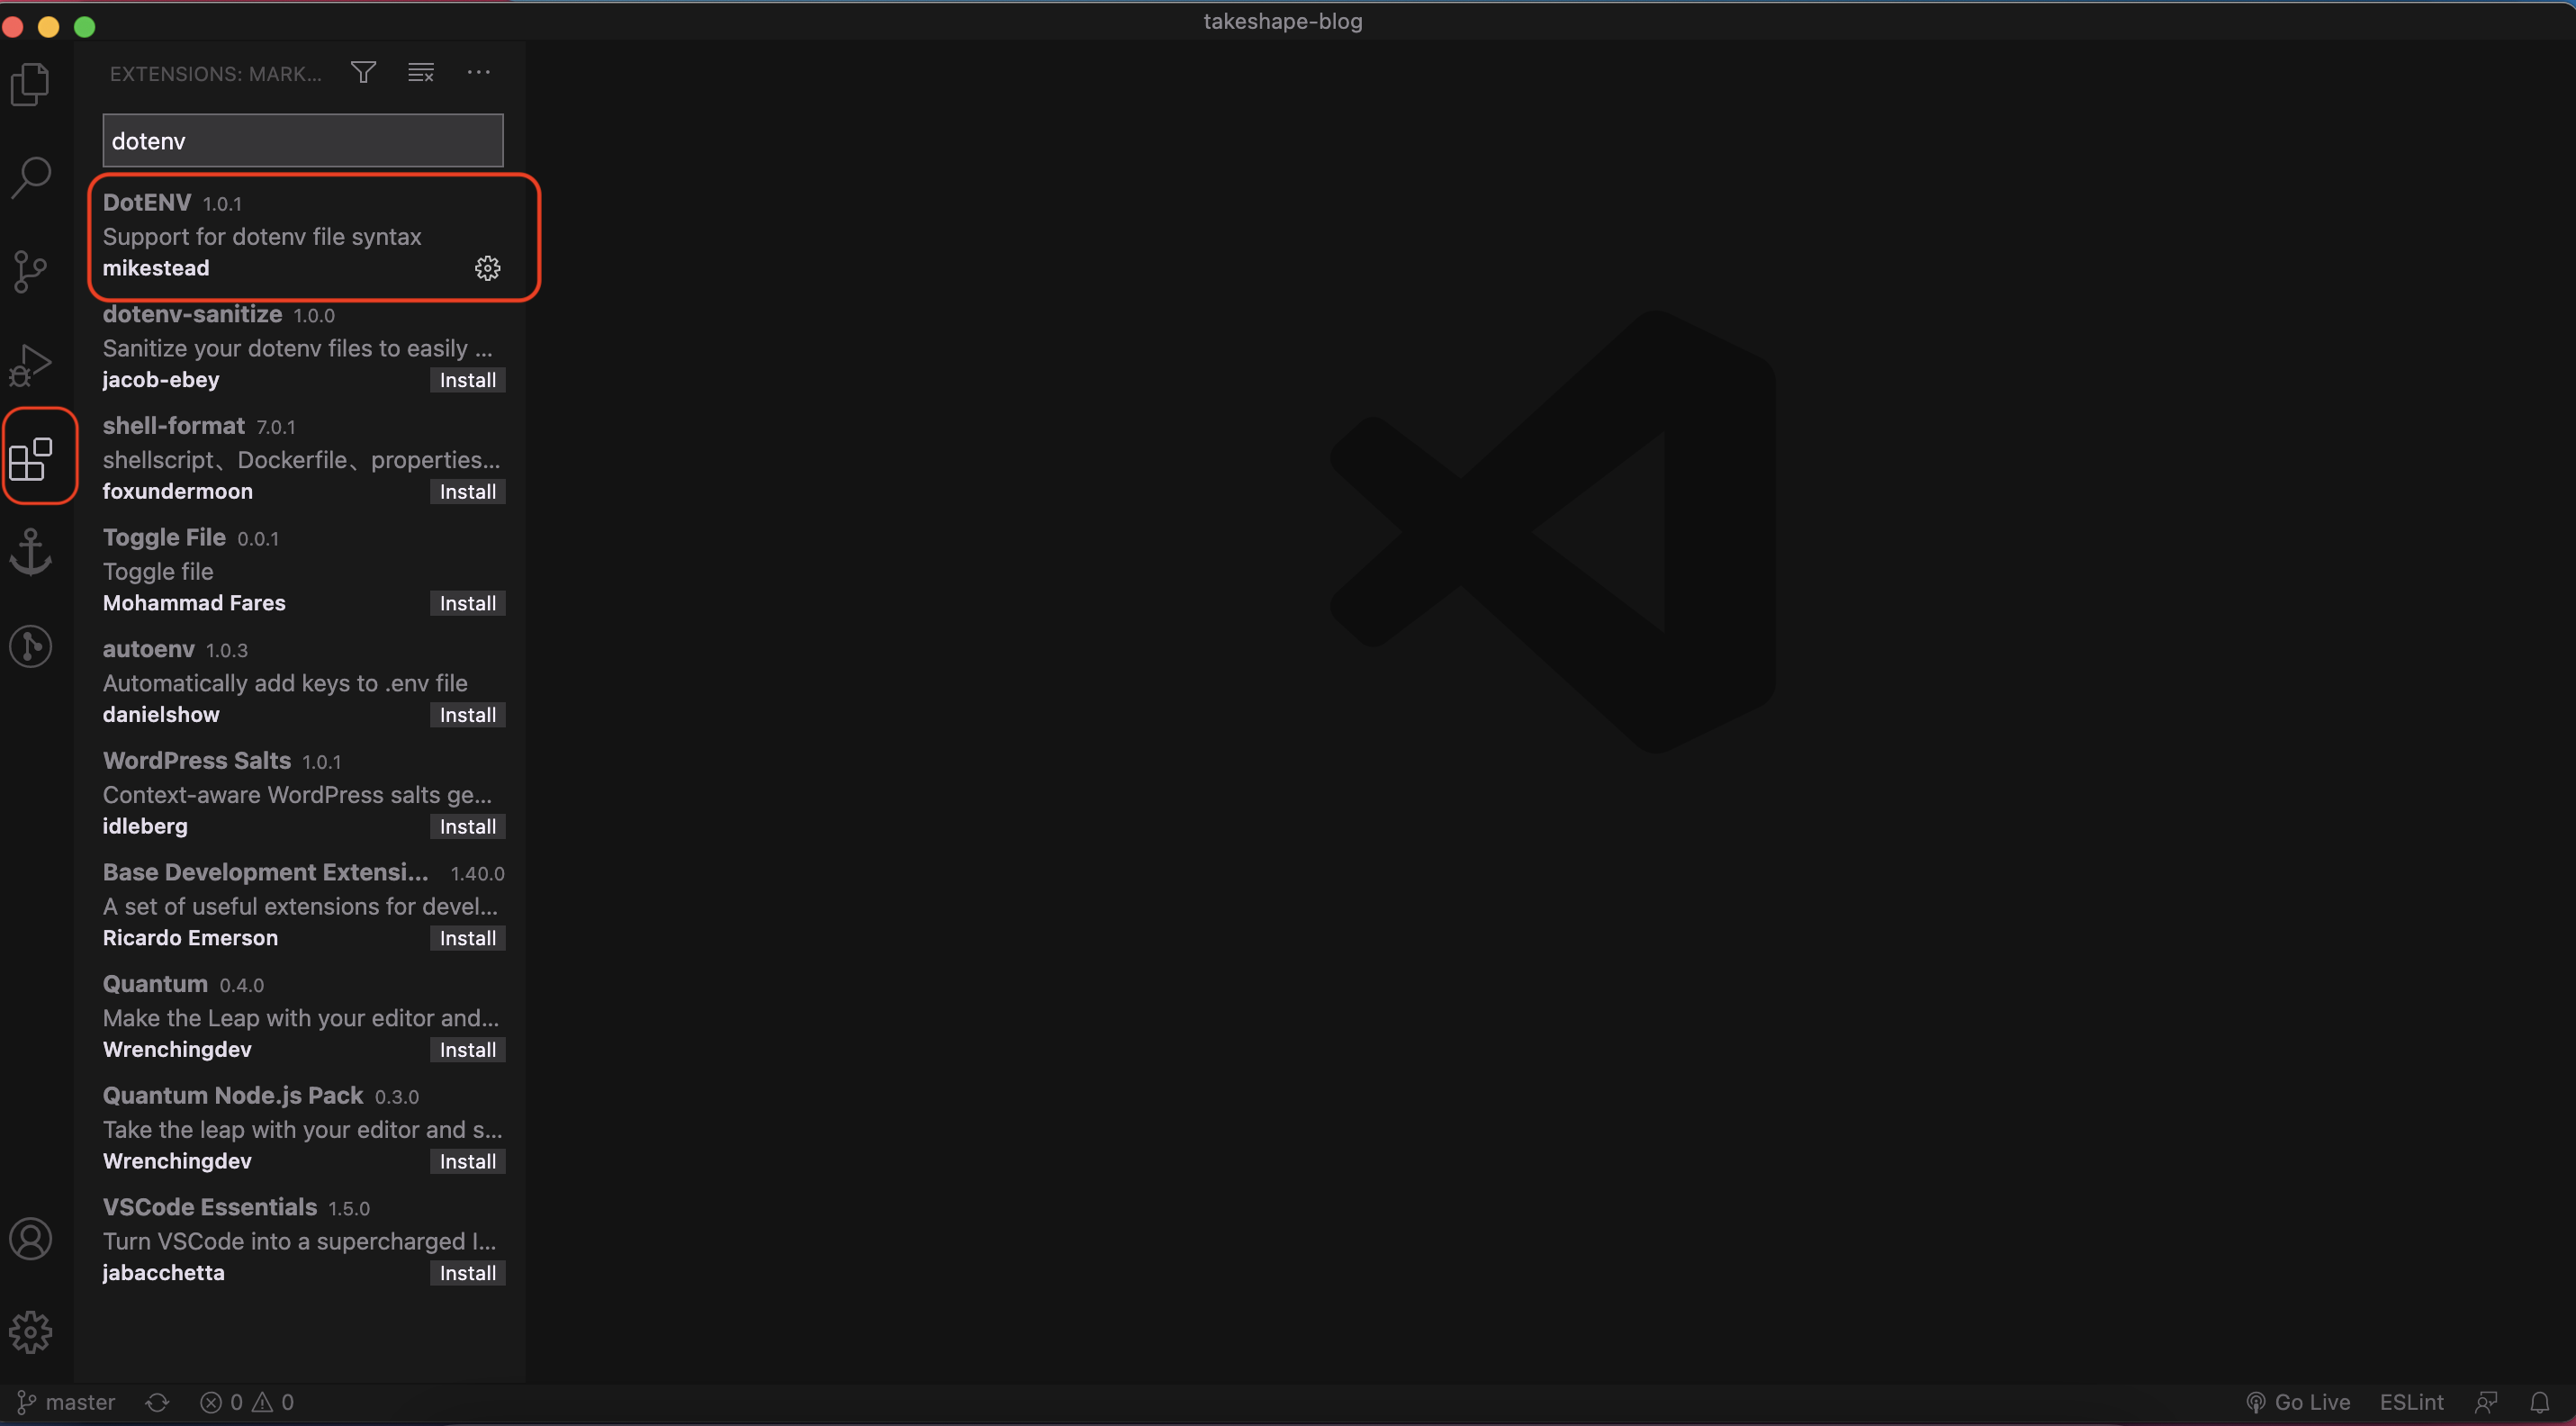
If you don't have the DotENV extension, install it as follows:
- Open up your project in vscode, under the extension icon type in "DOTENV" and download the first one. You may have to restart. I use mikestead's DotEnv plugin.
Now, let's create the .env file in the root of your project.
.env

API_SECRET=123
PORJECT_ID=123
In your nuxt.config.js file, add the following:
nuxt.config.js

export default {
	privateRuntimeConfig: {
    apiSecret: process.env.API_SECRET
  },
}
Note: Nuxt recommends that you don't write your secret keys in the nuxt.config.js directly.
Installation
Note: v2.6+ of Vue is required
# NPM
npm install --save @nuxtjs/apollo

# Yarn
yarn add @nuxtjs/apollo
Head back to your nuxt.config.js file. Inside the export default object, add the following:
modules: ['@nuxtjs/apollo'],
  apollo: {
    clientConfigs: {
      default: {
        httpEndpoint: `https://api.takeshape.io/project/${process.env.PROJECT_ID}/graphql`,
        httpLinkOptions: {
          credentials: 'same-origin',
          headers: {
            'Content-Type': 'application/json',
            Authorization: `Bearer ${process.env.API_SECRET}`
          }
        }
      }
    }
  },
Defining our queries
At the root, let's create a folder called apollo and another folder called queries. Then, create a file called allPost.gql. Inside this file, we're going to structure what we want from our CMS.
# apollo > queries > allPost.gql

{
  getPostList {
    items {
     _id
		  title
      author {
        name
      }
    }
  }
}
Create post.gql which will contain the getPost query. This will find a blog post based on the _id we provide it. Later on, we're going to create dynamic routes that will take us to each blog post page, so this query will come in handy.
query getPost($id: ID!) {
  getPost(_id: $id) {
    title
    deck
  }
}
At the root of our project, let's create two new components called Posts.vue and PostCard.vue. These will fetch our blog posts and pass that data off as a prop to the PostCard component.
# components > Posts.vue

<template>
  <div>
    <div v-if="getPostList">
      <PostCard v-bind:data="getPostList.items" />
    </div>
    <div v-else>
      Loading...
    </div>
  </div>
</template>

<script>
import allPost from '../apollo/queries/allPost.gql'

export default {
  apollo: {
    getPostList: {
      prefetch: true,
      query: allPost
    }
  }
}
</script>

<style></style>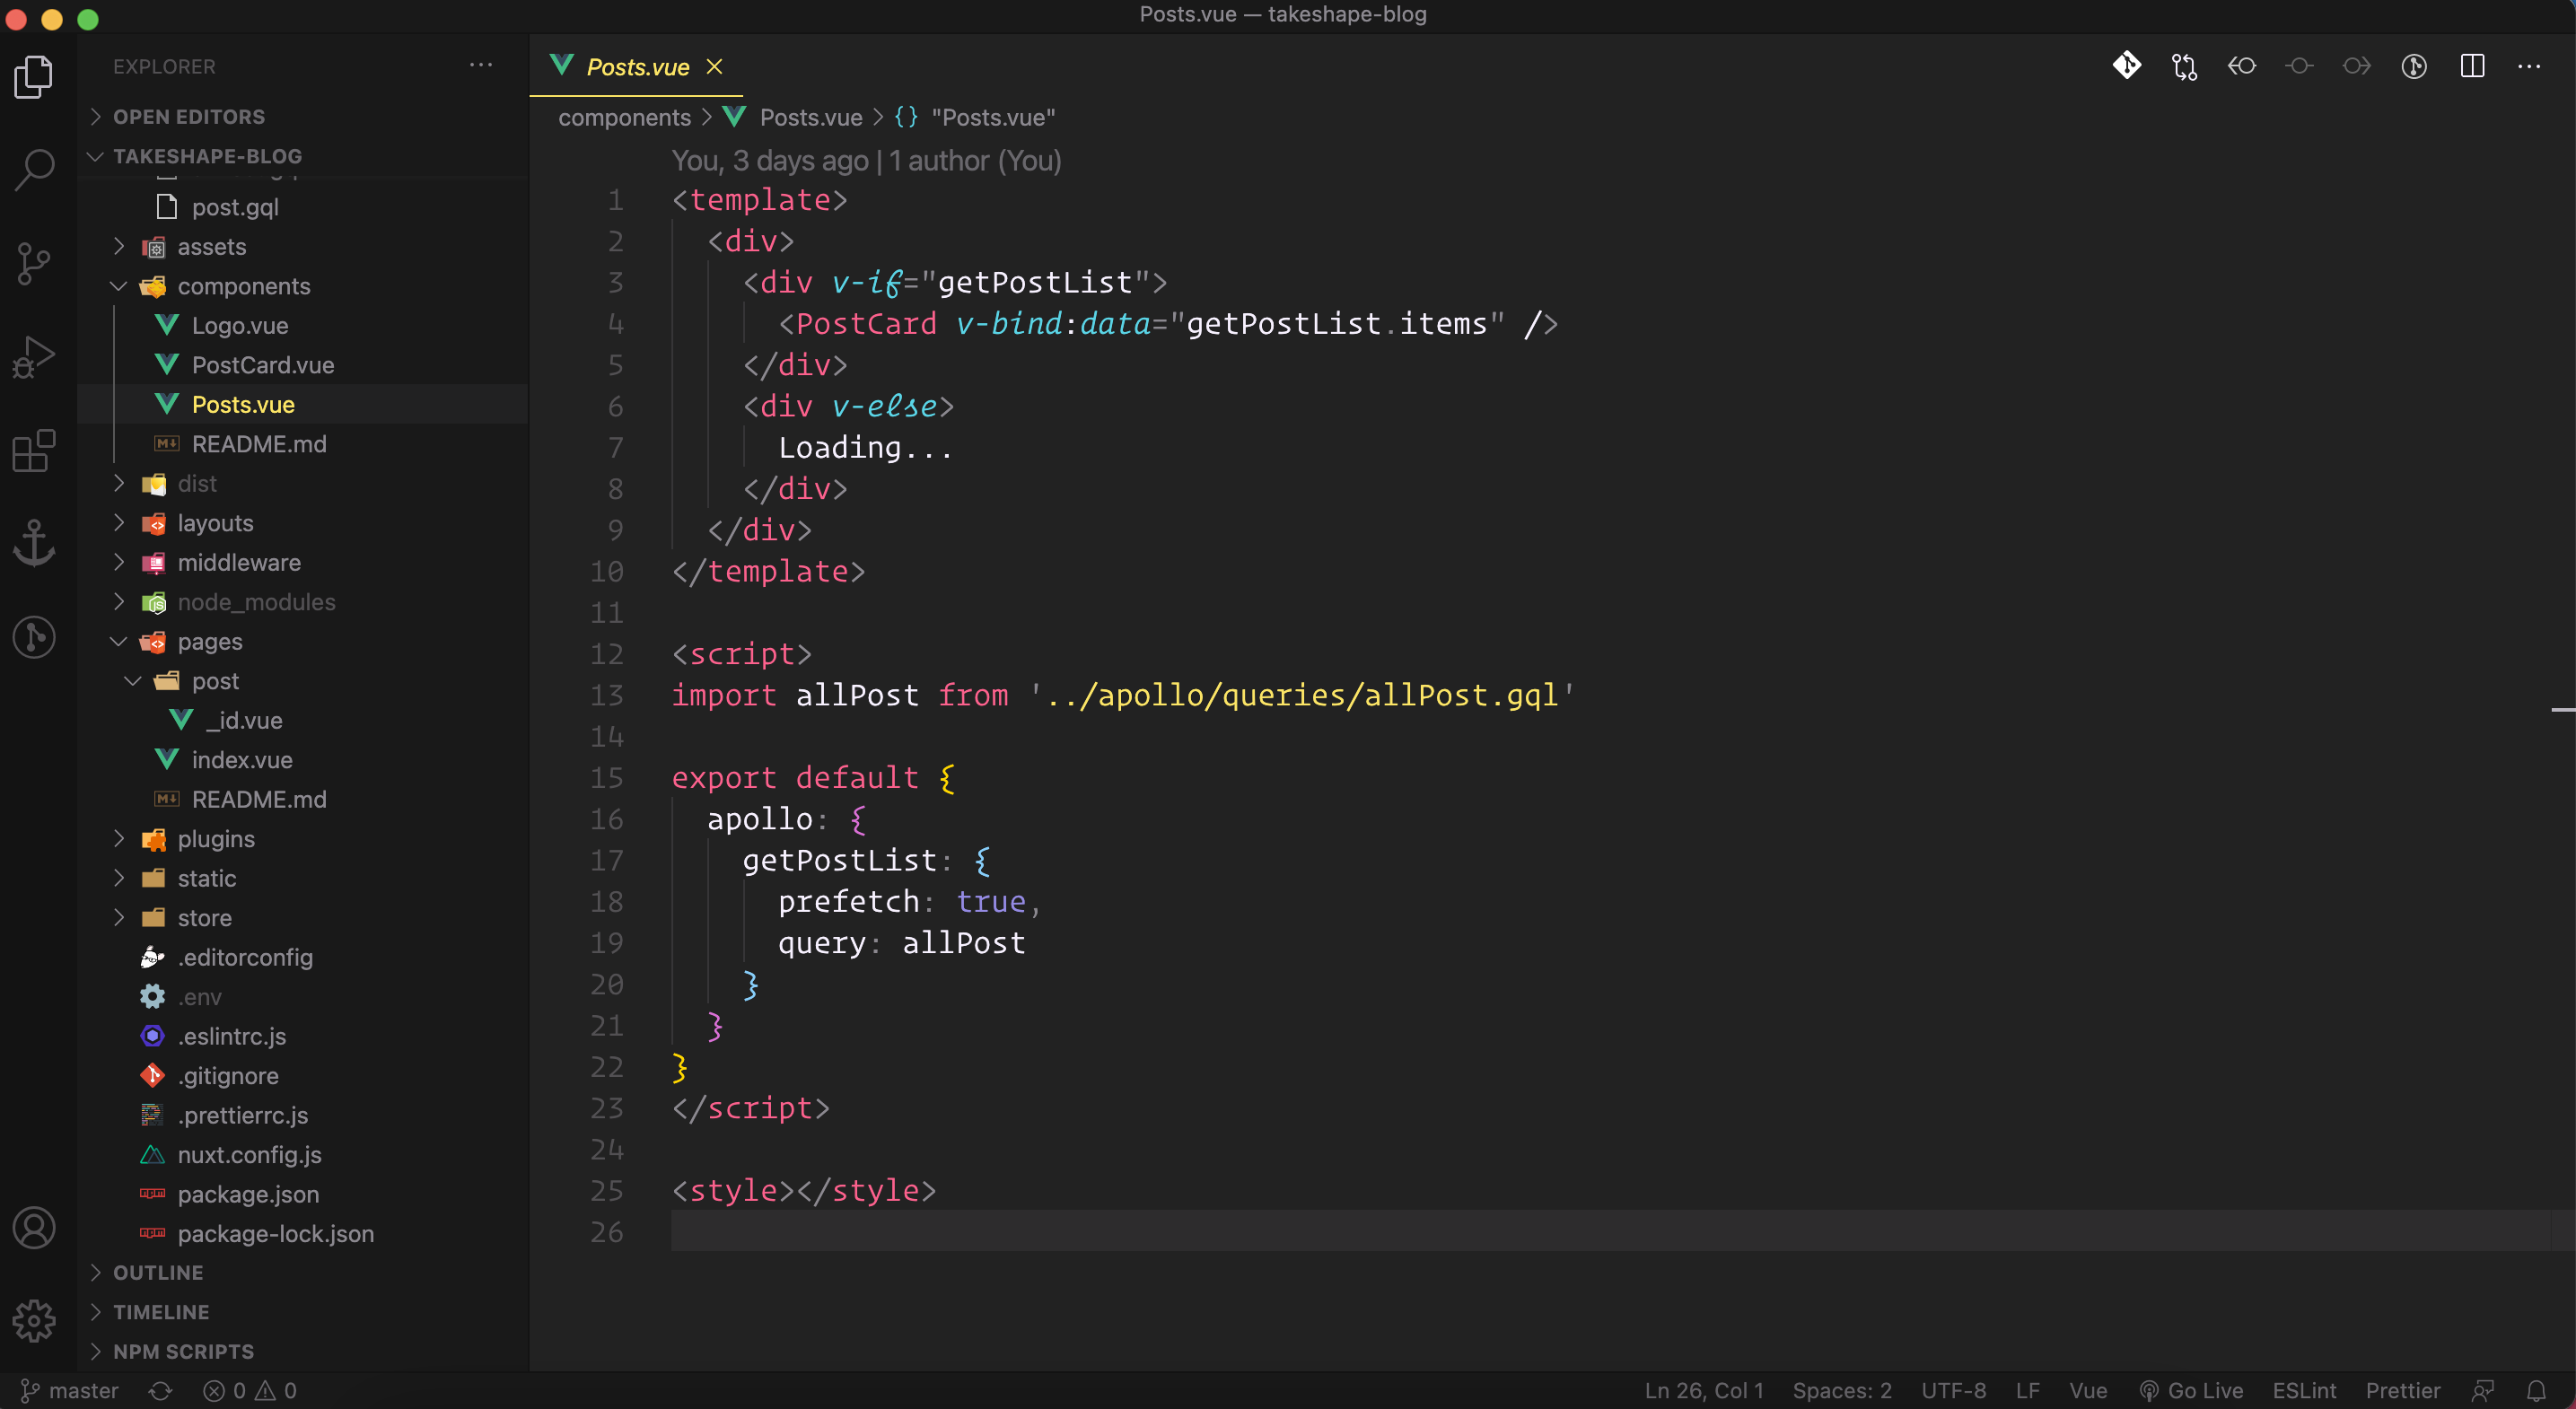
In PostCard.vue, add the following:
#components > PostCard.vue

<template>
  <div>
    <div v-for="post in data" :key="post._id">
      {{ post.title }}
      <p>By: {{ post.author.name }}</p>

      <NuxtLink :to="`post/${post._id}`">
        <button>read</button>
      </NuxtLink>
    </div>
  </div>
</template>

<script>
export default {
  props: ['data']
}
</script>

<style></style>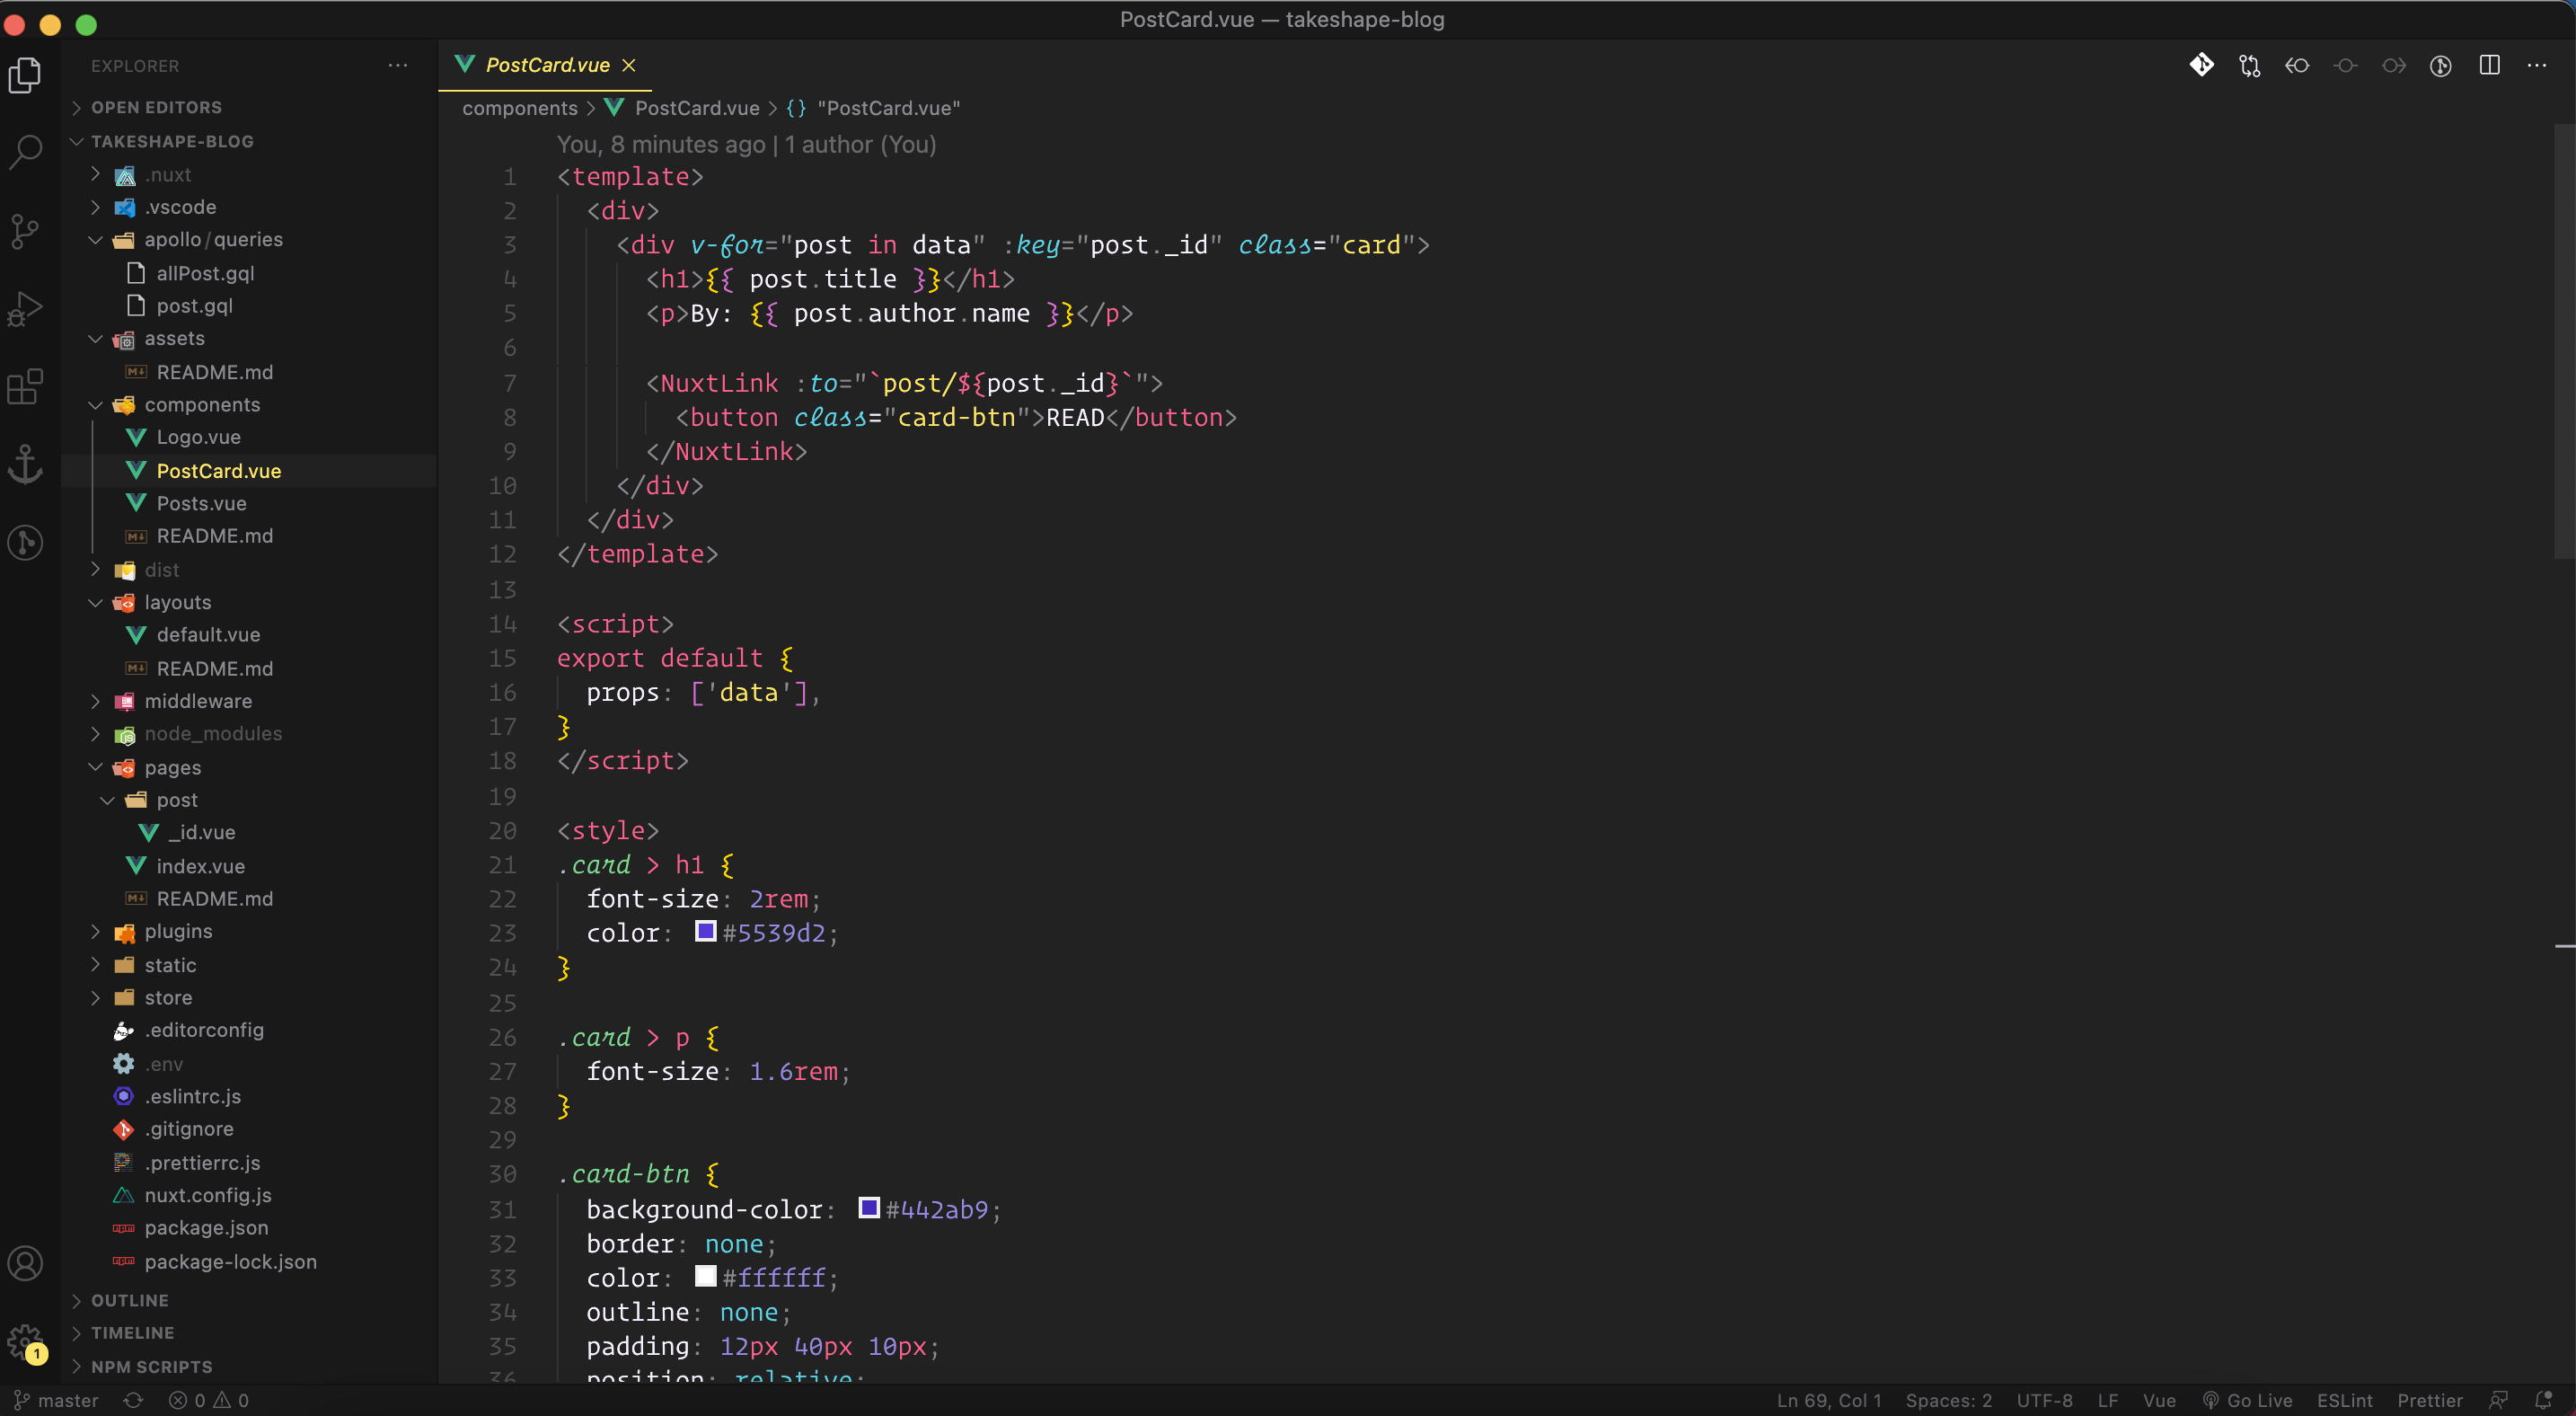
Creating dynamic routes in Nuxt.js
Now, let's create the details page. Every time we click on the read button, it should take us to each blog post's page and we should see this route in our url: /post/<id>
To do that, let's create a folder called post and a file called _id.vue. Add the following:
#pages > post > _id.vue

<template>
  <div>
    <div v-if="getPost">
      <h1>{{ getPost.title }}</h1>
      <p>{{ getPost.deck }}</p>

      <NuxtLink :to="`/`">
        <button>Back Home</button>
      </NuxtLink>
    </div>

    <div v-else>
      Loading...
    </div>
  </div>
</template>

<script>
import post from '../../apollo/queries/post.gql'

export default {
  apollo: {
    getPost: {
      query: post,
      prefetch: ({ route }) => ({ id: route.params.id }),
      variables() {
        return { id: this.$route.params.id }
      }
    }
  },
  methods: {}
}
</script>

<style></style>
And that's it! The final result. The project's source code is available for you to fork and use however you like.
As next steps on your Nuxt journey, I suggest reading more about the following topics:
To learn more deployment:
- How to deploy on Netlify
- How to deploy on Heroku
- How to deploy on GitHub Pages?
- How to deploy with Vercel?
- Configuring dynamic routes for deployment
Conclusion
In this article, we learned how to setup a TakeShape account, add products, and obtain our API keys. Then, we learned how to integrate TakeShape with Nuxt.js utilizing ENV variables and dynamic routes, and how to fetch data with GraphQL. In turn, we built a nice and simple blog using our favorite CMS of choice, TakeShape, while keeping intact our love for Nuxt.js.


